fixStuff: Restore Cloudy Headlights

Do your car headlights have that fogged over look, makin it kinda hard to see at night? The very best fix is to buy new headlights, but that's freakin expensive. Before spending that kind of cash, try to restore them. It's stupid easy. Doesn't always work 100%, but will make a huge difference in the dark. You can buy a kit with all the stuff needed, but it's only good for one use. You can do several cars if you just buy the stuff separately. Cheaper too.
Note: There are many different methods to resurface headlights. This one is mine. I didn't have much luck with the rubbing compound+buffer method that is common.
Stuff You Need:
- A car with iffy headlights, obviously.
- A piece of 600, 1000, and 1500 grit wet/dry sandpaper. A few minutes before you start working, soak the sandpaper in clean water.
- A spray bottle full of clean water.
- A couple clean rags
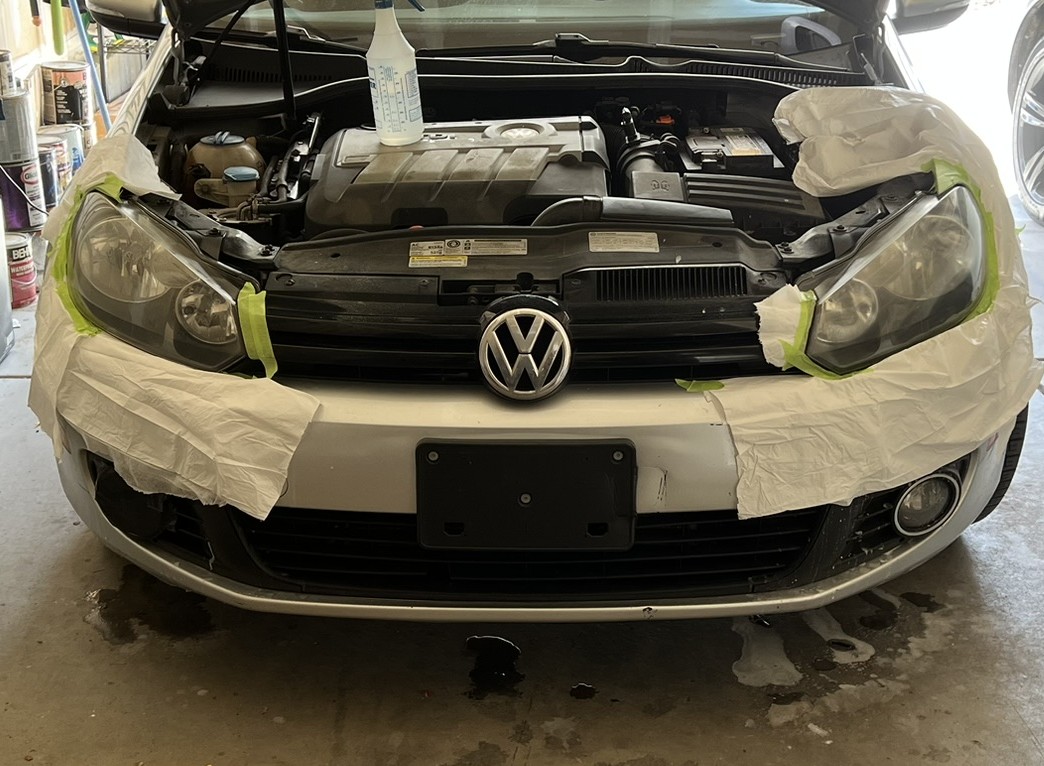
- Masking tape, and some plasticish sheets to mask the bumper (see pic below)
- A can of UV clear coat. I use Meguiar's headlight coating.
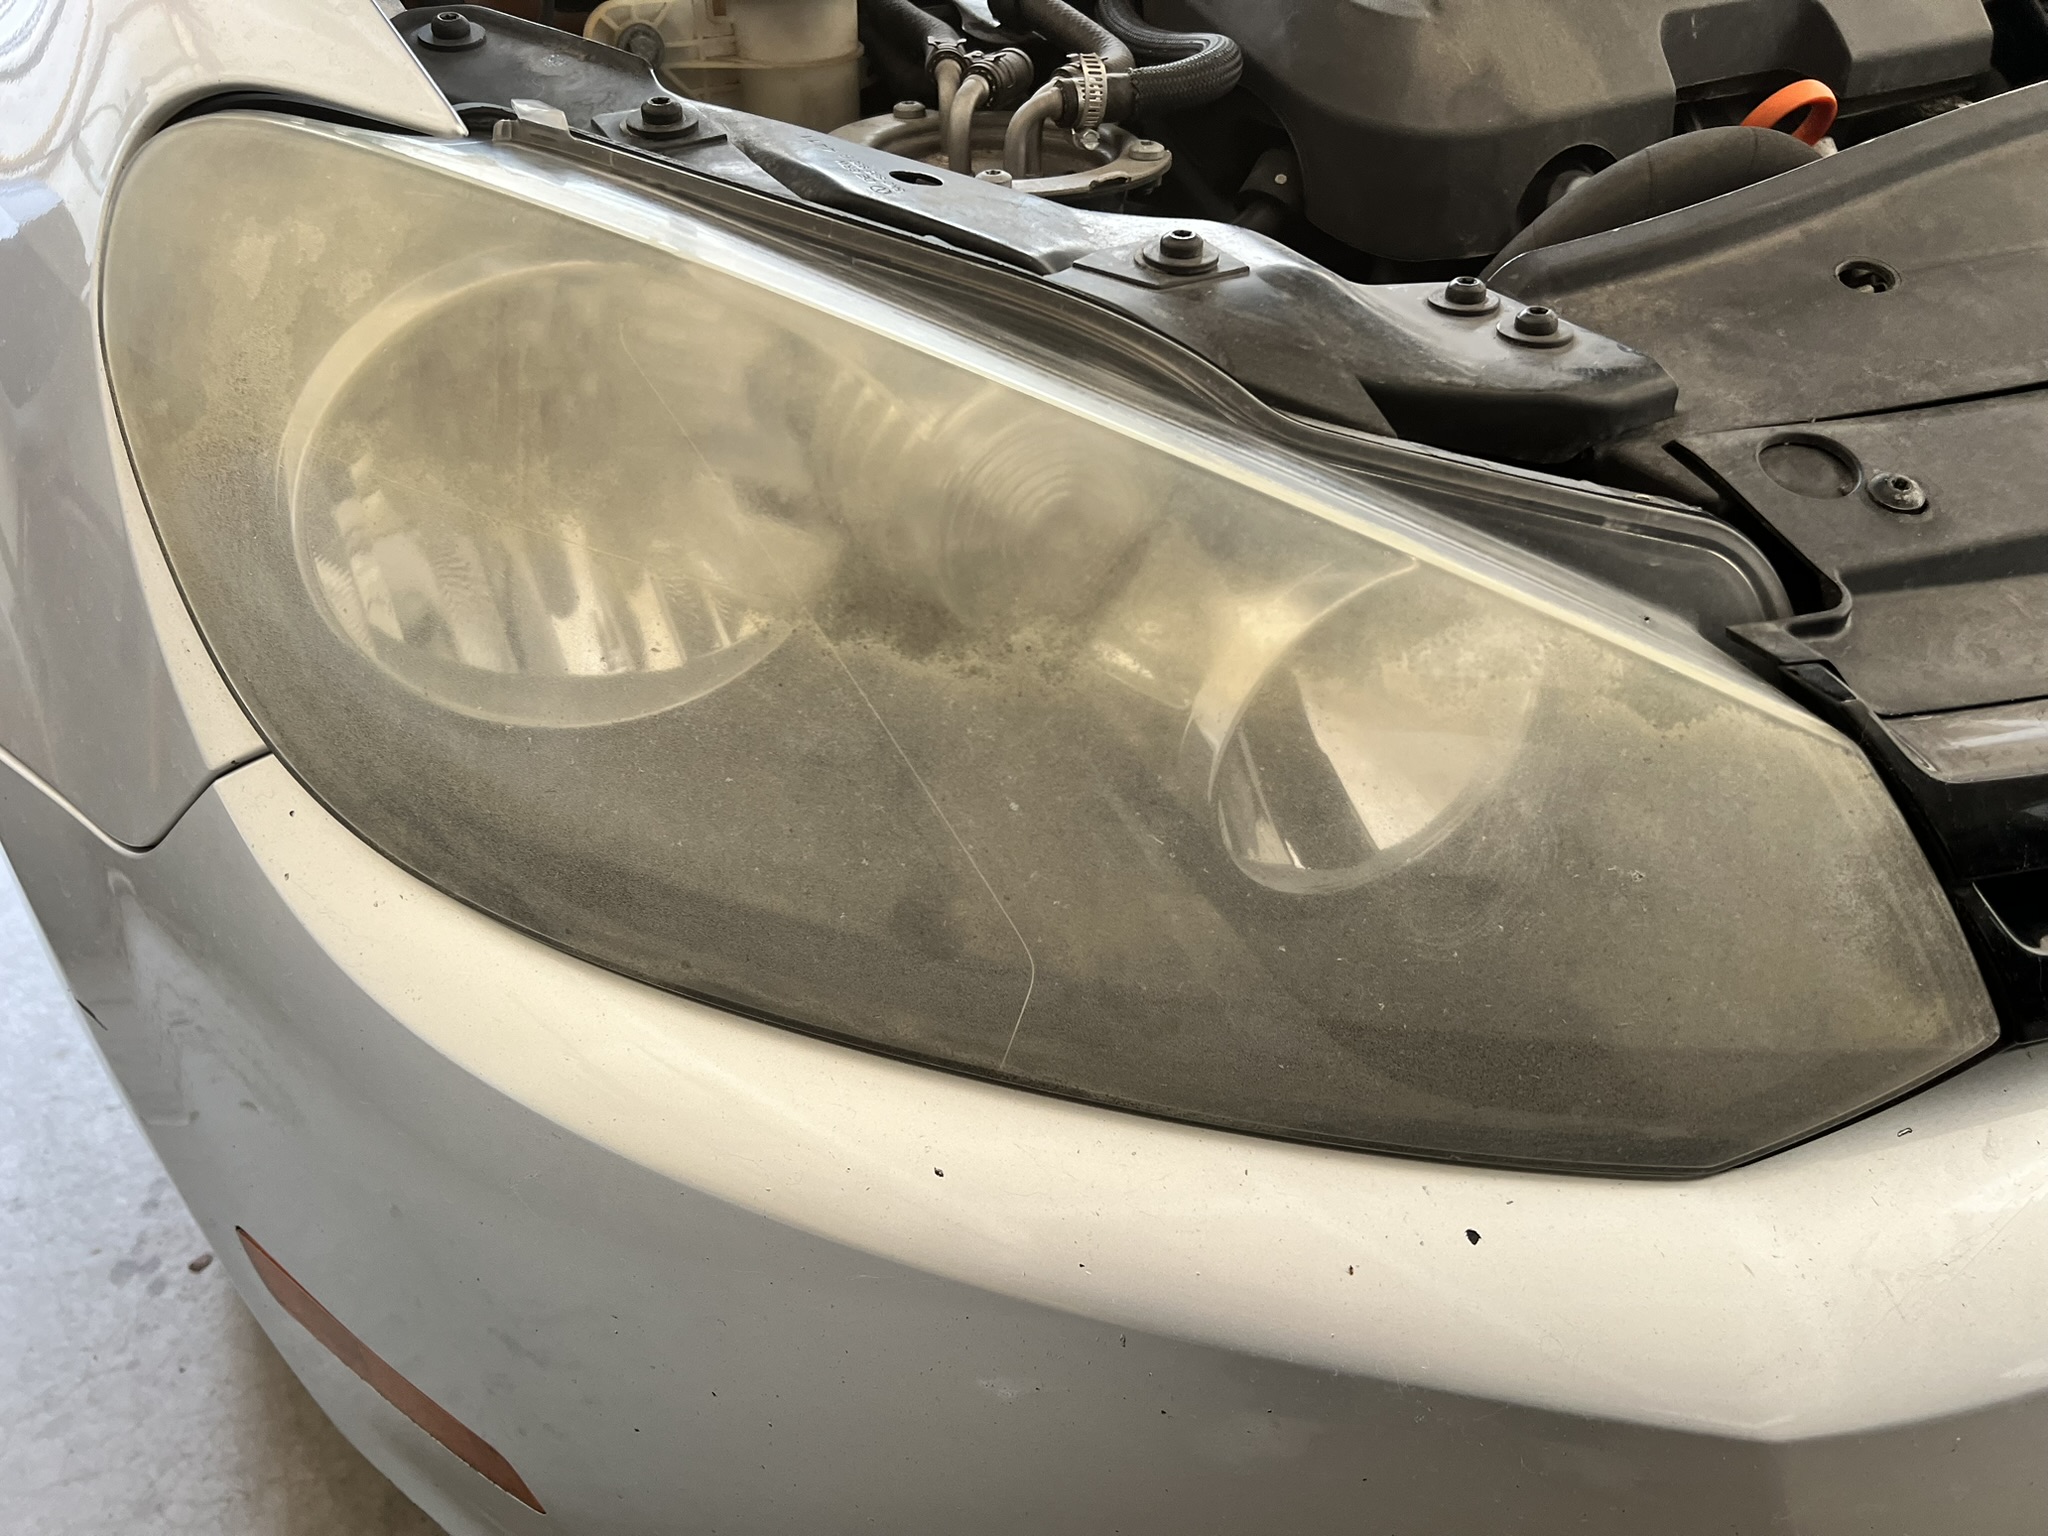 | This is my sister's VW Golf, with pretty cloudy lights. Let's fix em! First clean any gunk off the headlight. |
| Spray the headlight with water, then using the wet 600 grit paper, gently sand the headlight going in one direction. Like start on the left and sand to the right, don't do circles or zigzags. | |
| As you're sanding, keep the surface wet using the spray bottle. You'll start to get cloudy streaks dripping down the bumper, just rinse those off with the water bottle. | |
| After you've done several passes, switch to the 1000 grit paper and repeat, keeping the surface wet. Move on to the 1500 next. DO NOT FREAK OUT IF THE SURFACE LOOKS LIKE CRAP! | |
| Completely clean all the cloudy residue off the light and bumper, then dry completely with the rags. | |
| Now that the sanding is done and everything is dry, mask off the bumper and quarterpanel so you don't fudge up your paint with the clear coat spray. | 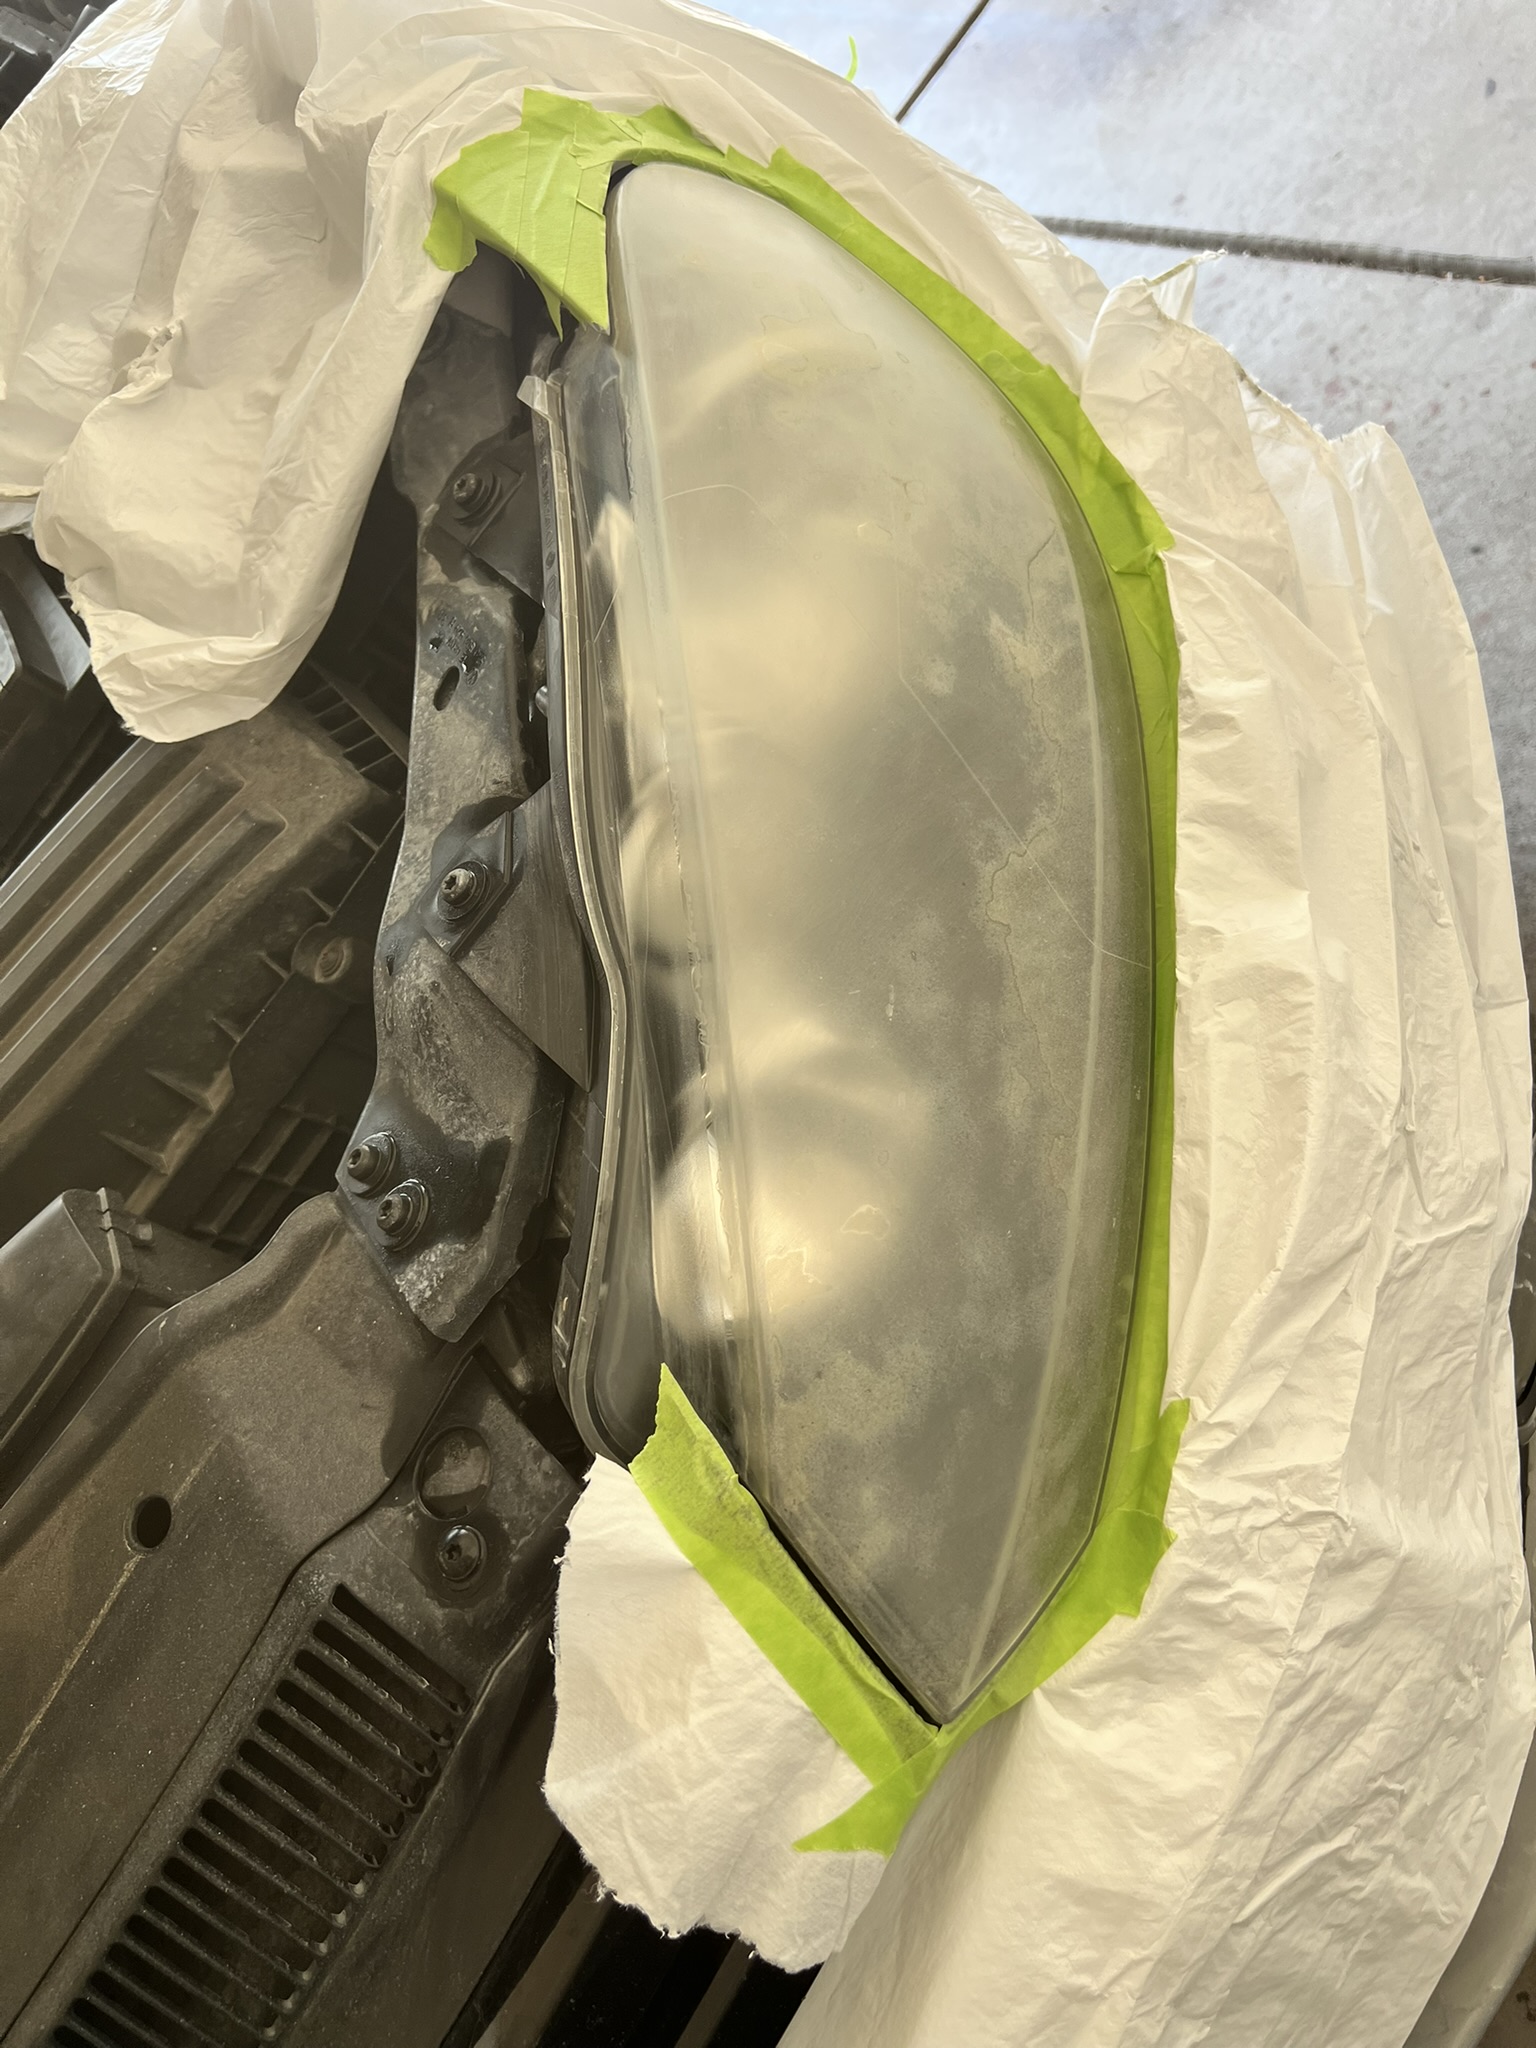 |
| Take the can of UV clear coat and spray the headlight in single passes, from side to side. Practice on a piece of cardboard or something to get the hang of it. When you're doing your side to side passes, start the spray before the headlight, and keep spraying until just after. You won't get the whole headlight in one go, and you shouldn't try to. Just keep going a little lower each pass. NEVER pause or let off the spray button while you're on the headlight, otherwise you'll get a splotch and need to re-sand. | |
| By now your headlights should already be looking better. | 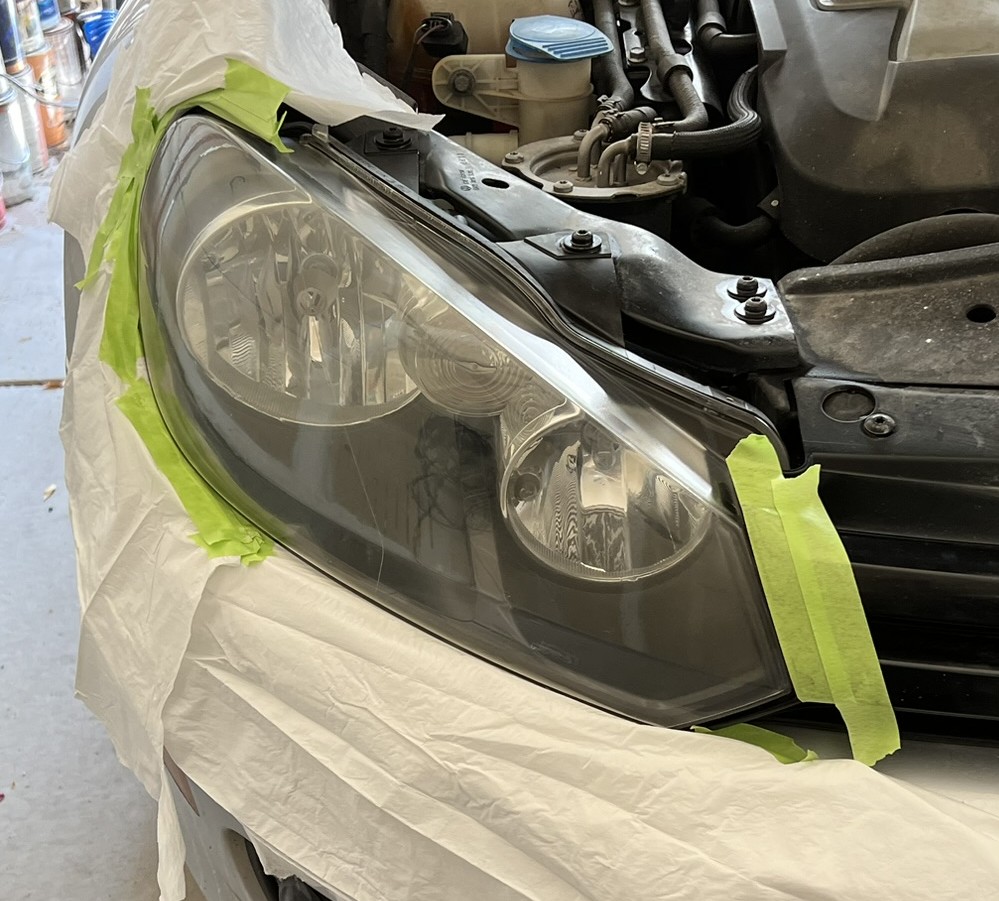 |
| Let it dry for several hours, overnight if possible. You can remove the masking pretty quickly, but I leave it there for a few hours just so I don't booger anything while my clumsy ass removes it. You're all done! | |
 | |
| Since you've got the supplies, you can re-do this if you didn't sand well enough at the start, or you can do another car. And hey, if you do have to replace the lights entirely, wasn't it worth about twenty bucks to try to save several hundred? | |