makeStuff: a simple wooden photo thingie
For several years my mum has had a 3-panel frame hanging on the wall in the kitchen, but it kept falling off and/or getting crooked. It disappeared a couple months ago while we were doing some work in there, and rather than bring the old one back, I figured I could make something to replace it.
The whole thing was made out of some 2x8 cutoff waste from our deck reinforcement project we've got goin on. It was about a foot or so of 2x8, so not much at all. How it's cut, you could easily use 2x4, 2x6, or whatever. It REALLY helps if you have a jig or sled to help cut small strips on your table saw.
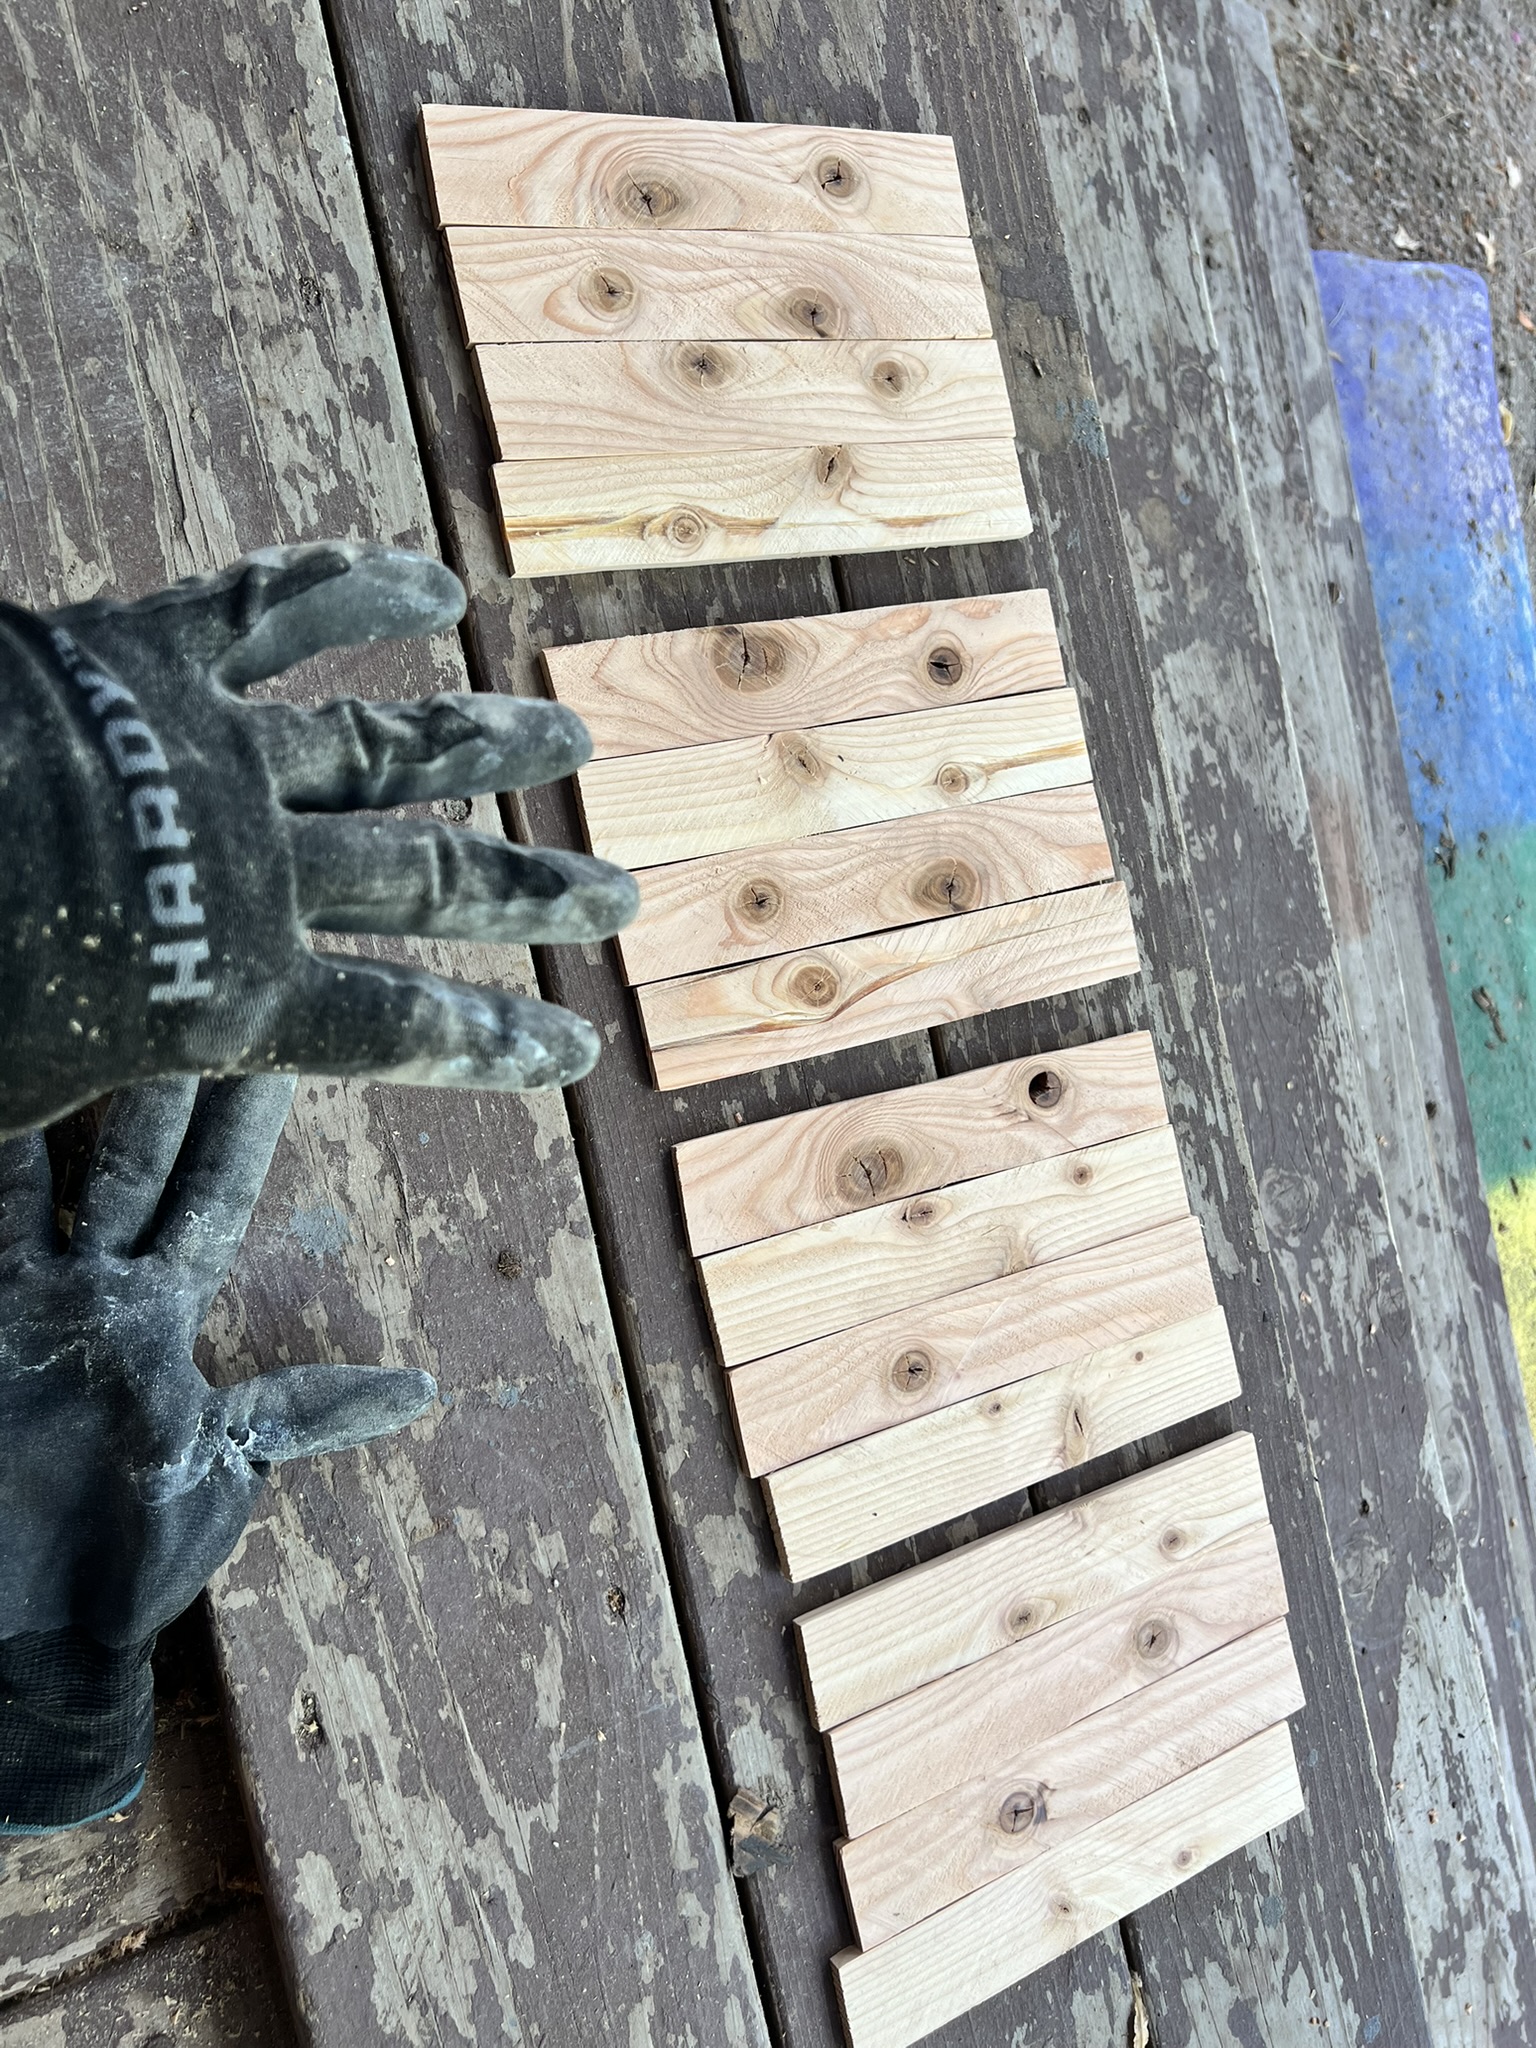 | Start by setting your saw to about 1/8" and rip off the curved edges of the wood. Next, set to 1/4" and start ripping the strips. Since I was dealing with some knotty wood, I ripped 16 even though I really only needed 12, so I could discard any that were about to break. Sand all your pieces to get rid of any saw marks and hard edges, unless you like that look. |
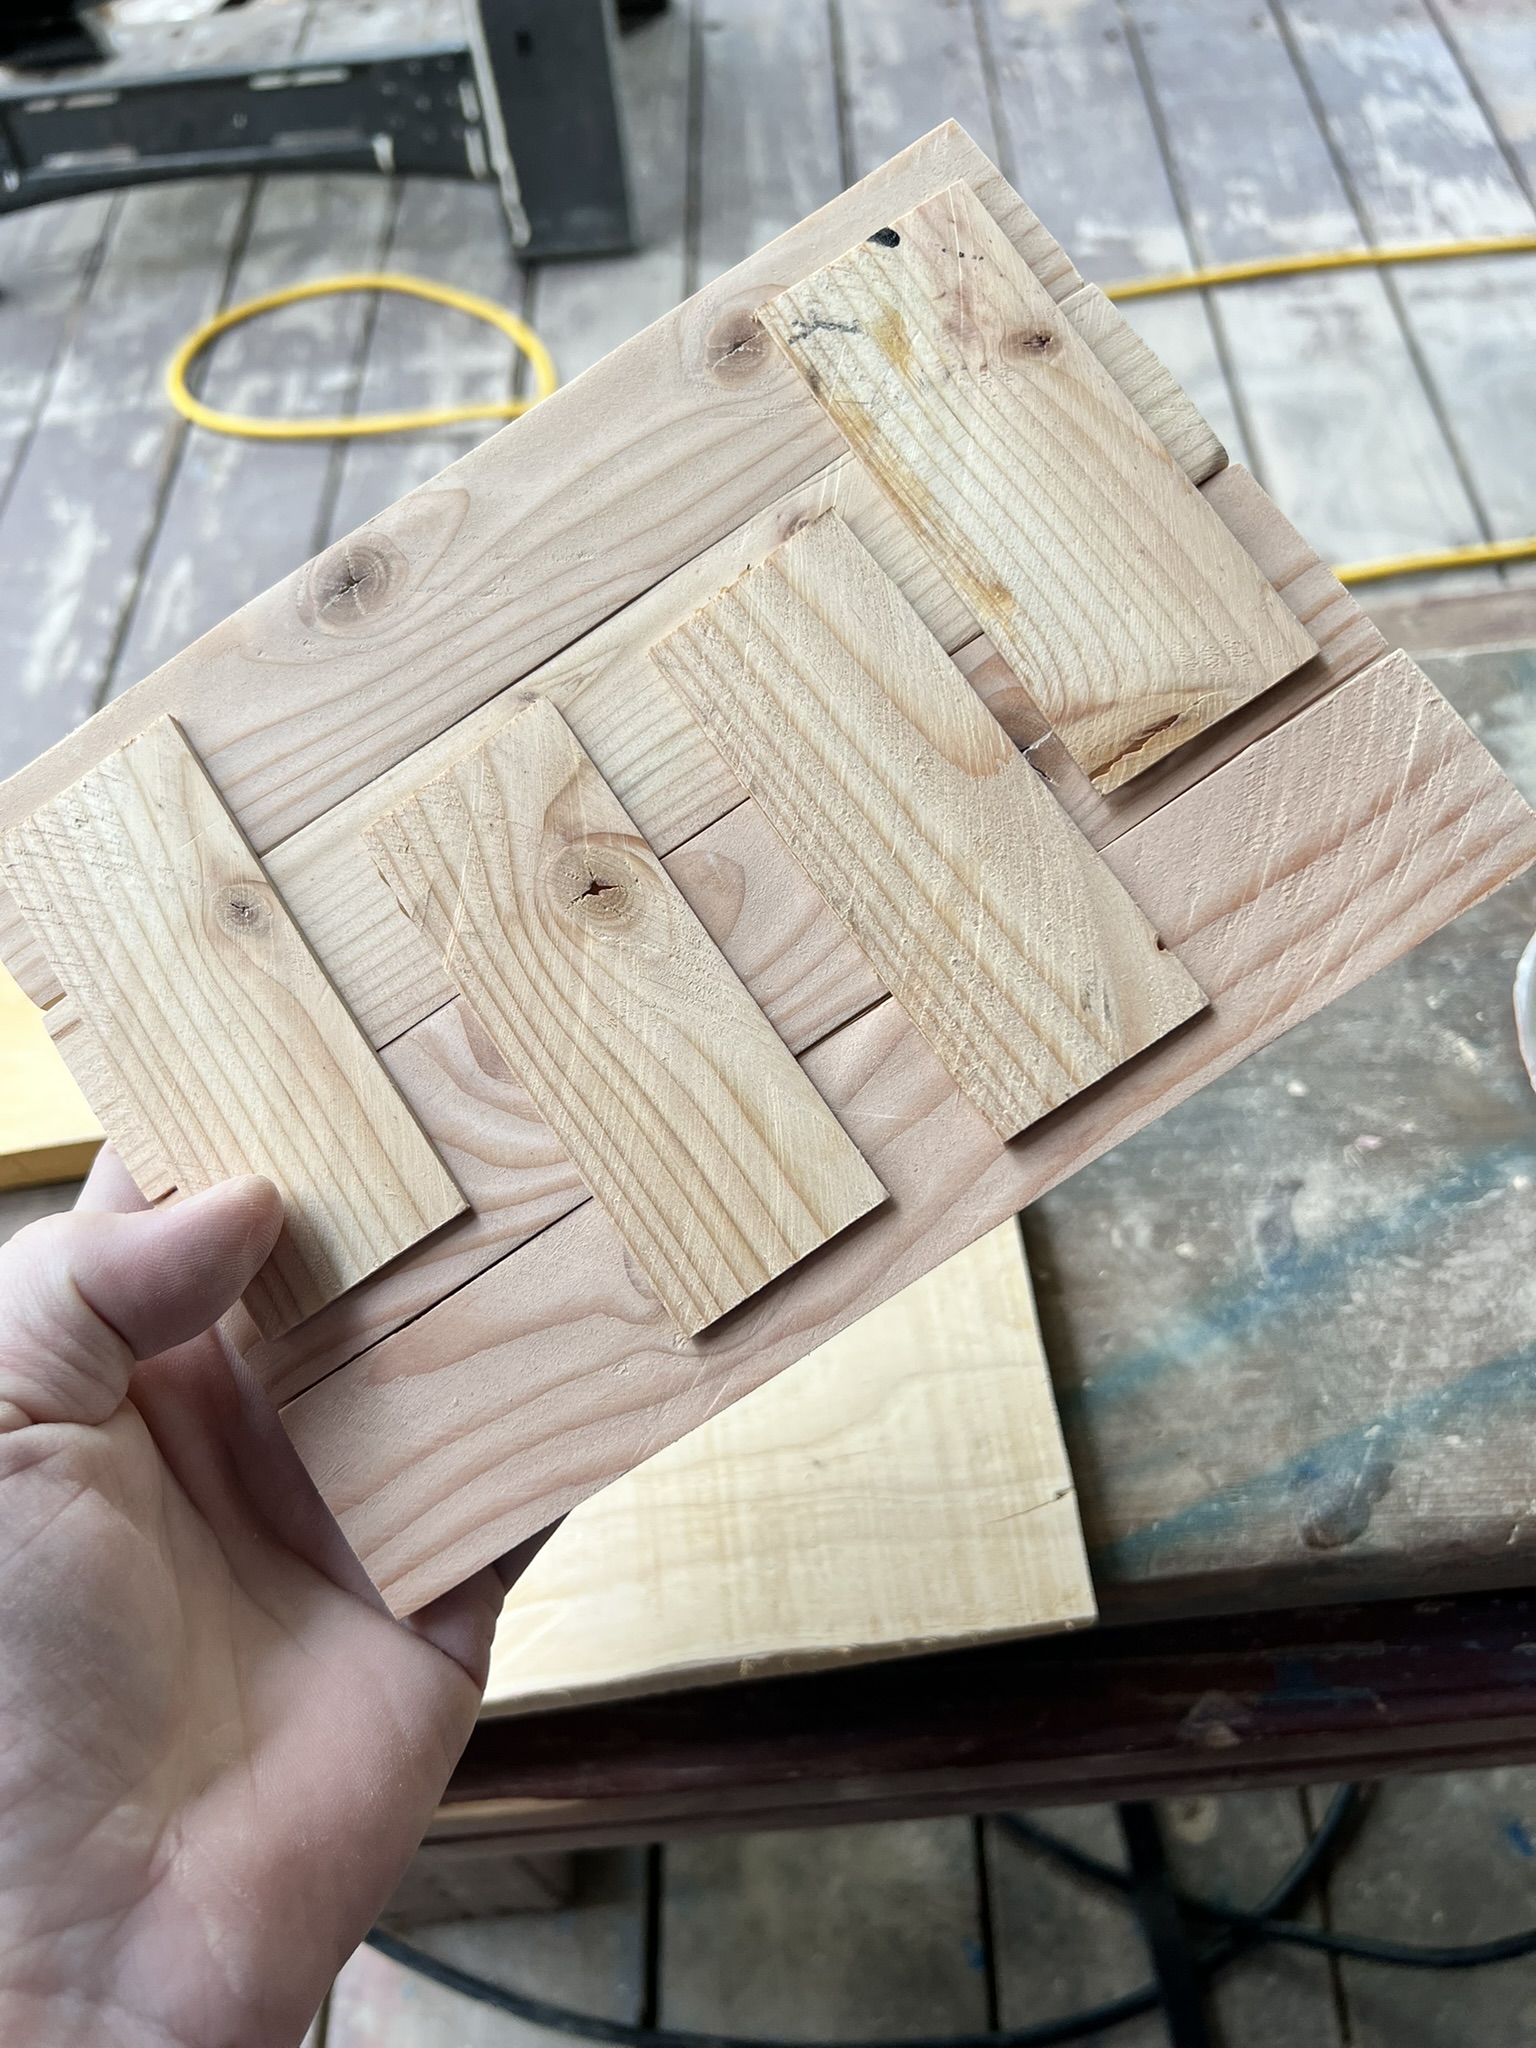
Next, set your saw as thin as you feel safe, and rip some more strips for both the backing, and the front holder part. You'll sand these more later so don't fret; doing this safely is more important than getting them super thin on first go. If your saw has a zero-clearance insert that really helps. A second person CAREFULLY collecing the strips as you saw them can also work, but seriously, if you're gonna lose a finger on this project, here is where it will happen. The strips shown here are sanded down and intended to be the front photo holder parts. | 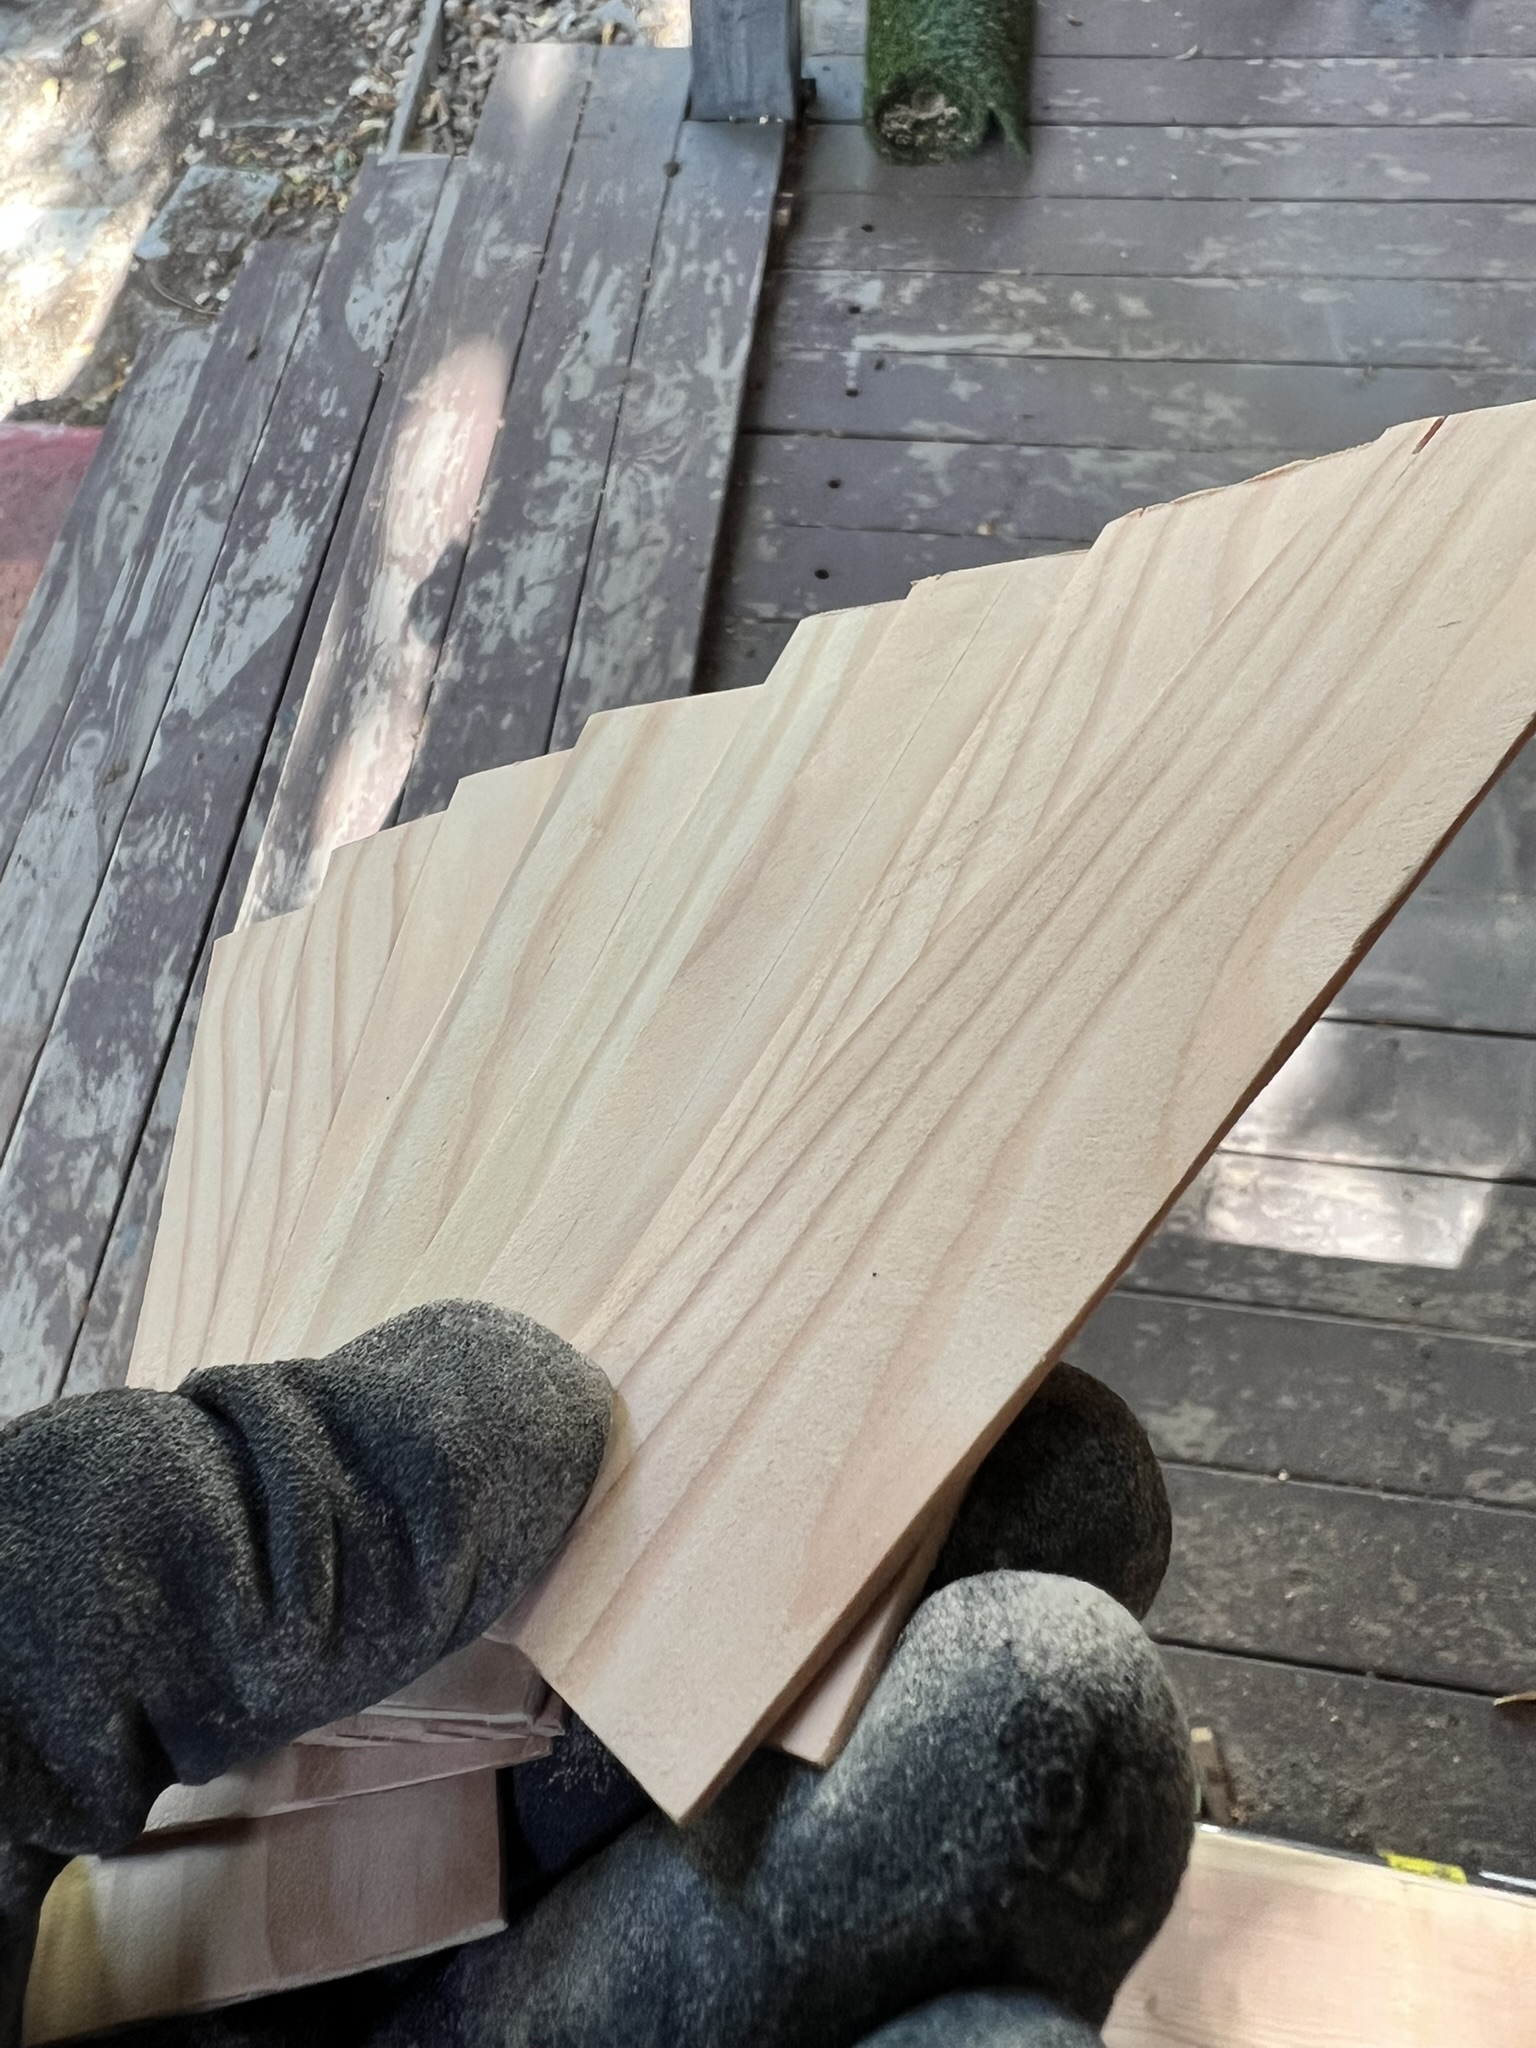 |
 | For your backing strips, you don't need them to be pretty. You also don't NEED four of them, I just oopsed and trimmed them a bit too short. Actually I'd recommend only using two backing strips that cover the whole thing, because clamping this was a pain in my ass. Glue it up, and leave em clamped for a few hours at least. I pulled the clamps after 4-6 hours then set the panel aside so the glue could cure fully. |
| The front will look more or less like this by now. | 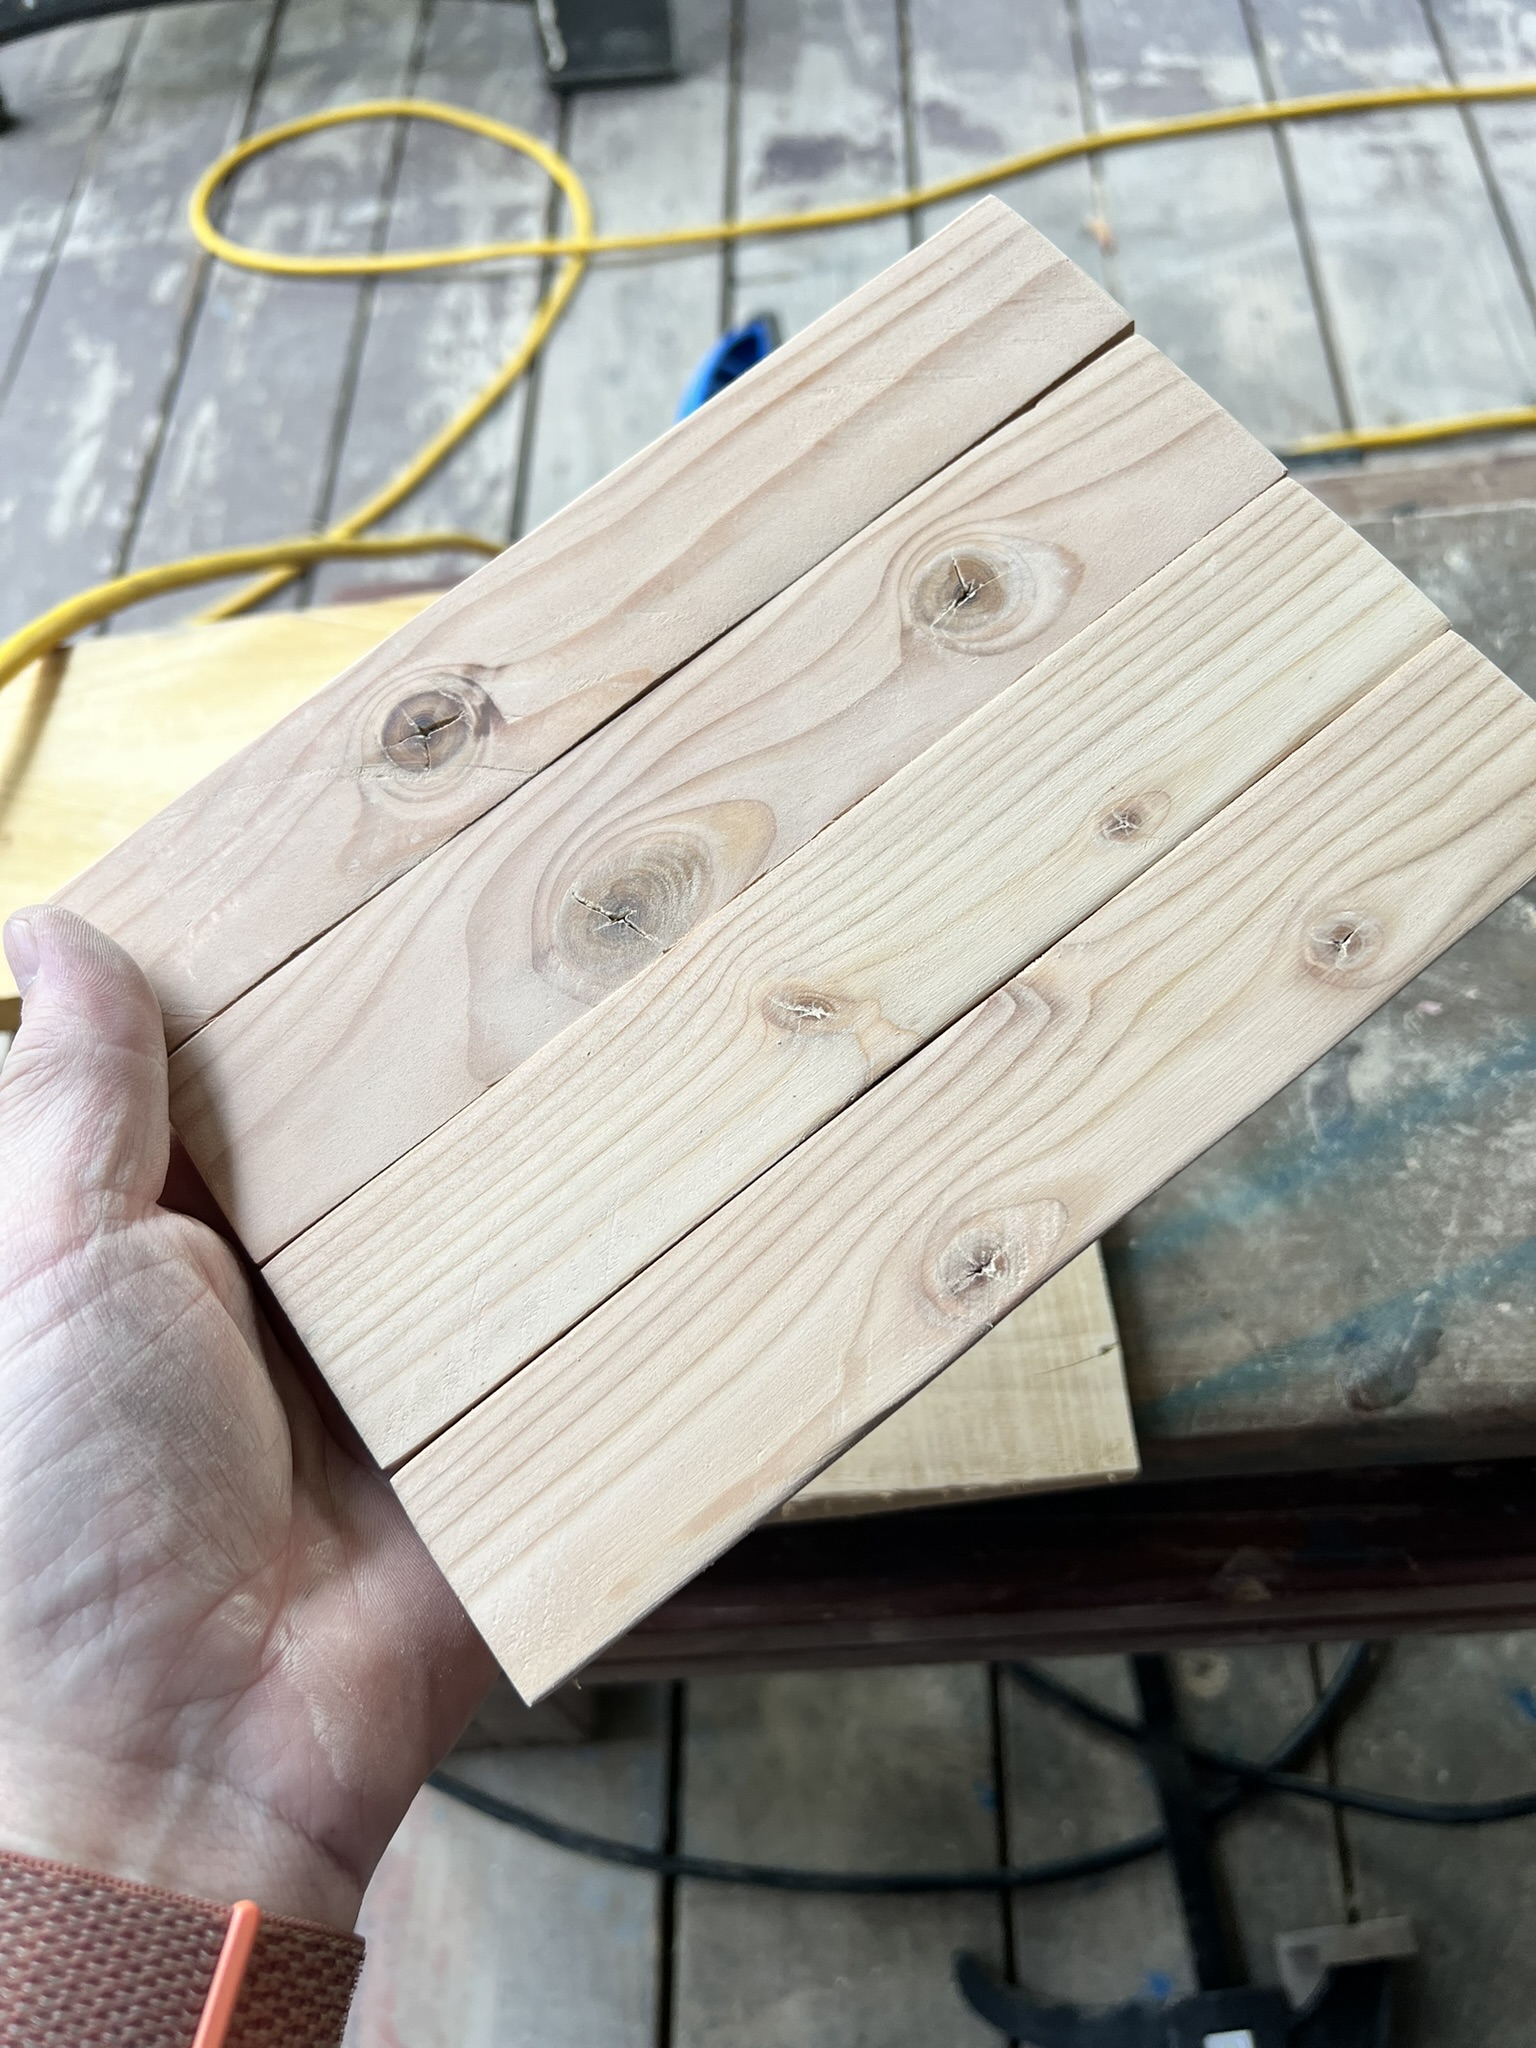 |
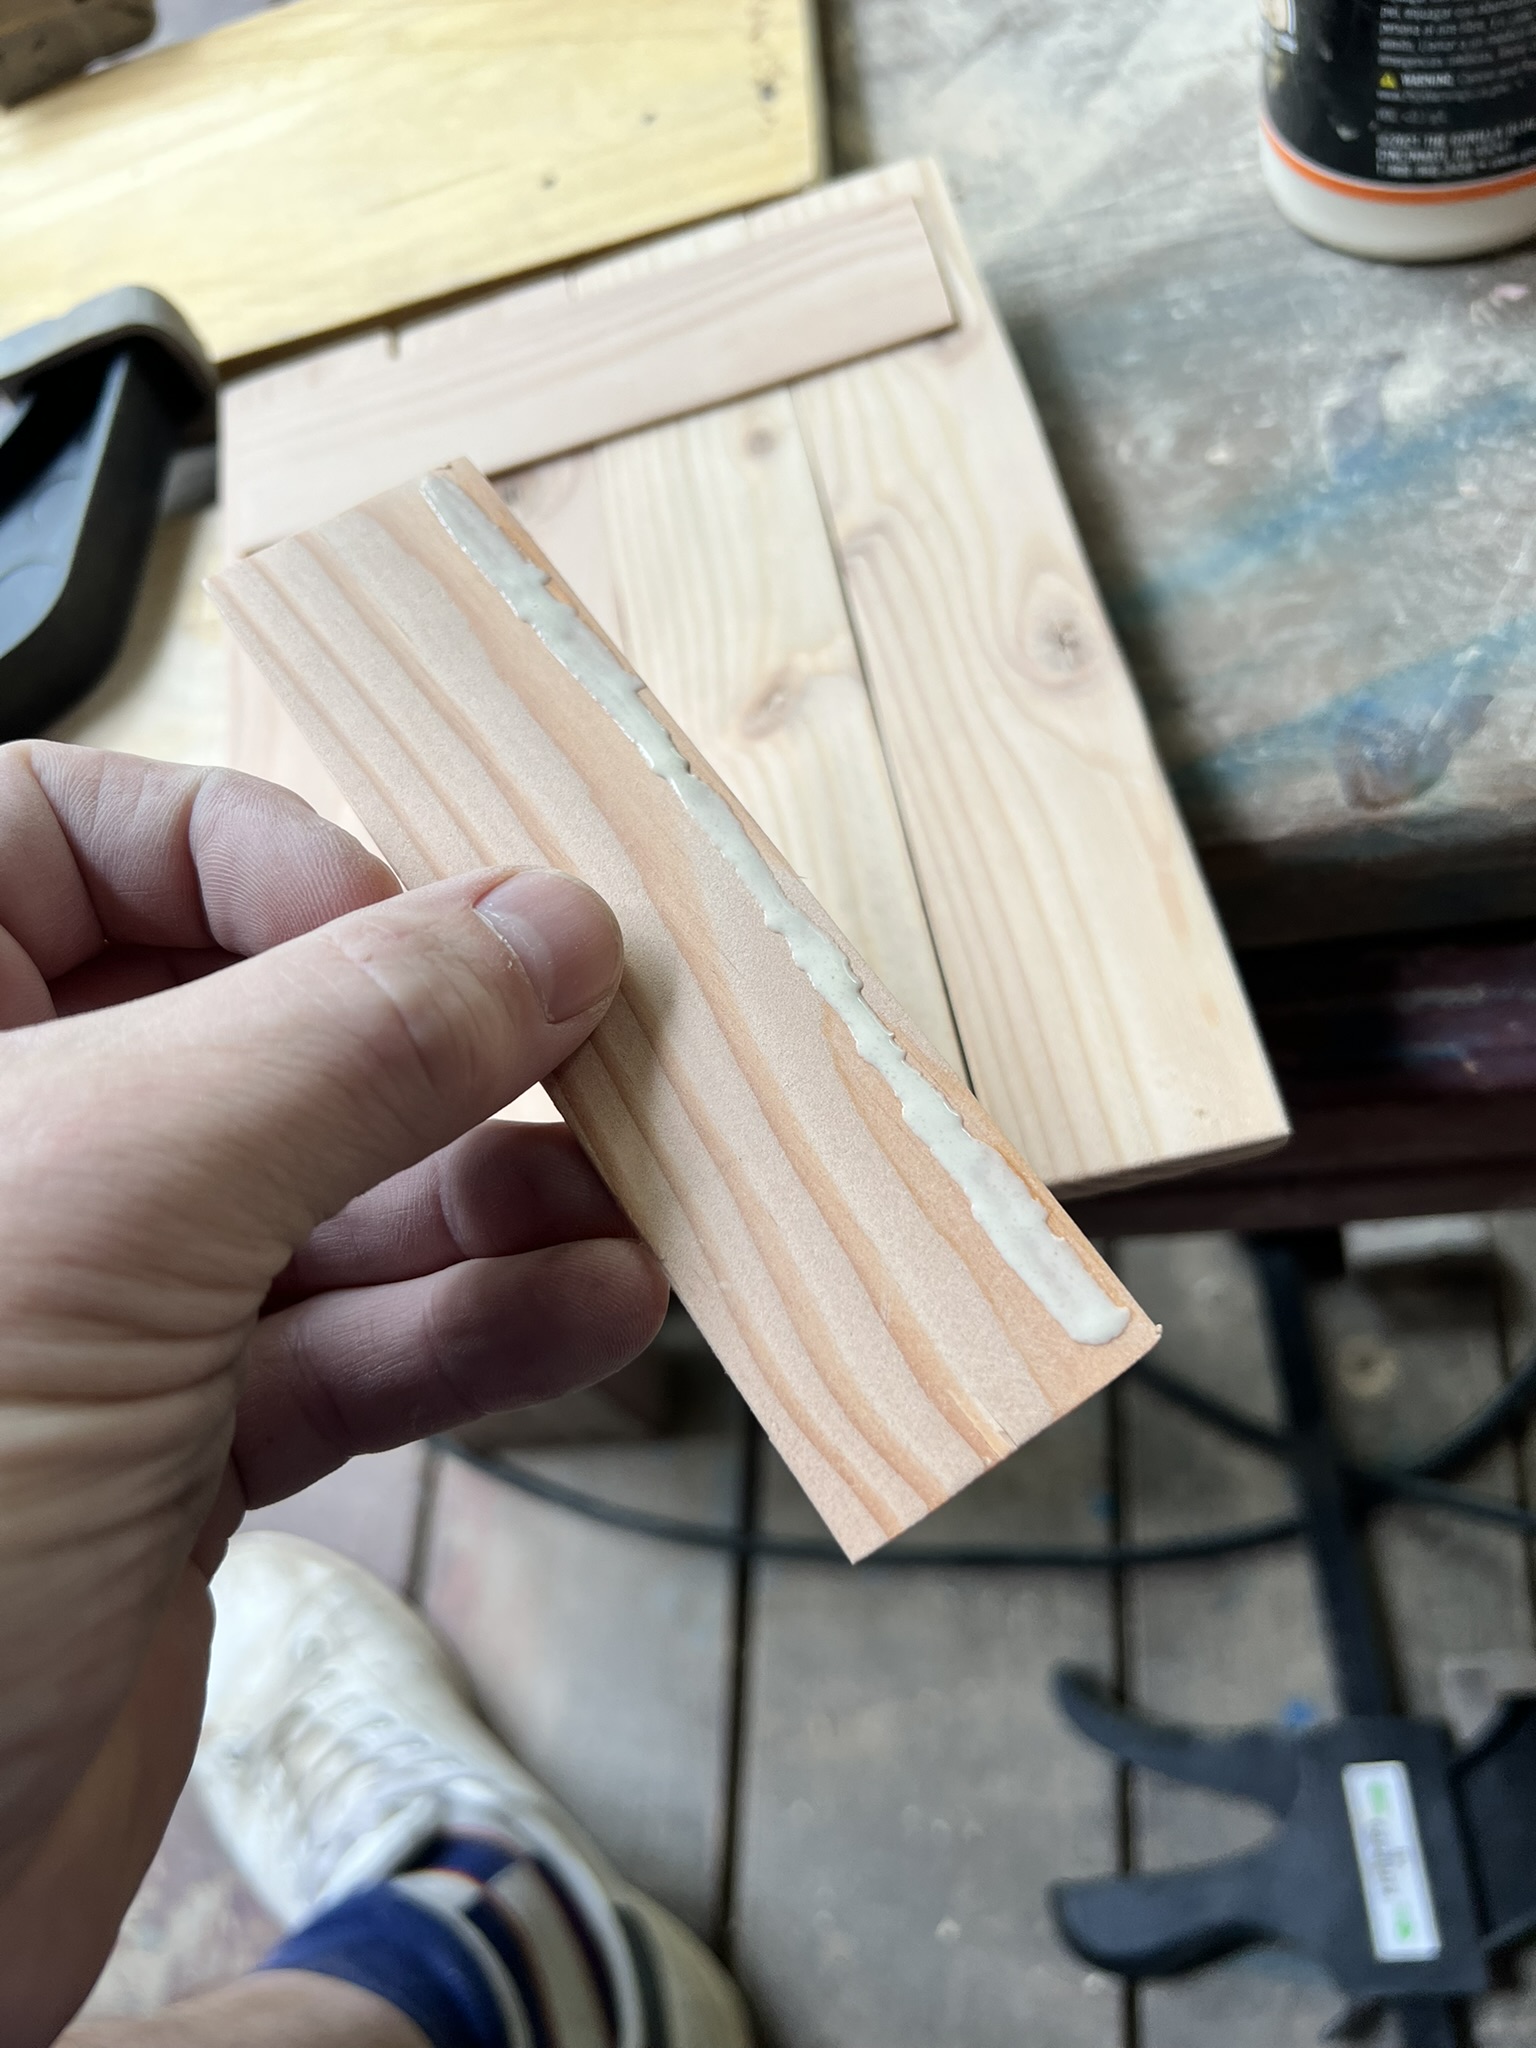 | Now take your front slats and carefully apply glue to the far edge. Glue these to the front, with the glue on the far outside edge. If you're super careful, you can even sand these into somewhat of a wedge, with the glue side being thicker. This makes it easier to slide a photo in once the whole thing is done. This will make more sense when you see the finished project. |
Clamp it all up, making sure the front slat is making good contact with all four of the main pieces. I also added a small bit of scrap at the bottom to help hold the photos, but in hindsight this wasn't actually necessary. As this piece is front-facing, it's been sanded thoroughly. | 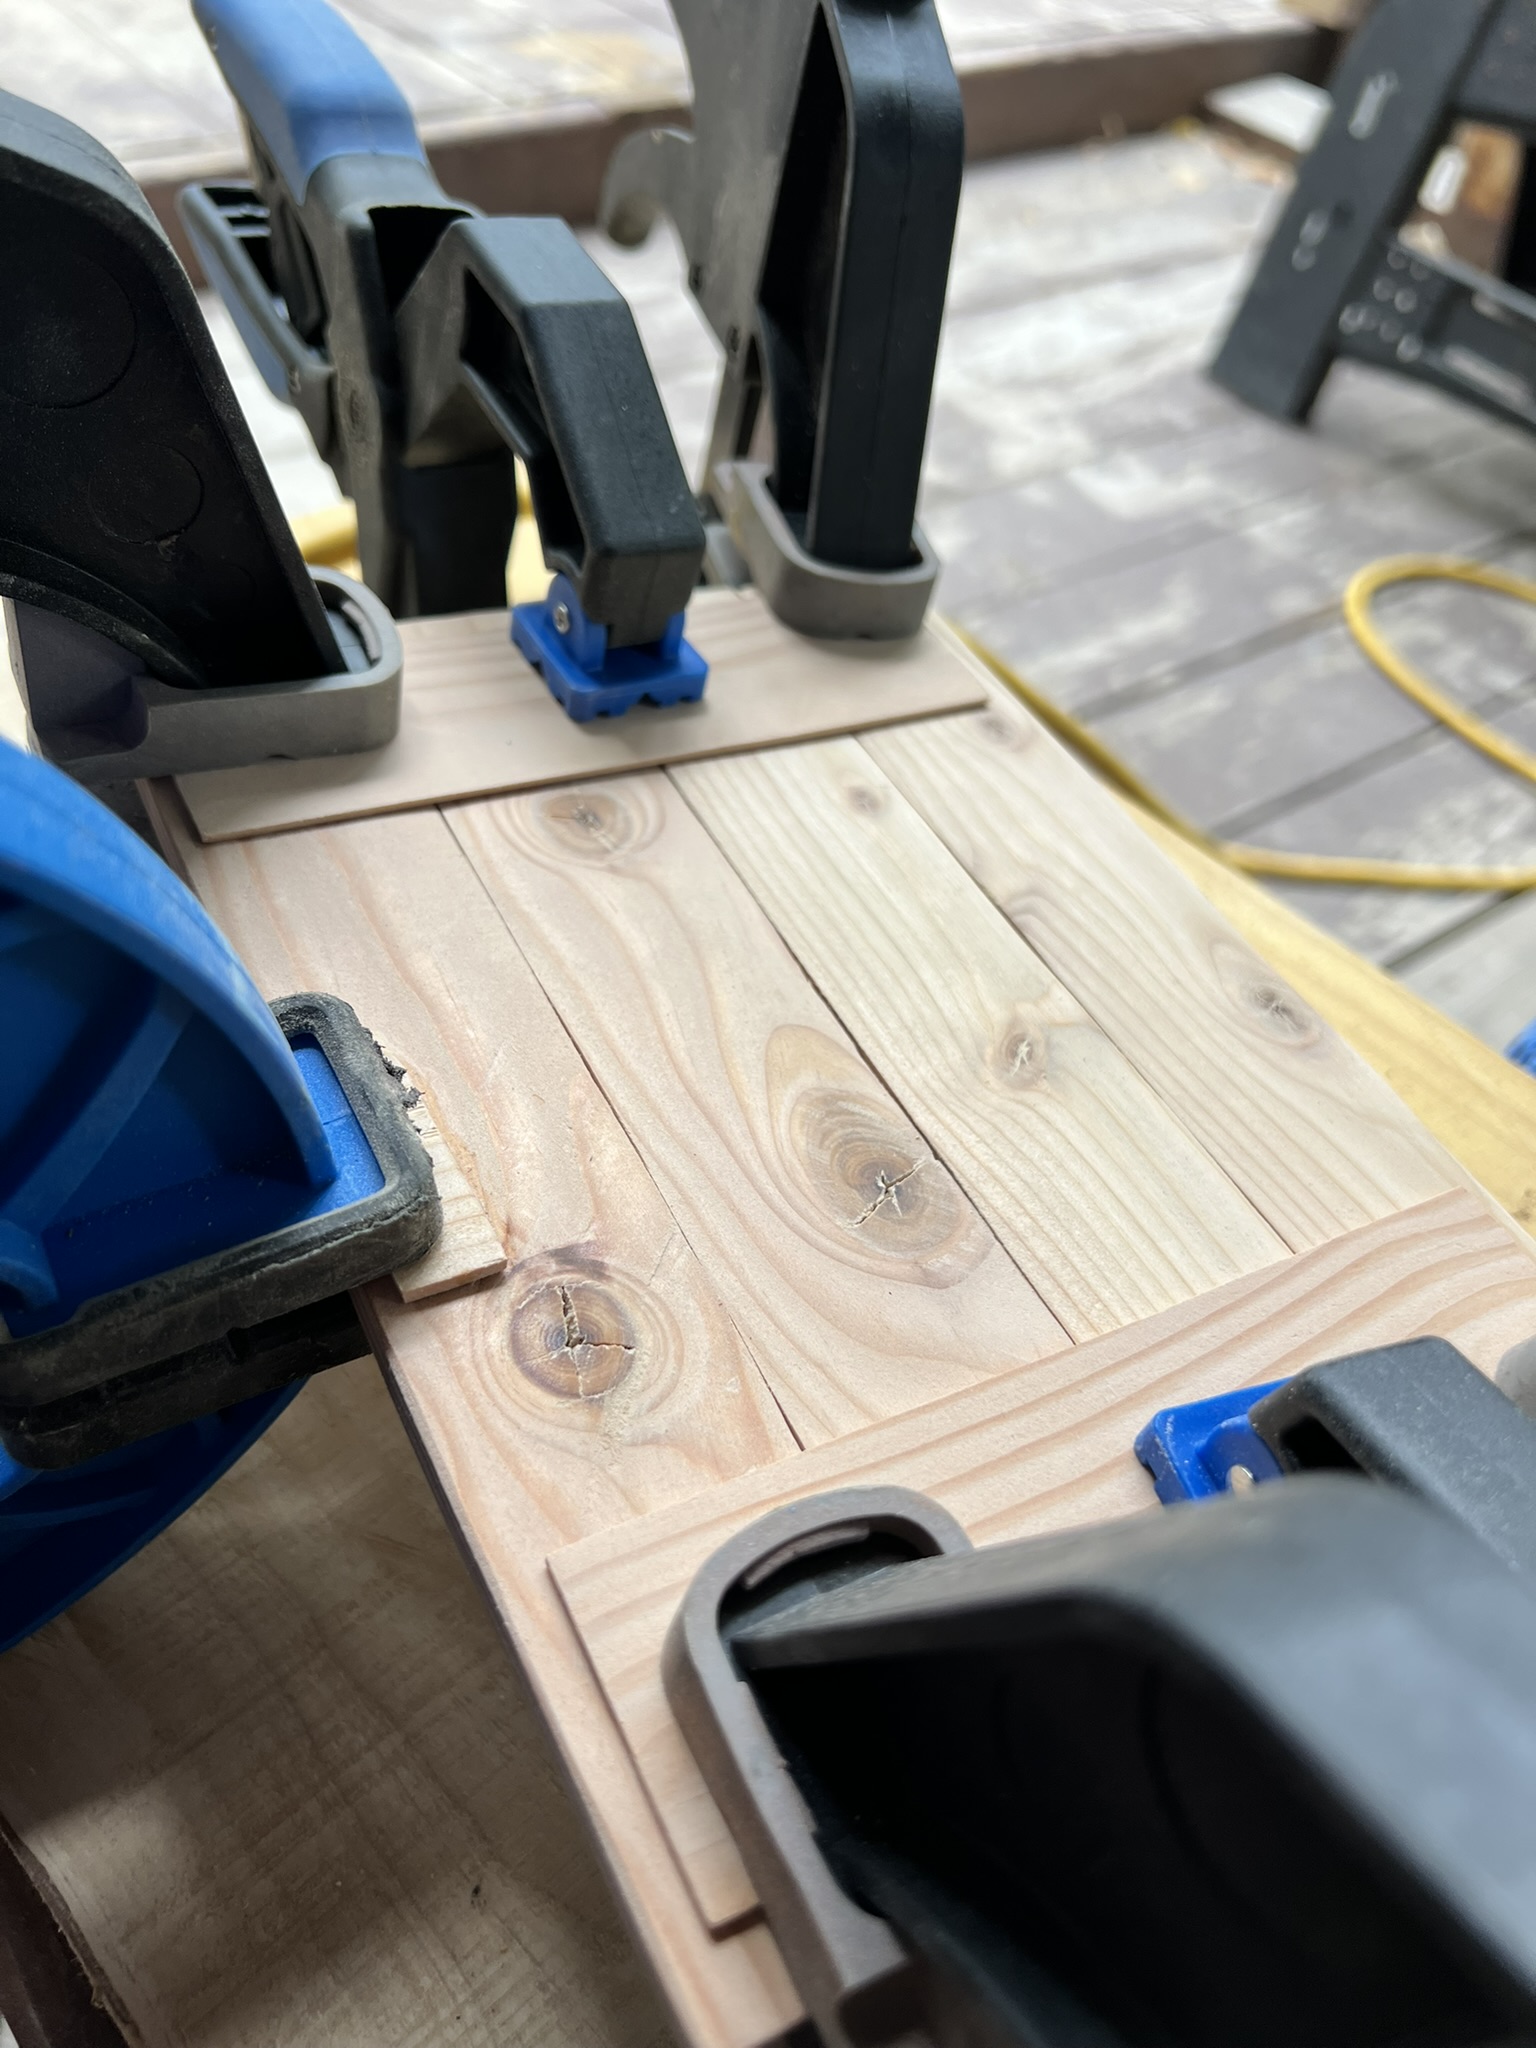 |
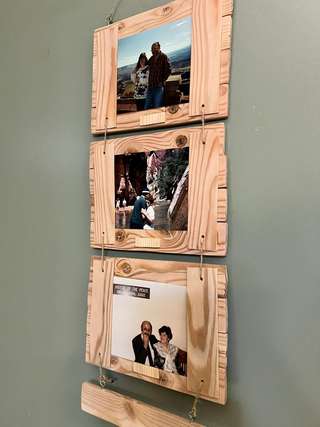
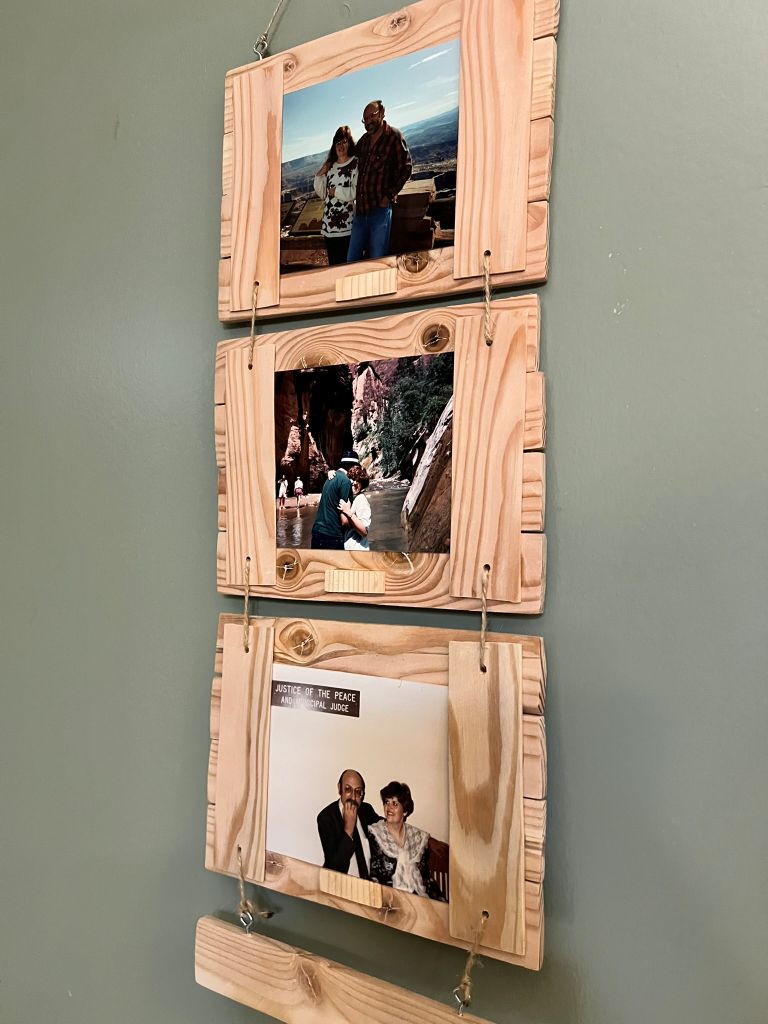
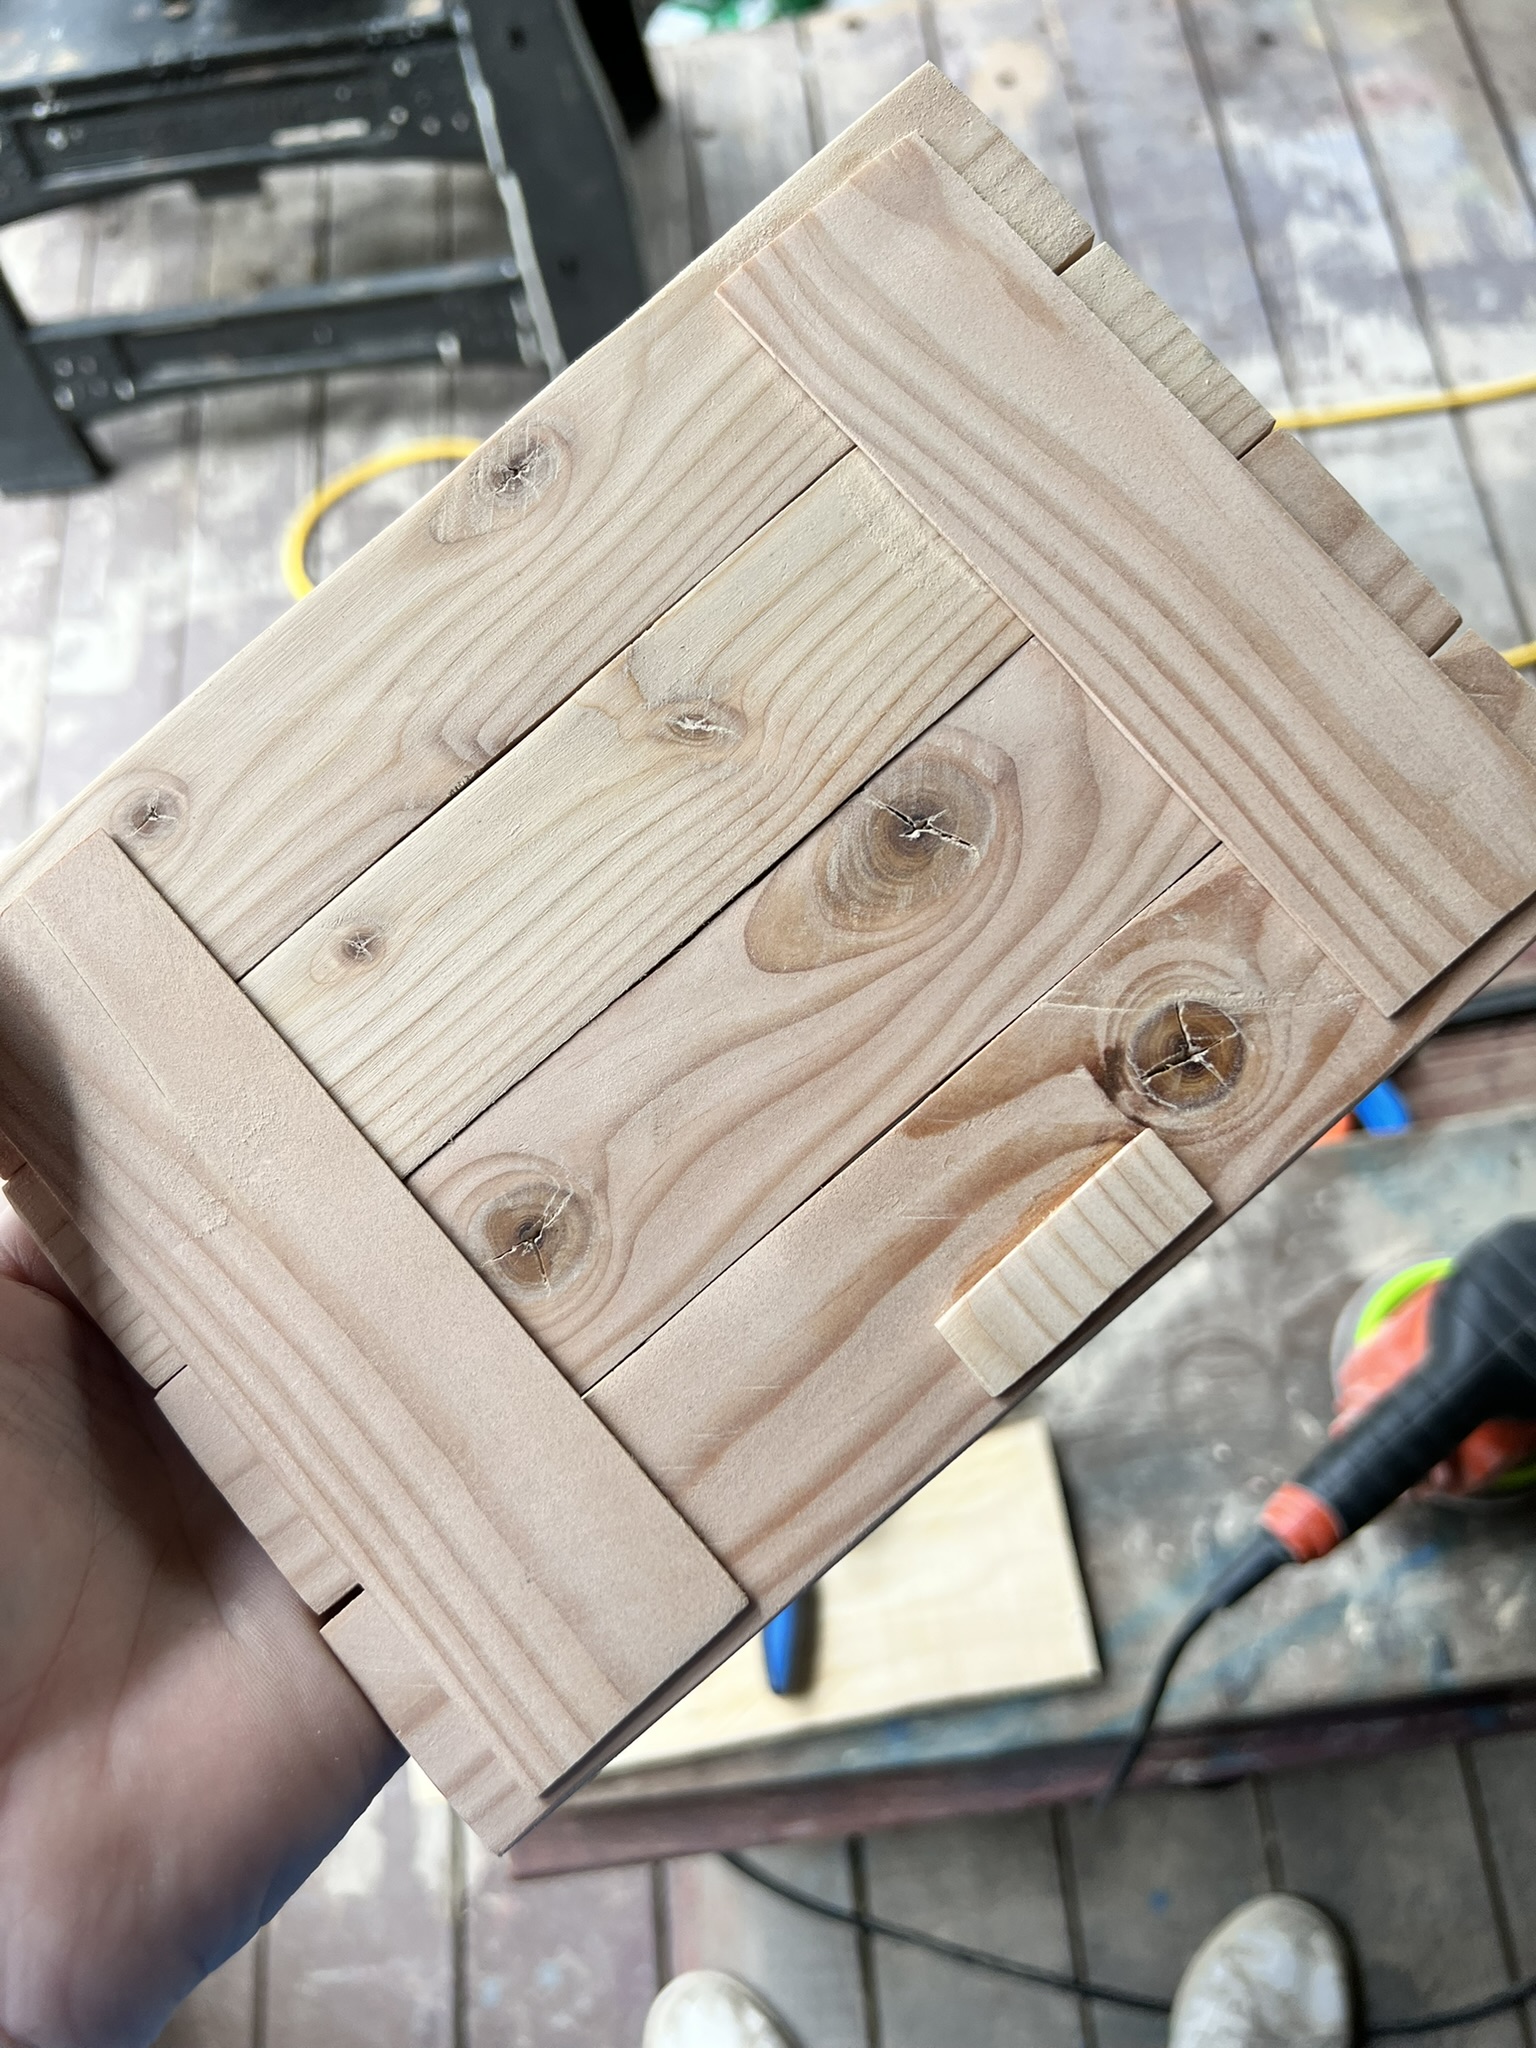 | By now you should be lookin mostly like this. |
Ok, this part is a little frustrating, but carefully screw in some eyelets on your top frame. Once you get them started they screw in easily, but starting them was a bit of a pain. I probably should have grabbed a tiny drill bit, but I was bein lazy. Grab some hemp string or something, and make a hanger loop. Technically you can stop here, and do the eyelet thing with all of your fames, or continue on to make it a double/triple/whatever frame. | 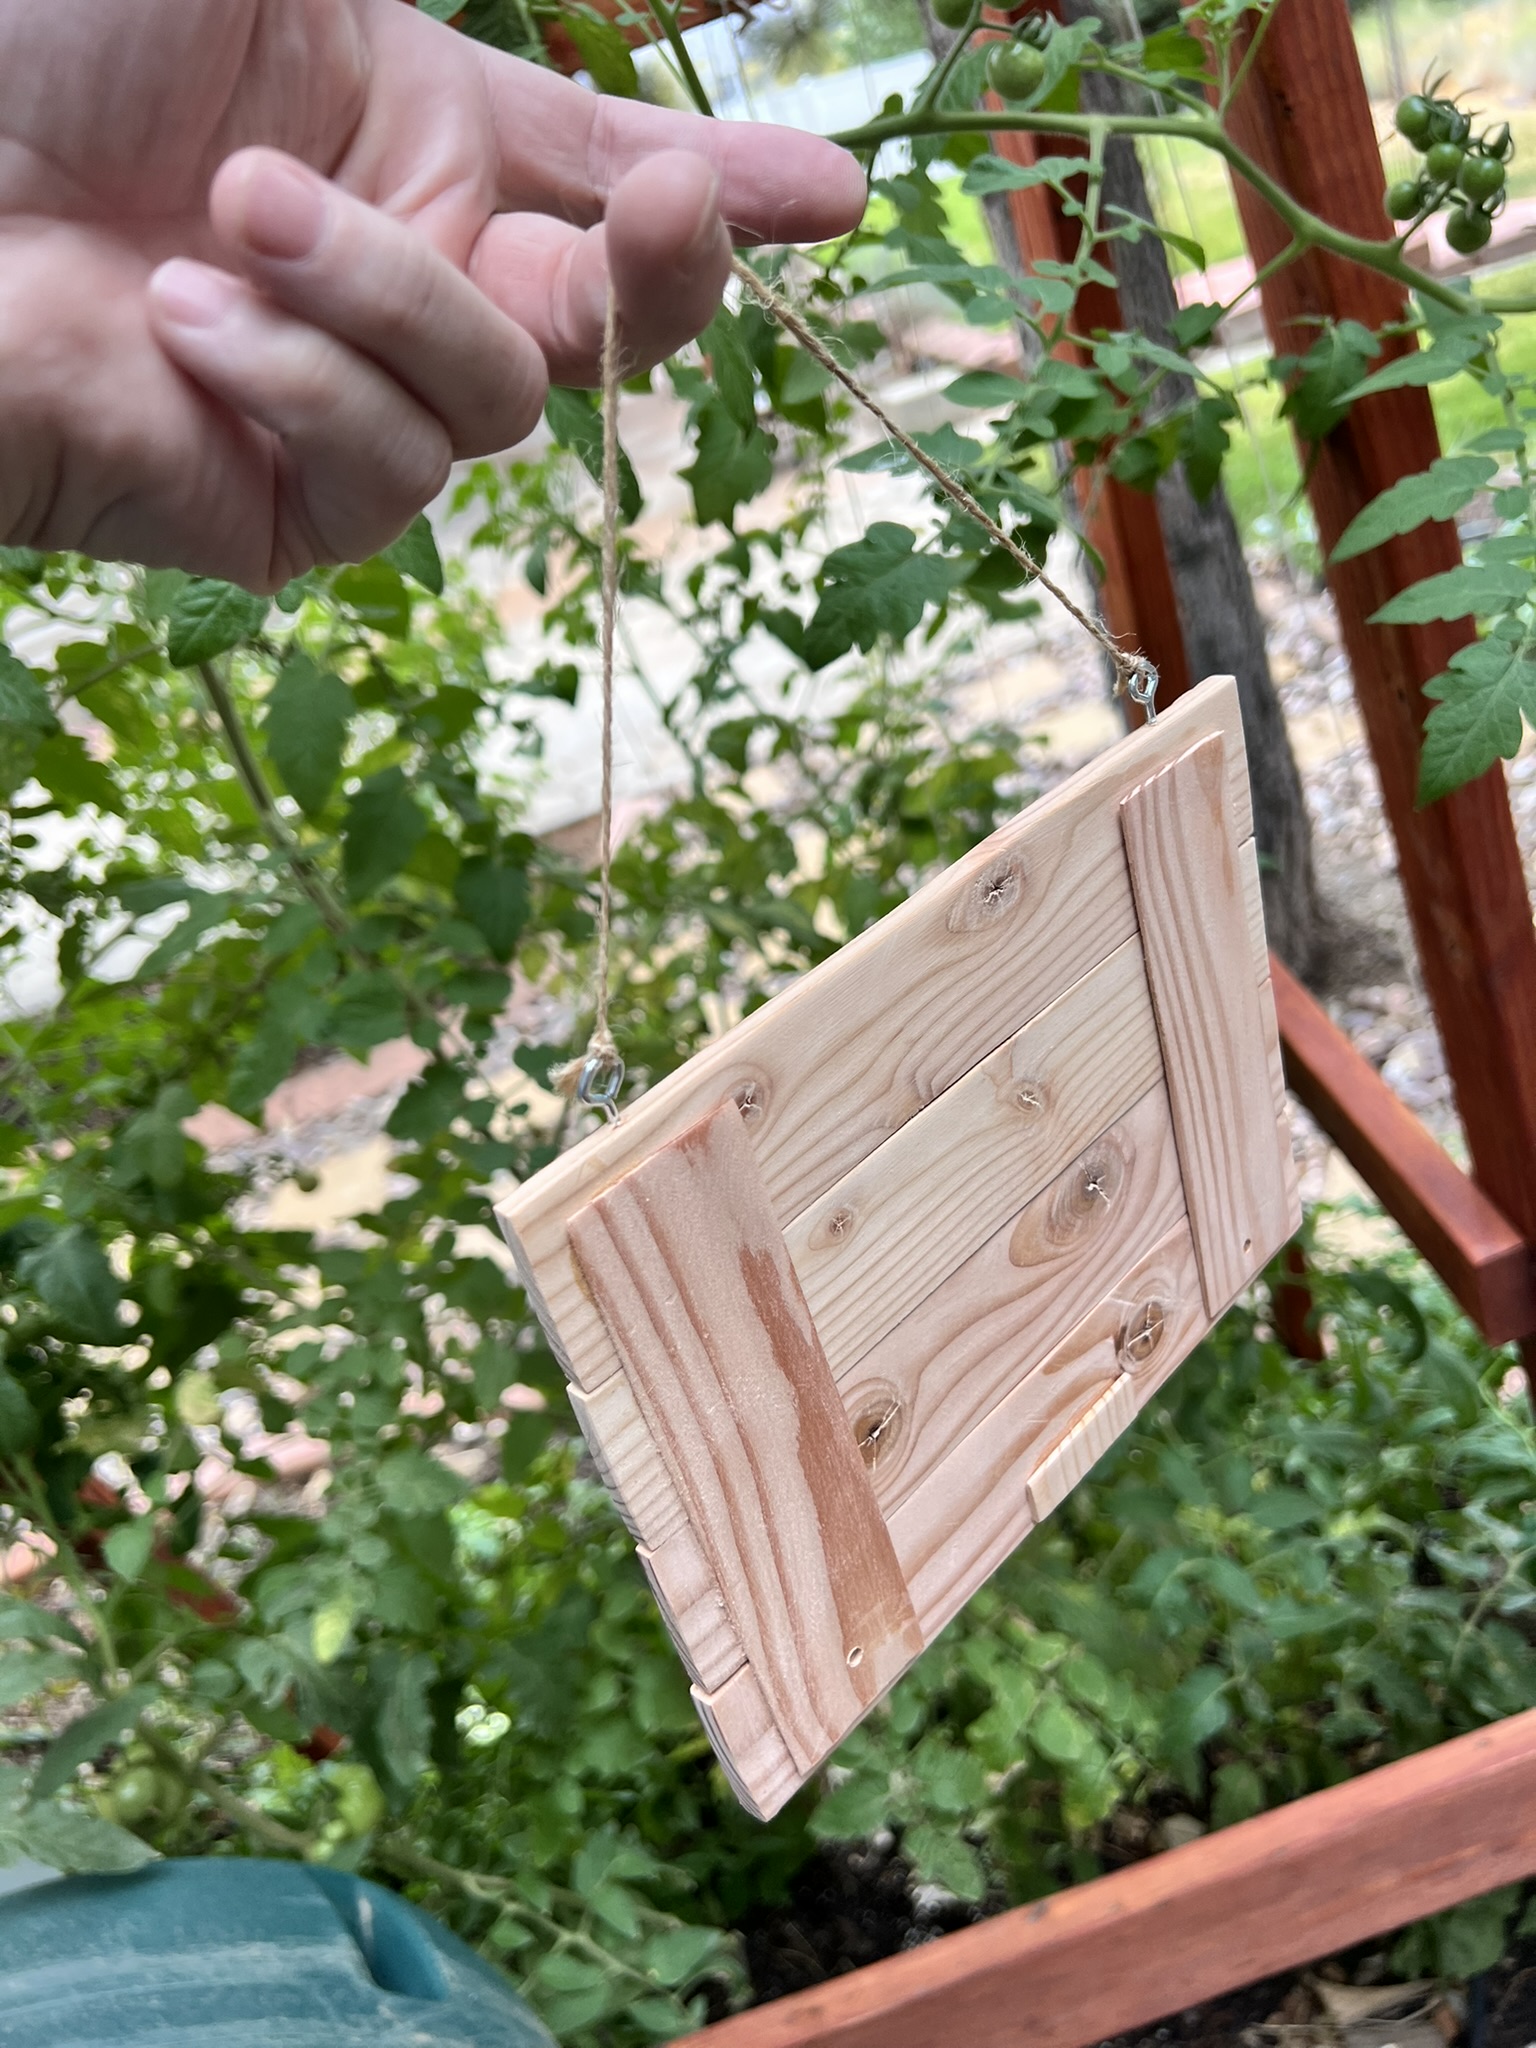 |
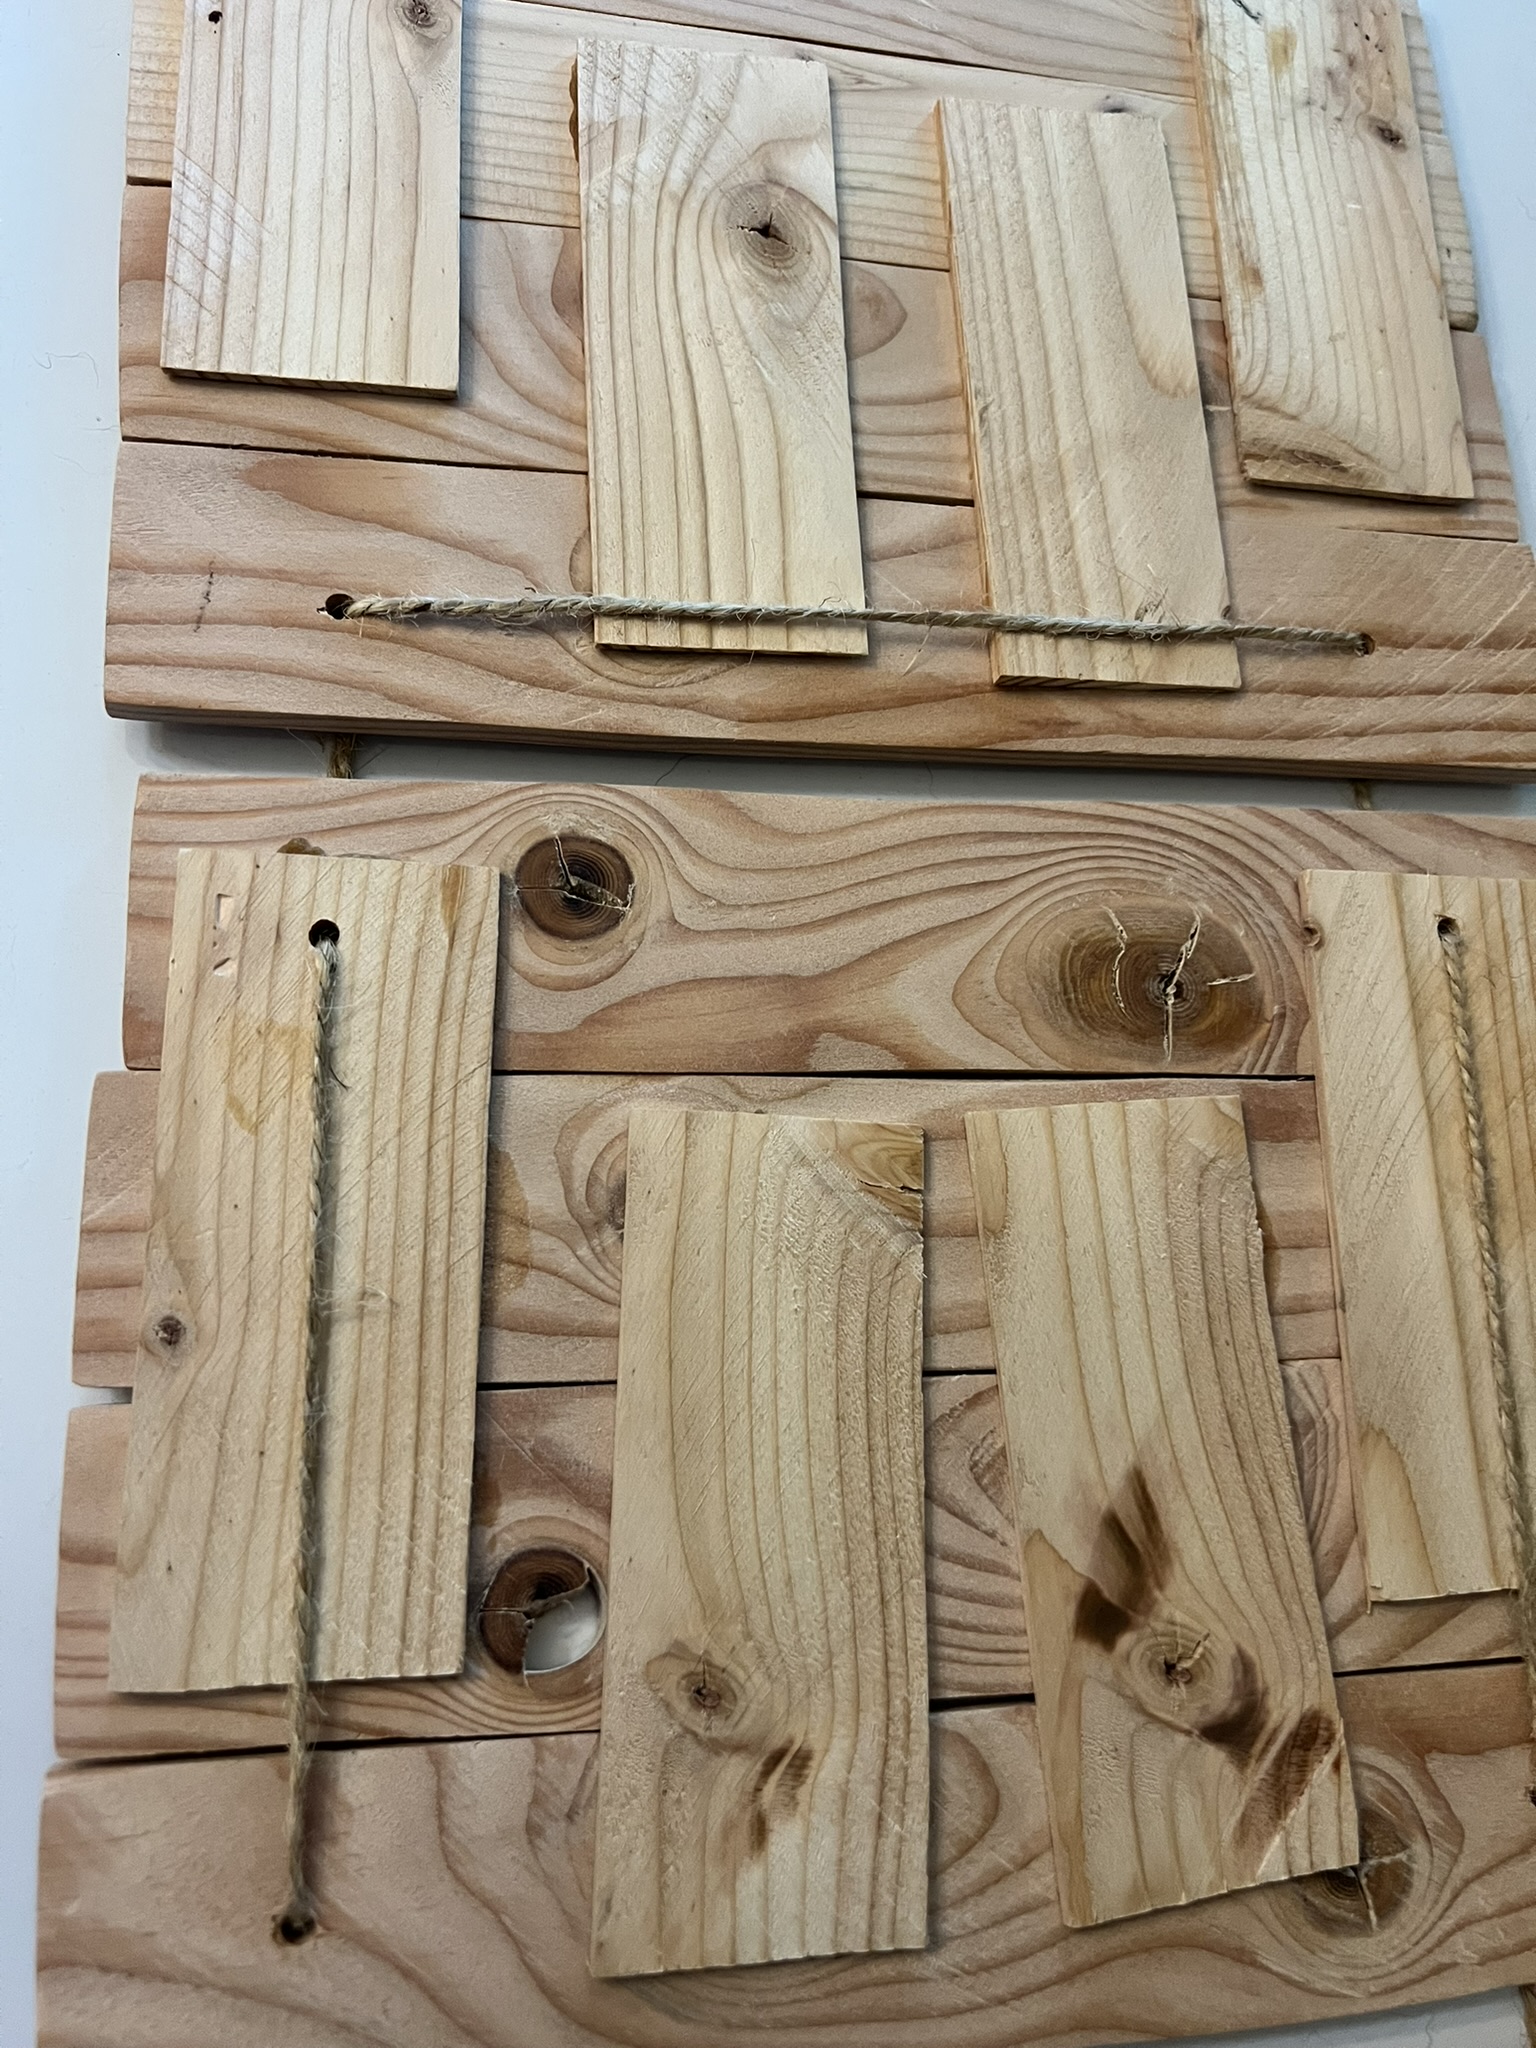 | Carefully drill holes in the bottom of your top panel, all four corners of any middle panels, and the top corners of the bottom panel. Tip: drill from the front, but firmly press a piece of scrap wood over your spot and drill through the whole thing. This will help keep the photo-holding part from splitting, as it's super thin. Next run a piece of string through the holes, using enough string to hold all of your panels together. |
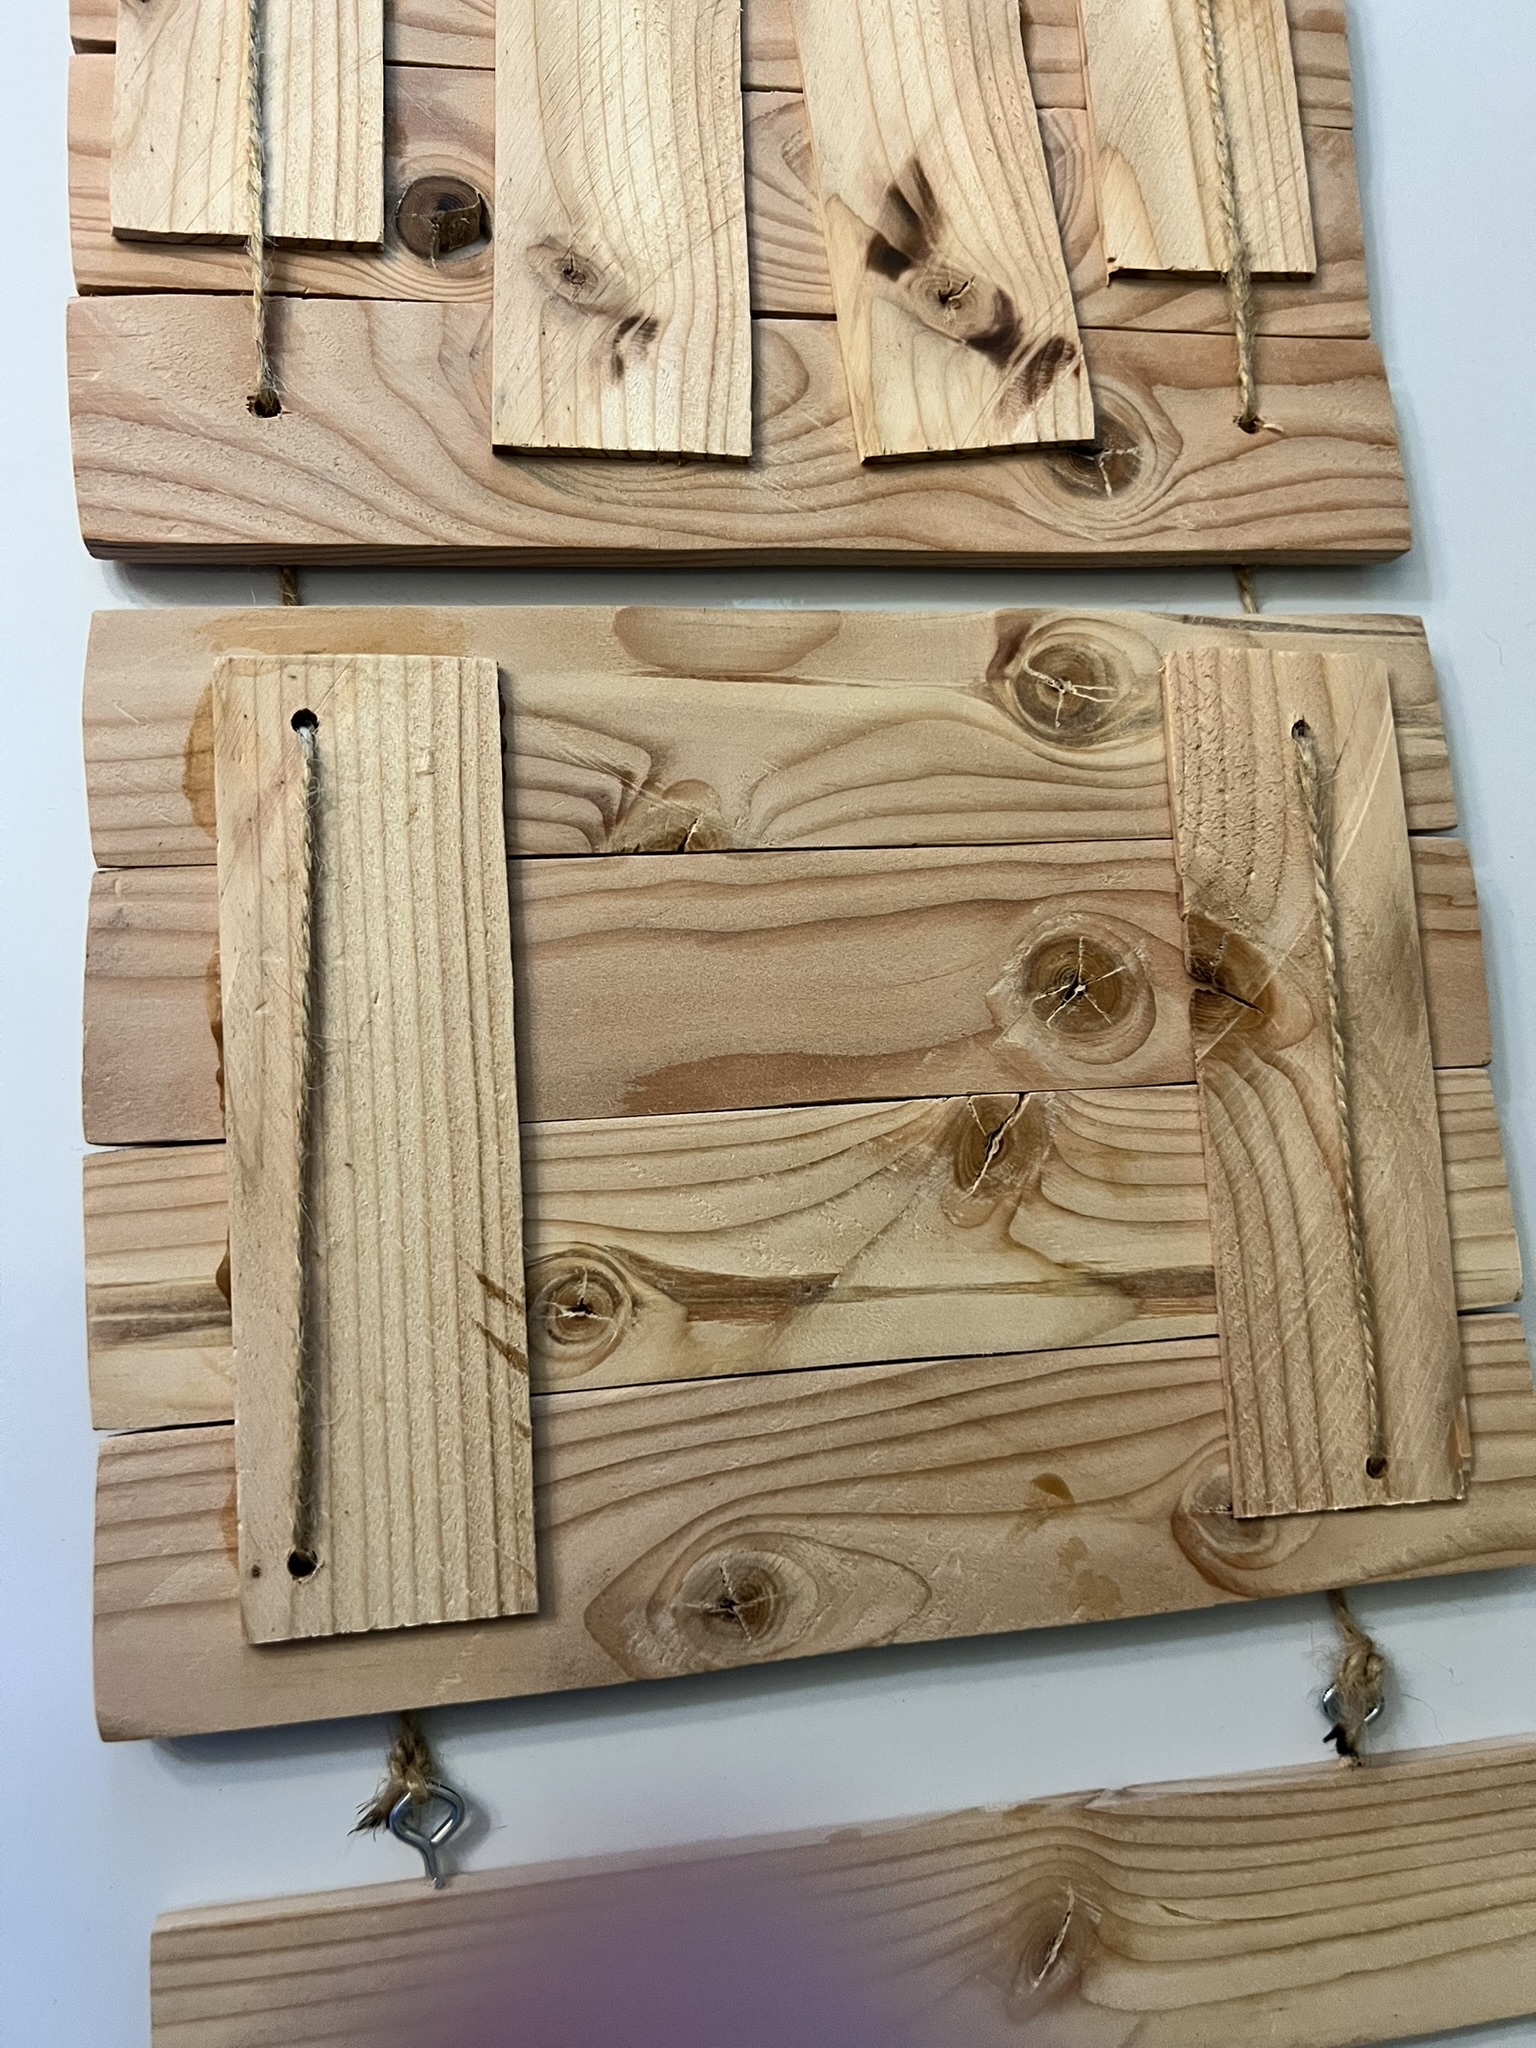 | Note that this is a single piece of string, with the ends tying off on some eyelets on an optional bottom, single-strip pane. I also had a giant brainfart and didn't line my eyelet up with the drillholes; might fix that later. The bottom slat is optional, this one will eventually have something like "Best Friend" etched onto it. That was what was written on the original frame that disappeared months ago, so I figured it'd be fitting. You could easily just tie off the string behind the bottom panel if you want. You can also see here how using two longer back-strips makes for an easier/cleaner panel. |
I'm also thinking since the little bit at the bottom of each panel isn't really necessary to hold the photos, I might etch the year each photo was taken. This one was 1990 which might explain whatever that is mum is wearing. 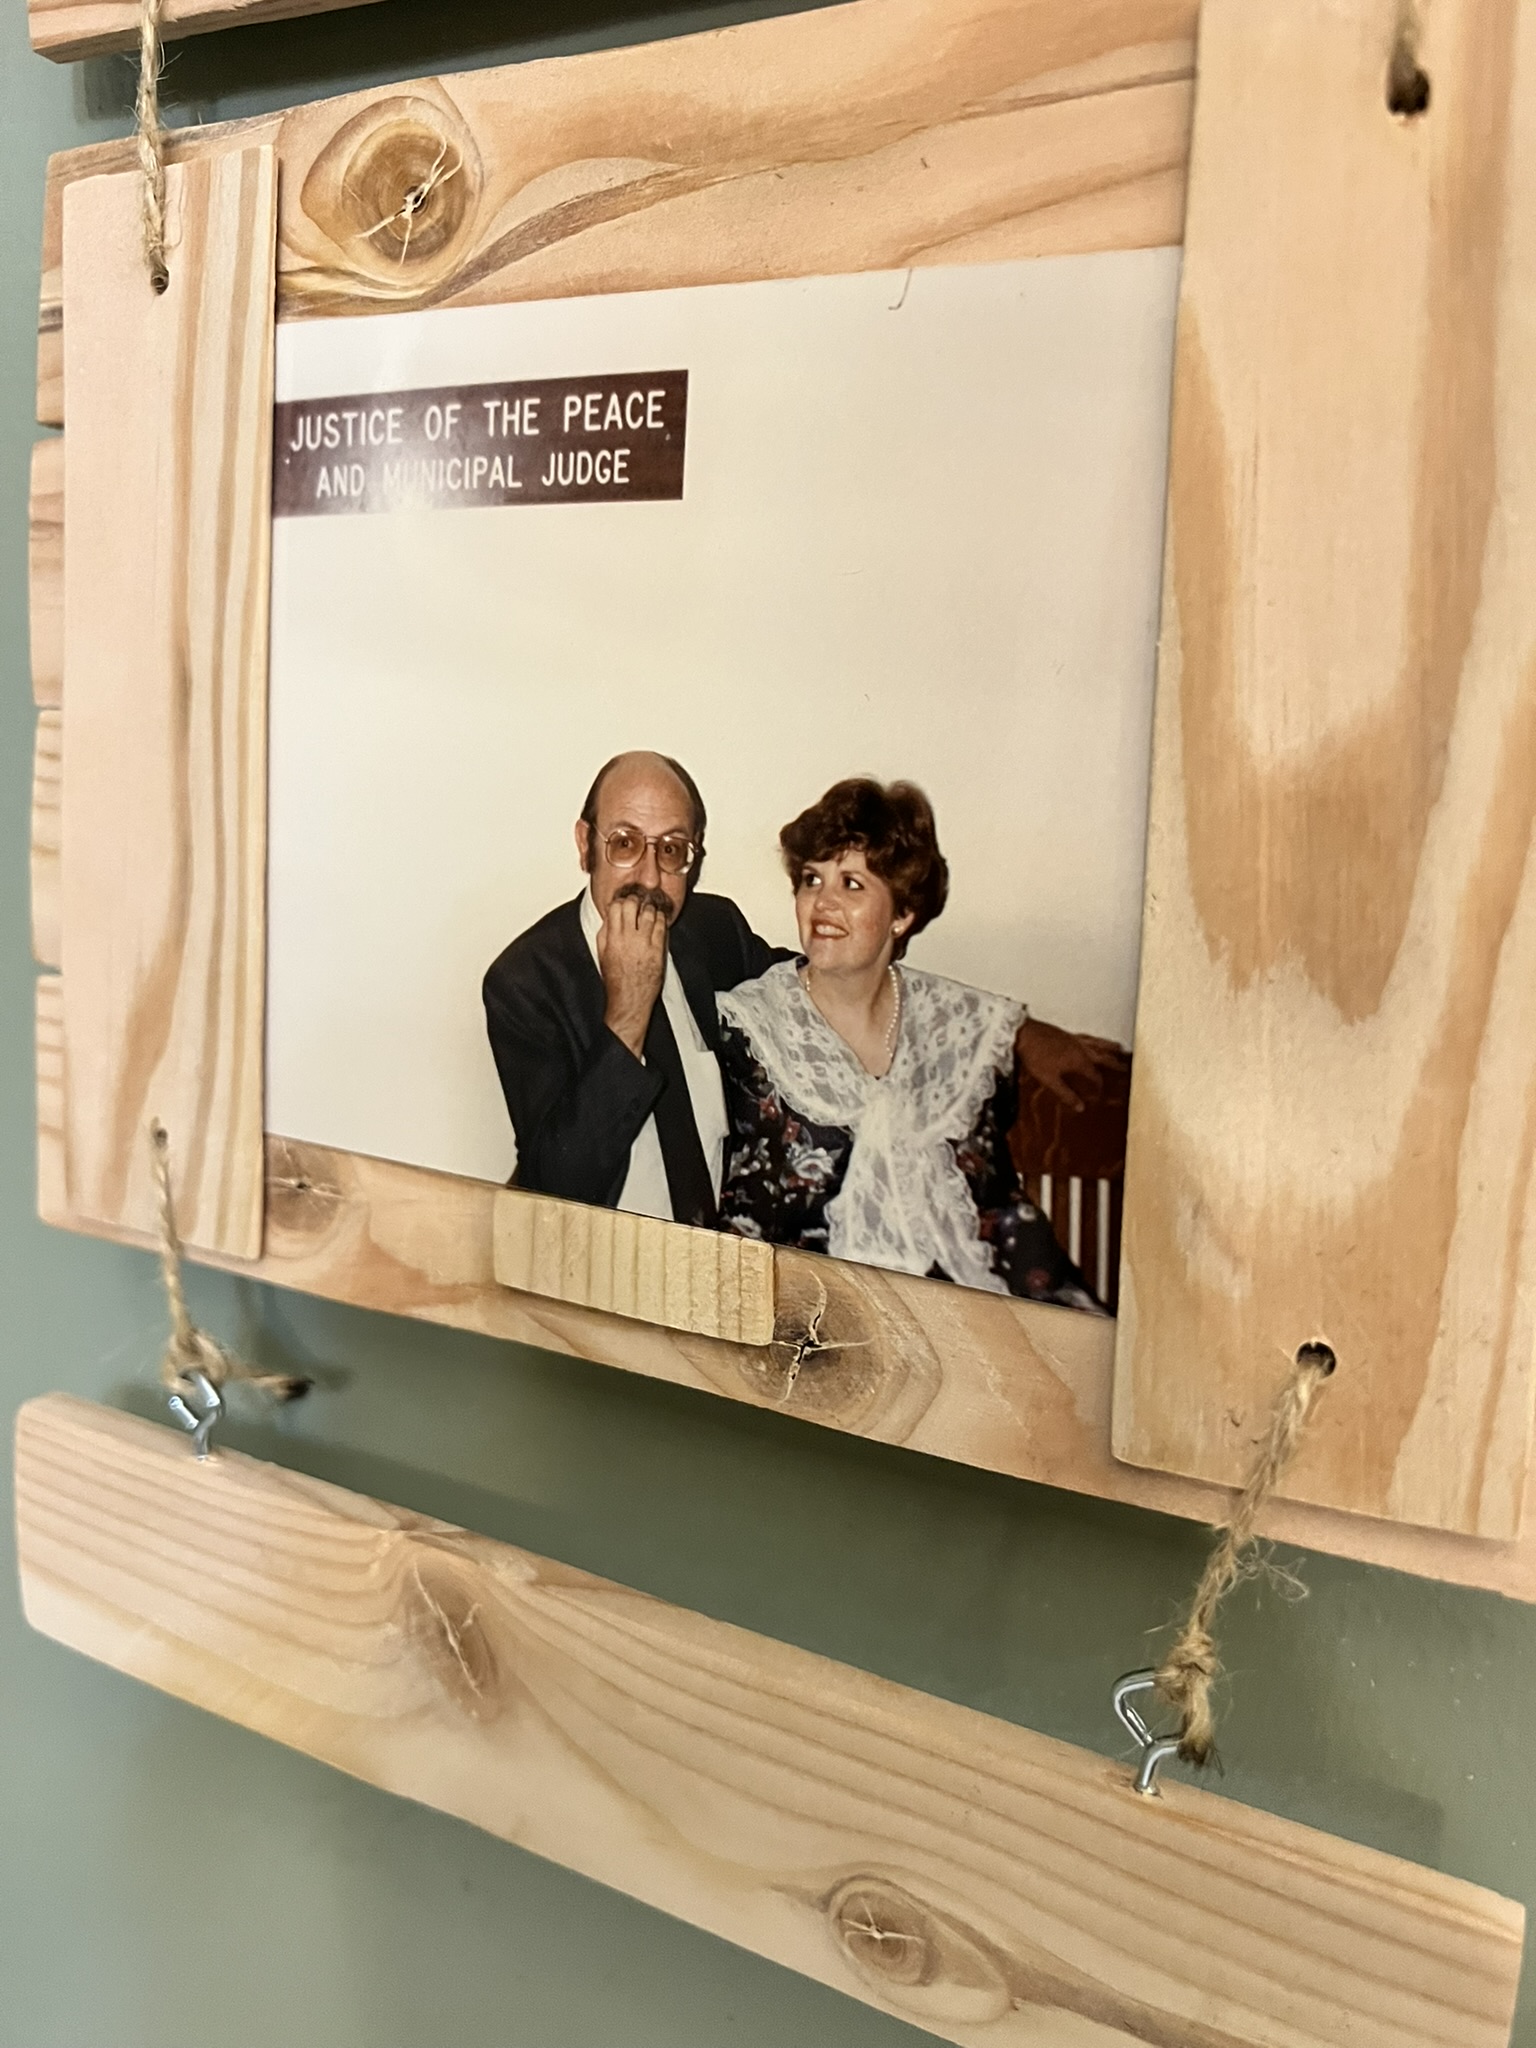 And that's it, you're done! | |