makeStuff: A Simple Cutting Board

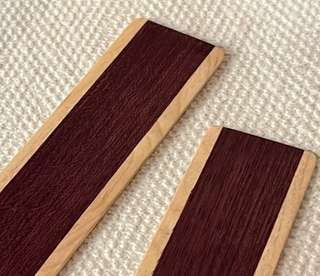
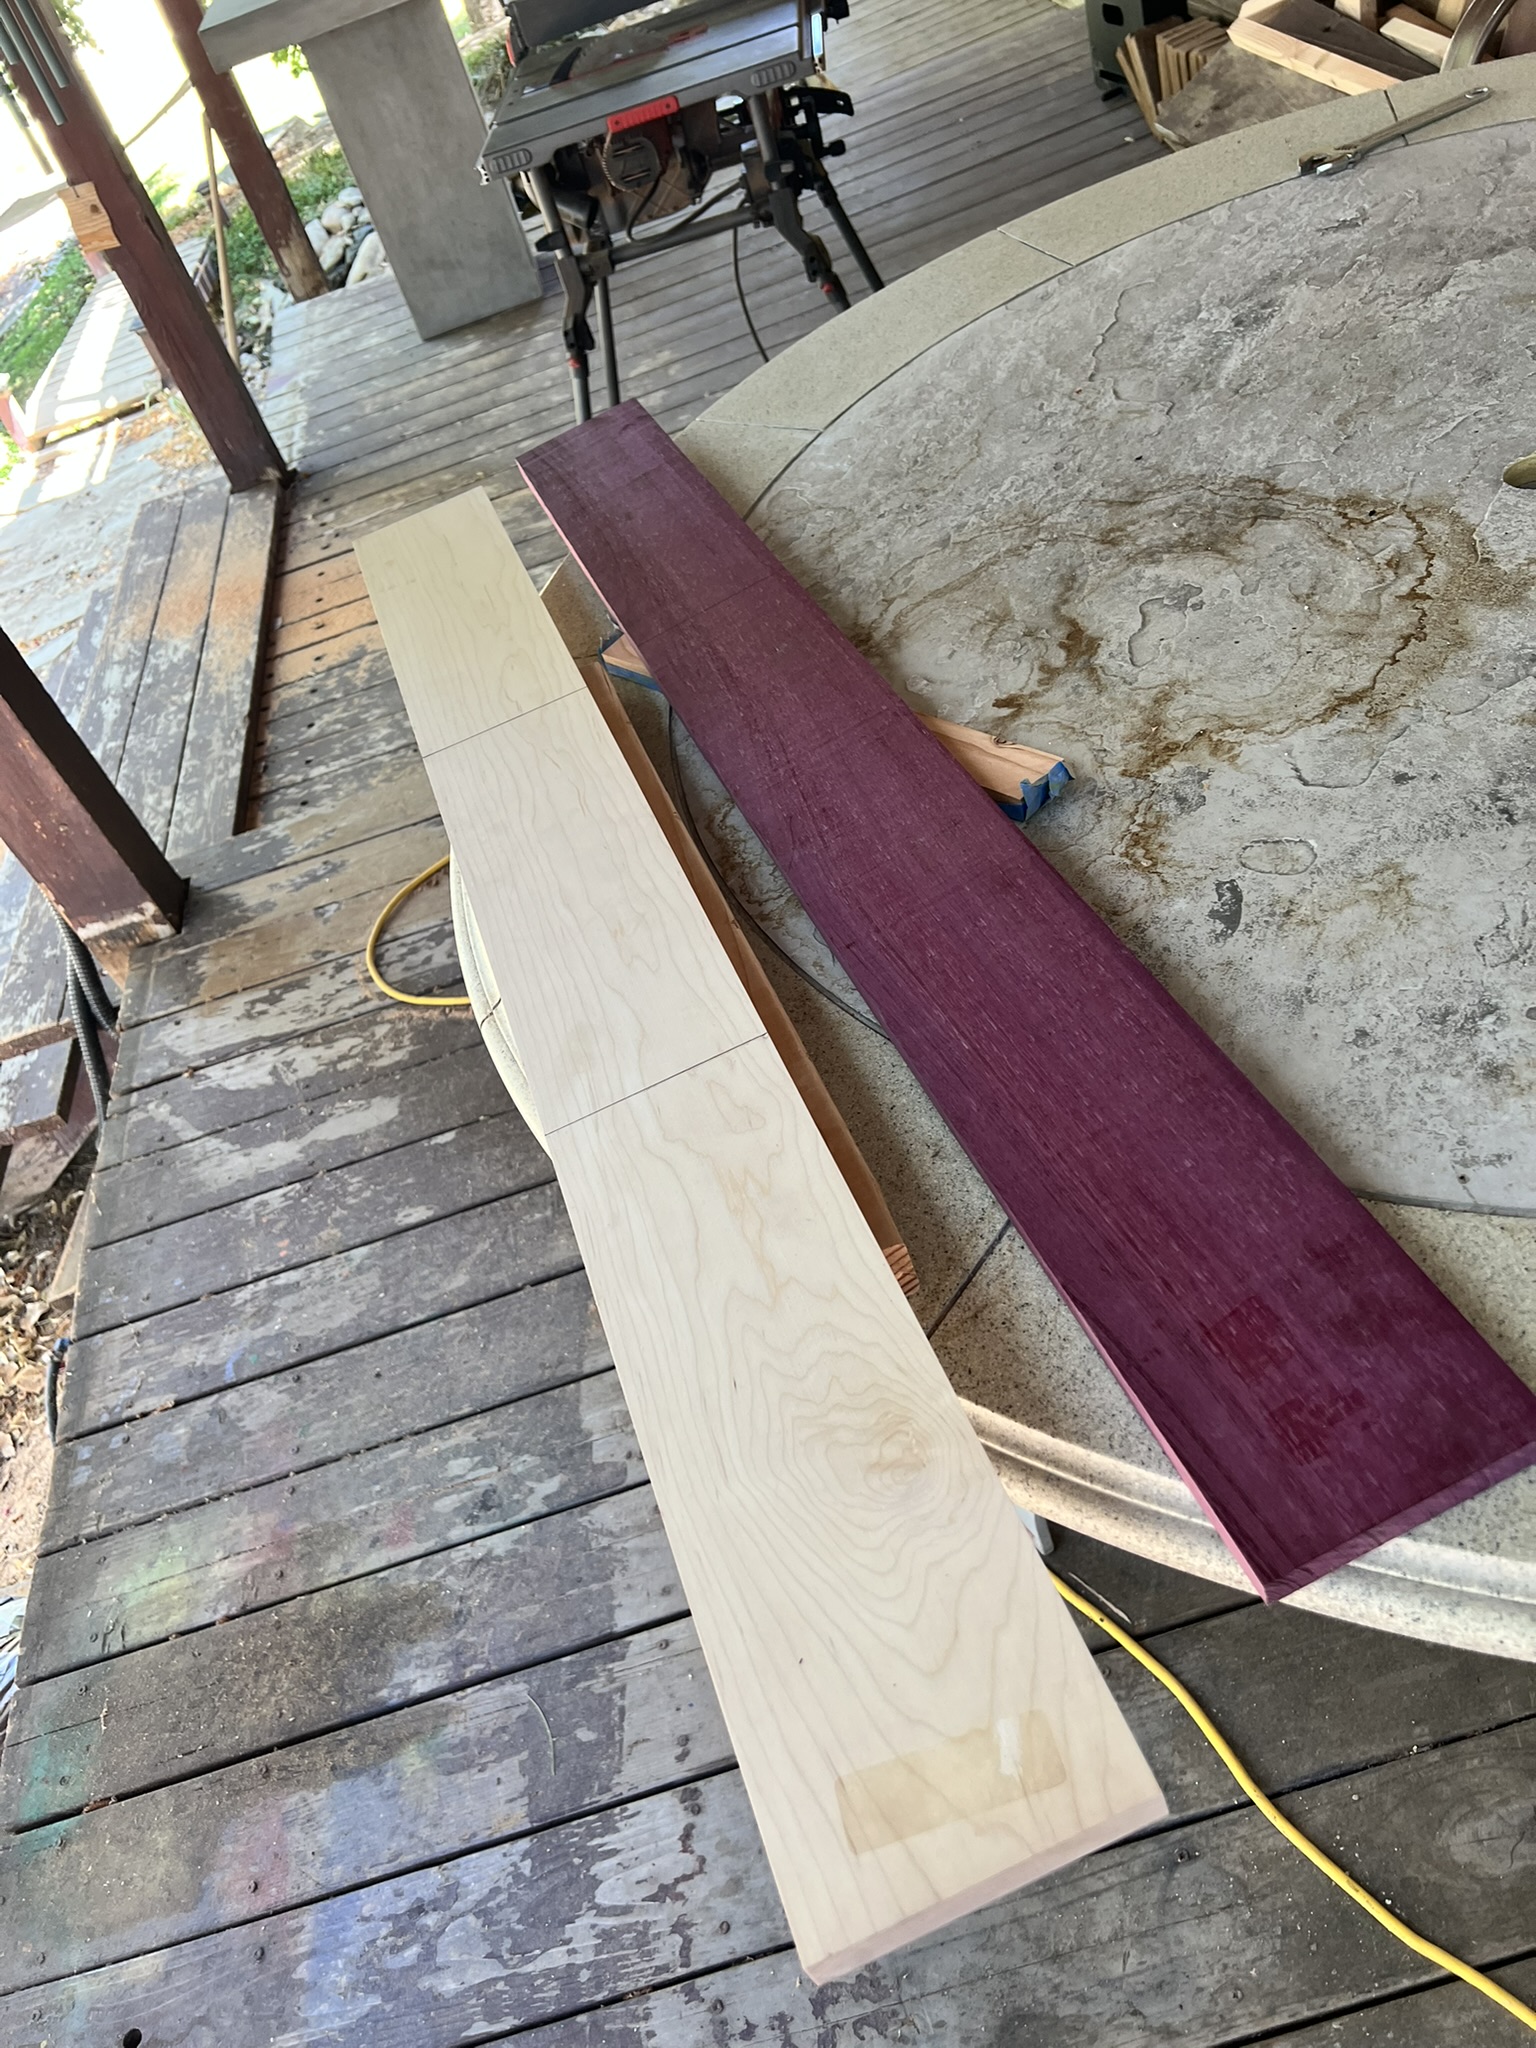
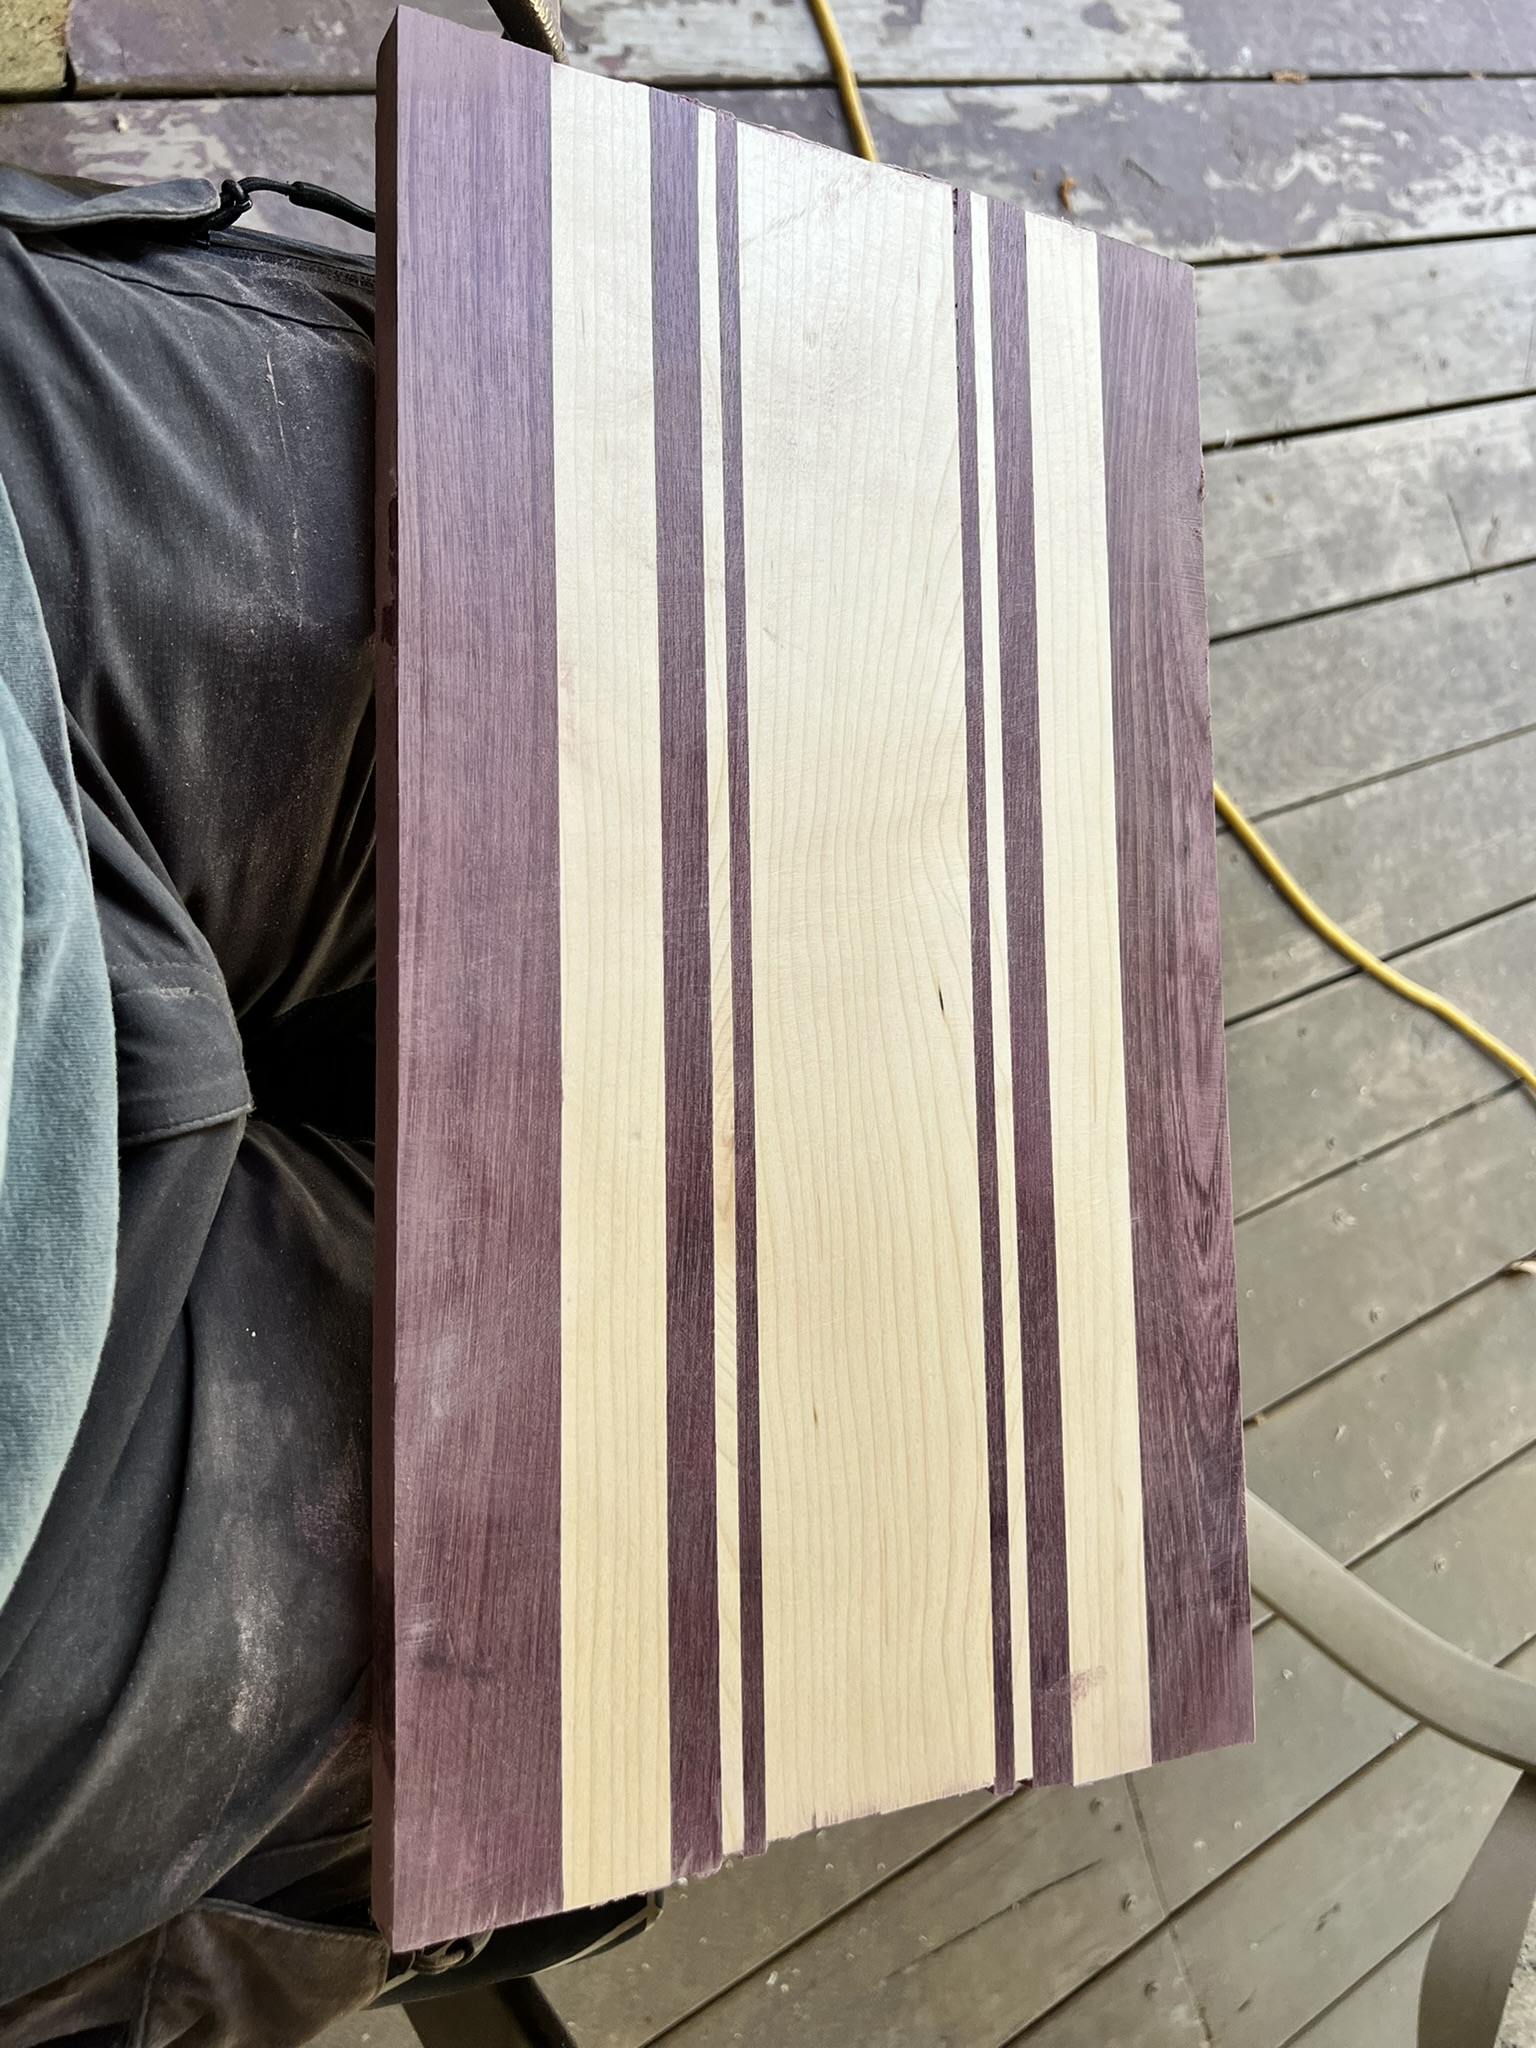
So I started with a piece of maple, and a piece of purpleheart. Scored both of these at the Taylorsville (UT) Rockler store, which is currently my go-to shop for ready-to-use project wood.
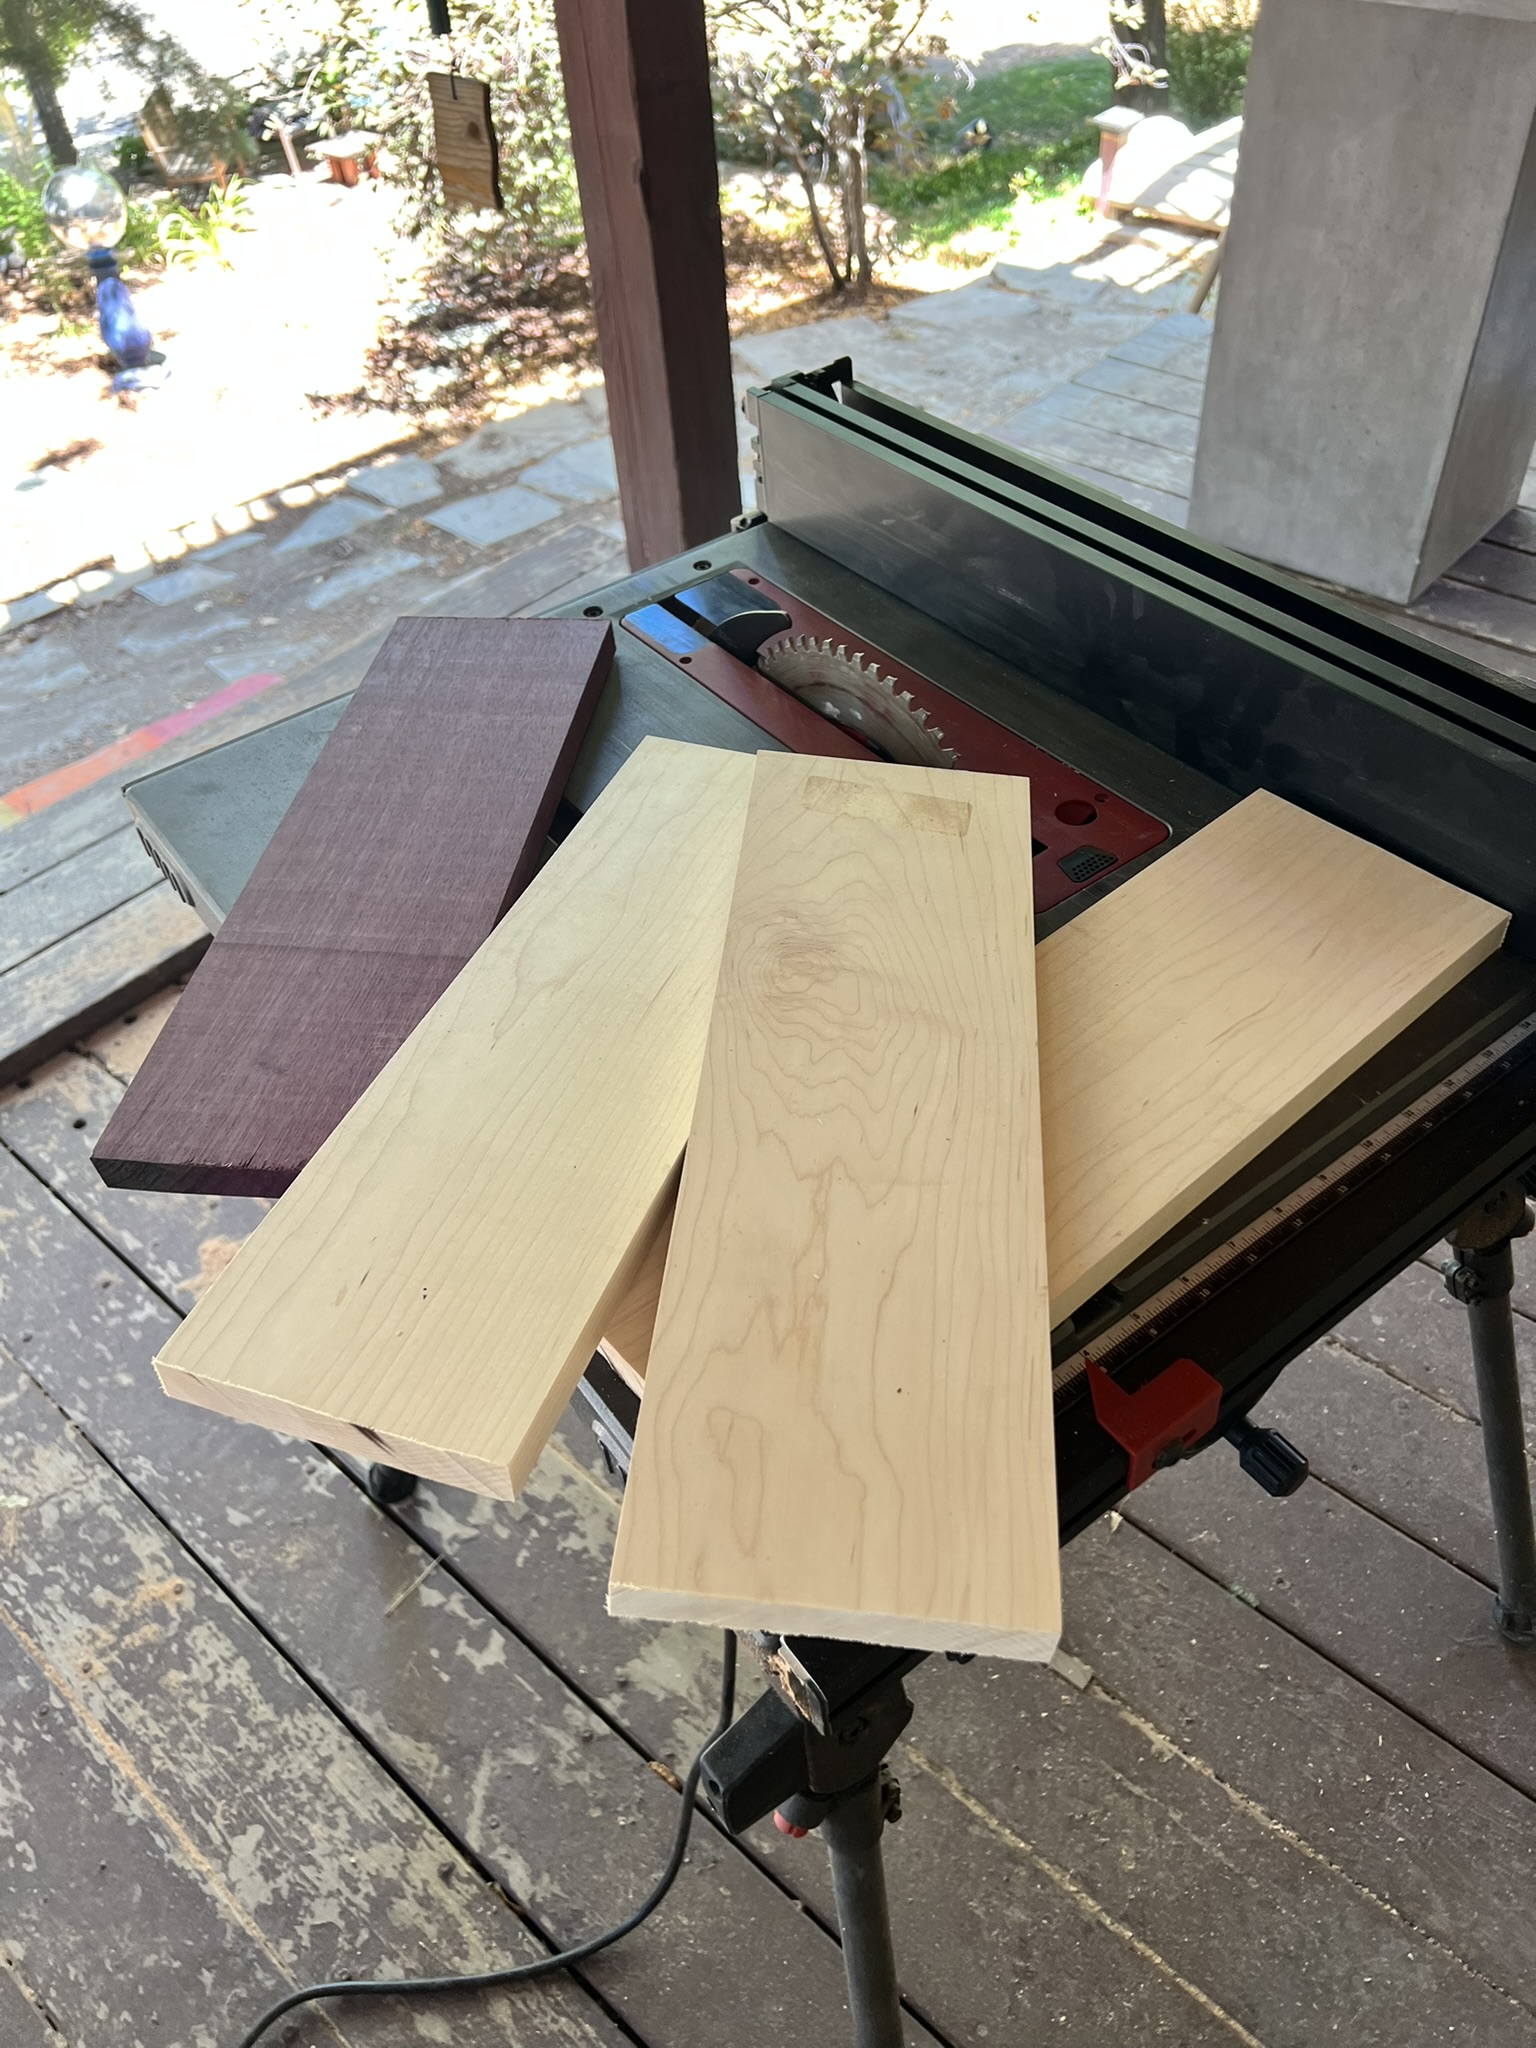
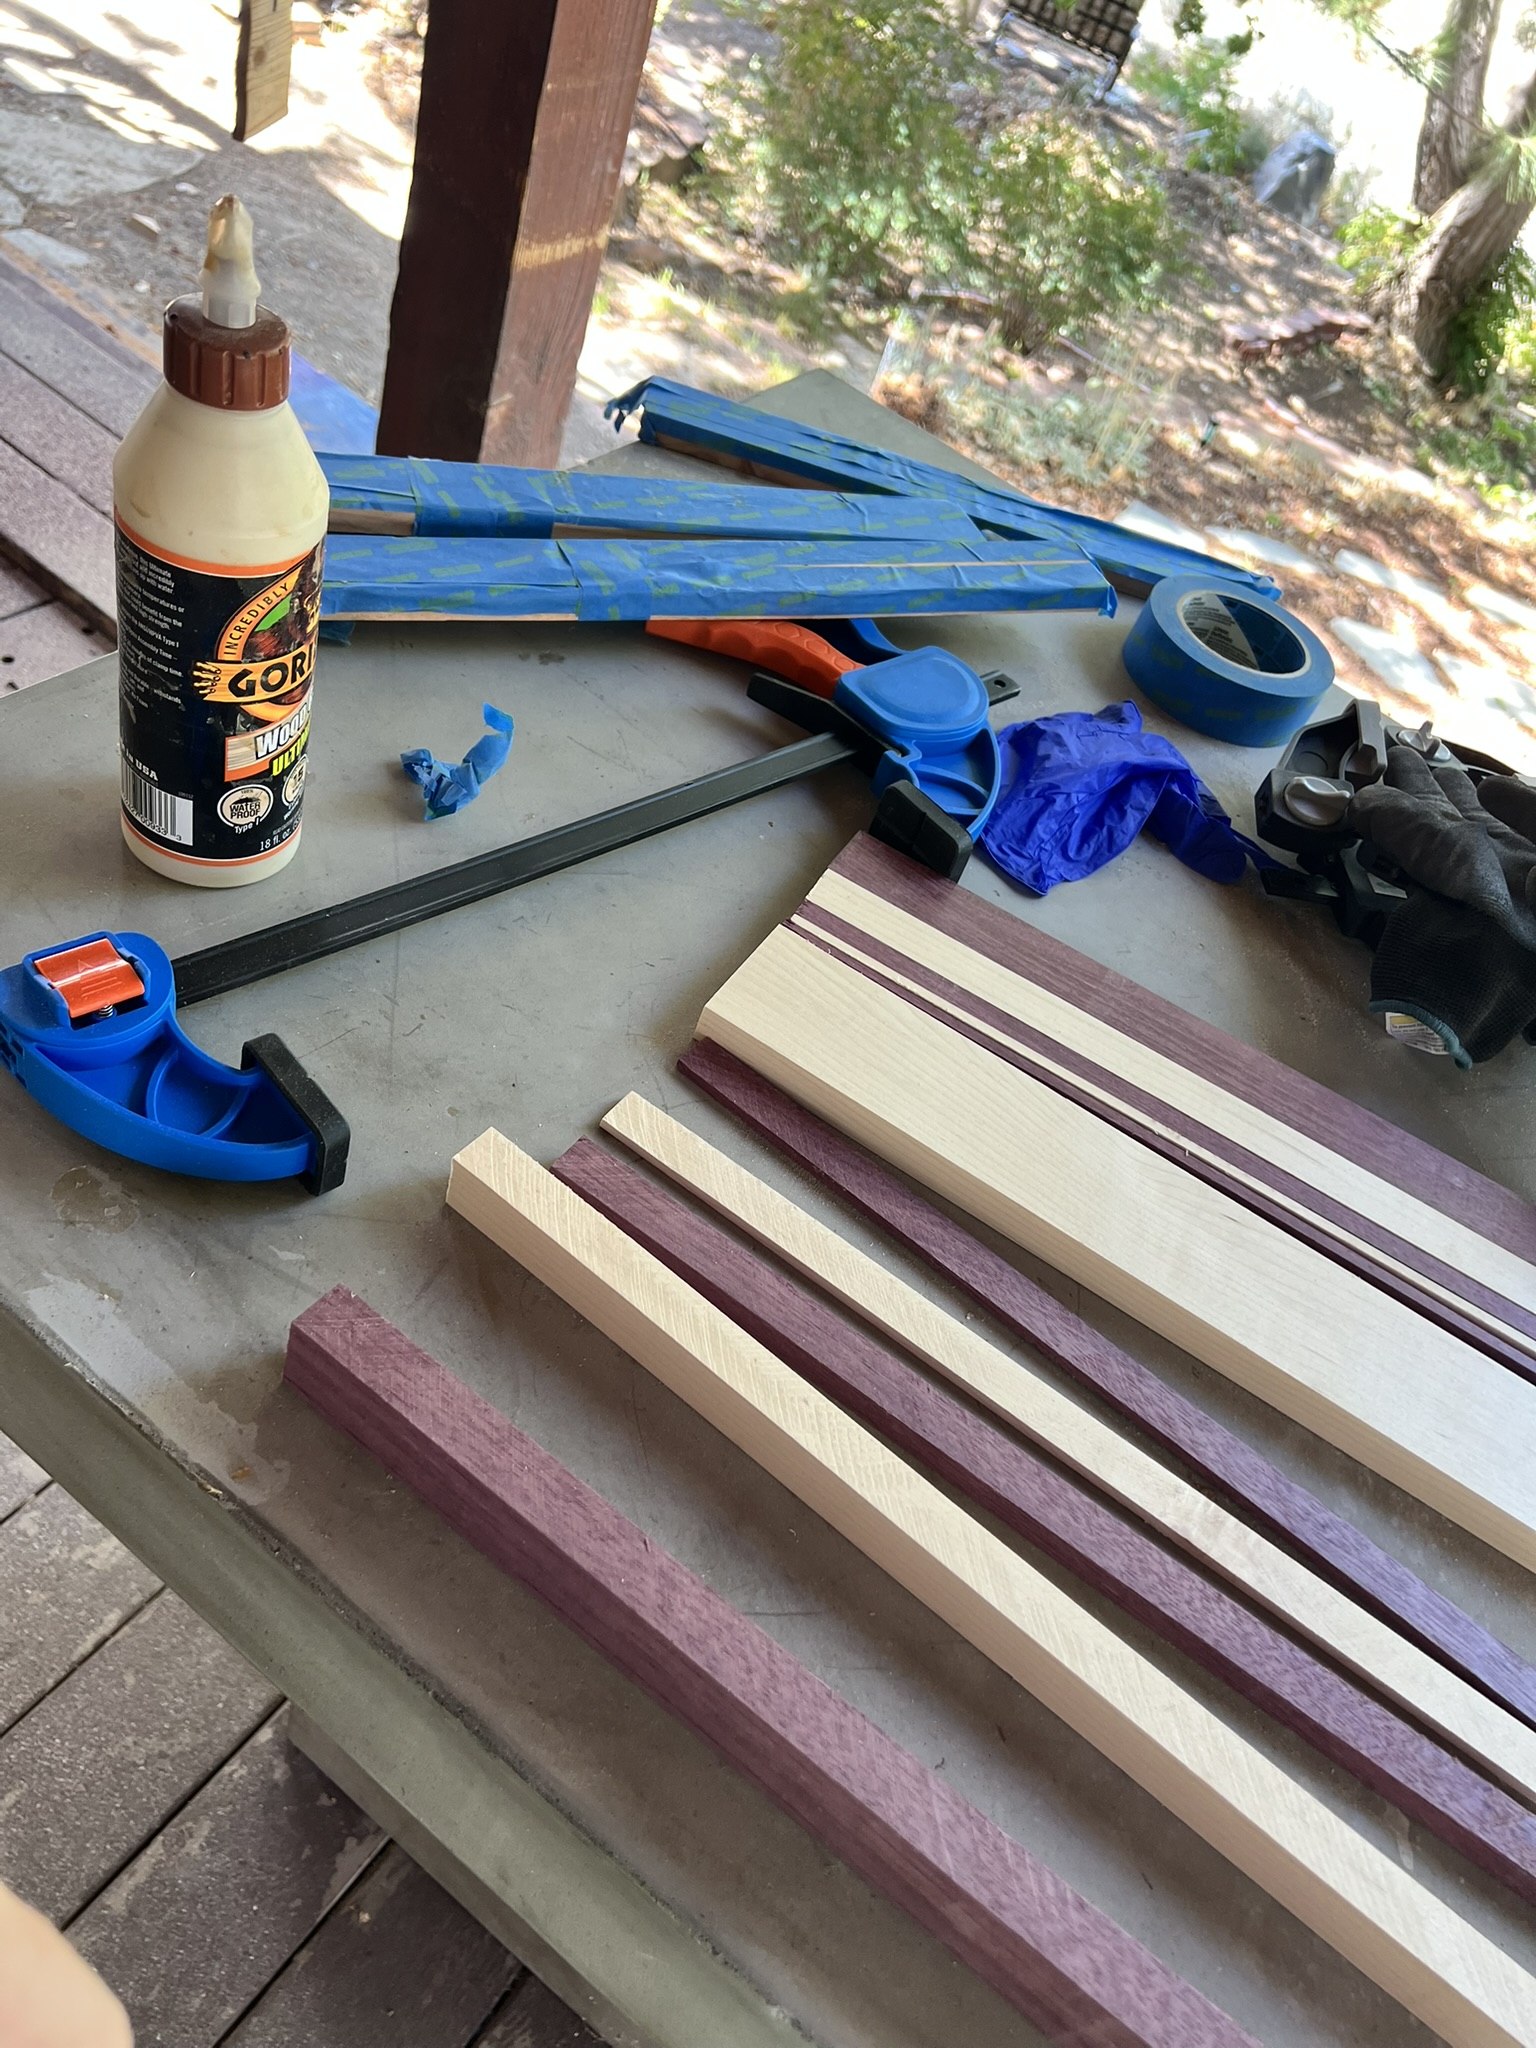
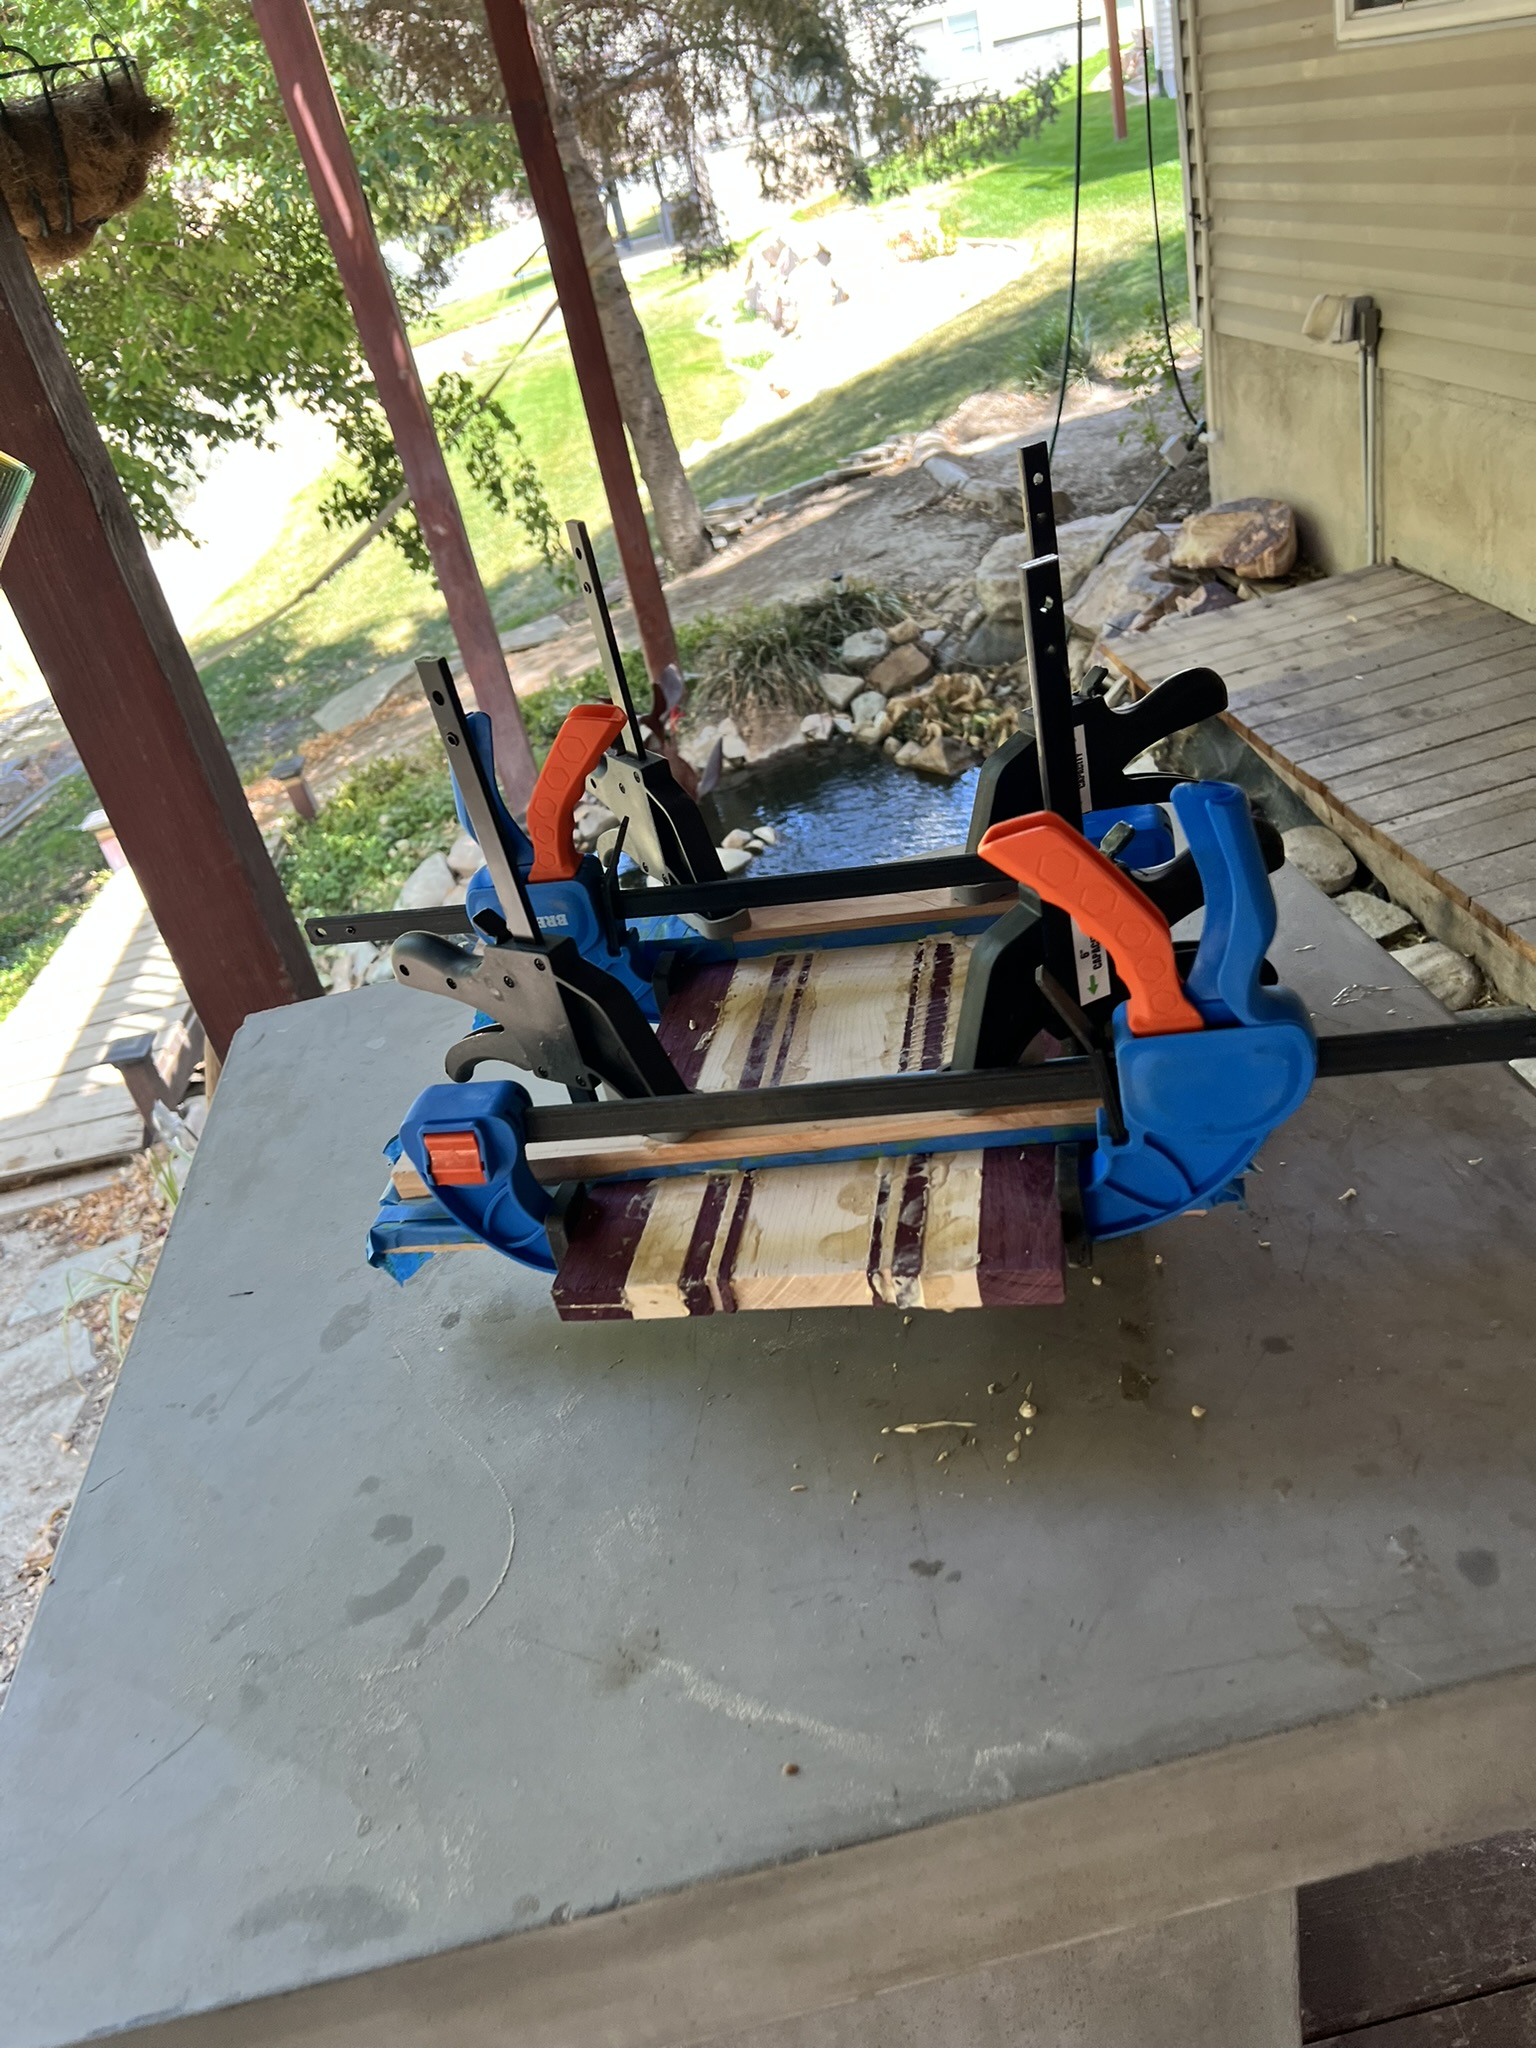
Using the table saw, I cut the pieces down into managable sizes, then ripped them into strips. Next, I laid out the strips to make the final pattern. Slather on some food safe and water resistant glue, then clamp em all together. I use my bigger clamps (blue) to press the strips together, and my smaller ones (black) with a couple pieces of scrap wood to hold it flat. On this board I used blue tape to keep the scrap wood from being glued to final product, though it wasn't really as clean as I'd like.
Let it sit over night, then pop the clamps off. Use a scraper or something to gently remove any excess glue, then start sanding. I'm a woodworking hack, so I start with a belt sander at 80 grit which rips the last of the glue right off. Then hit it with an orbital sander at 120 then 220 grit.
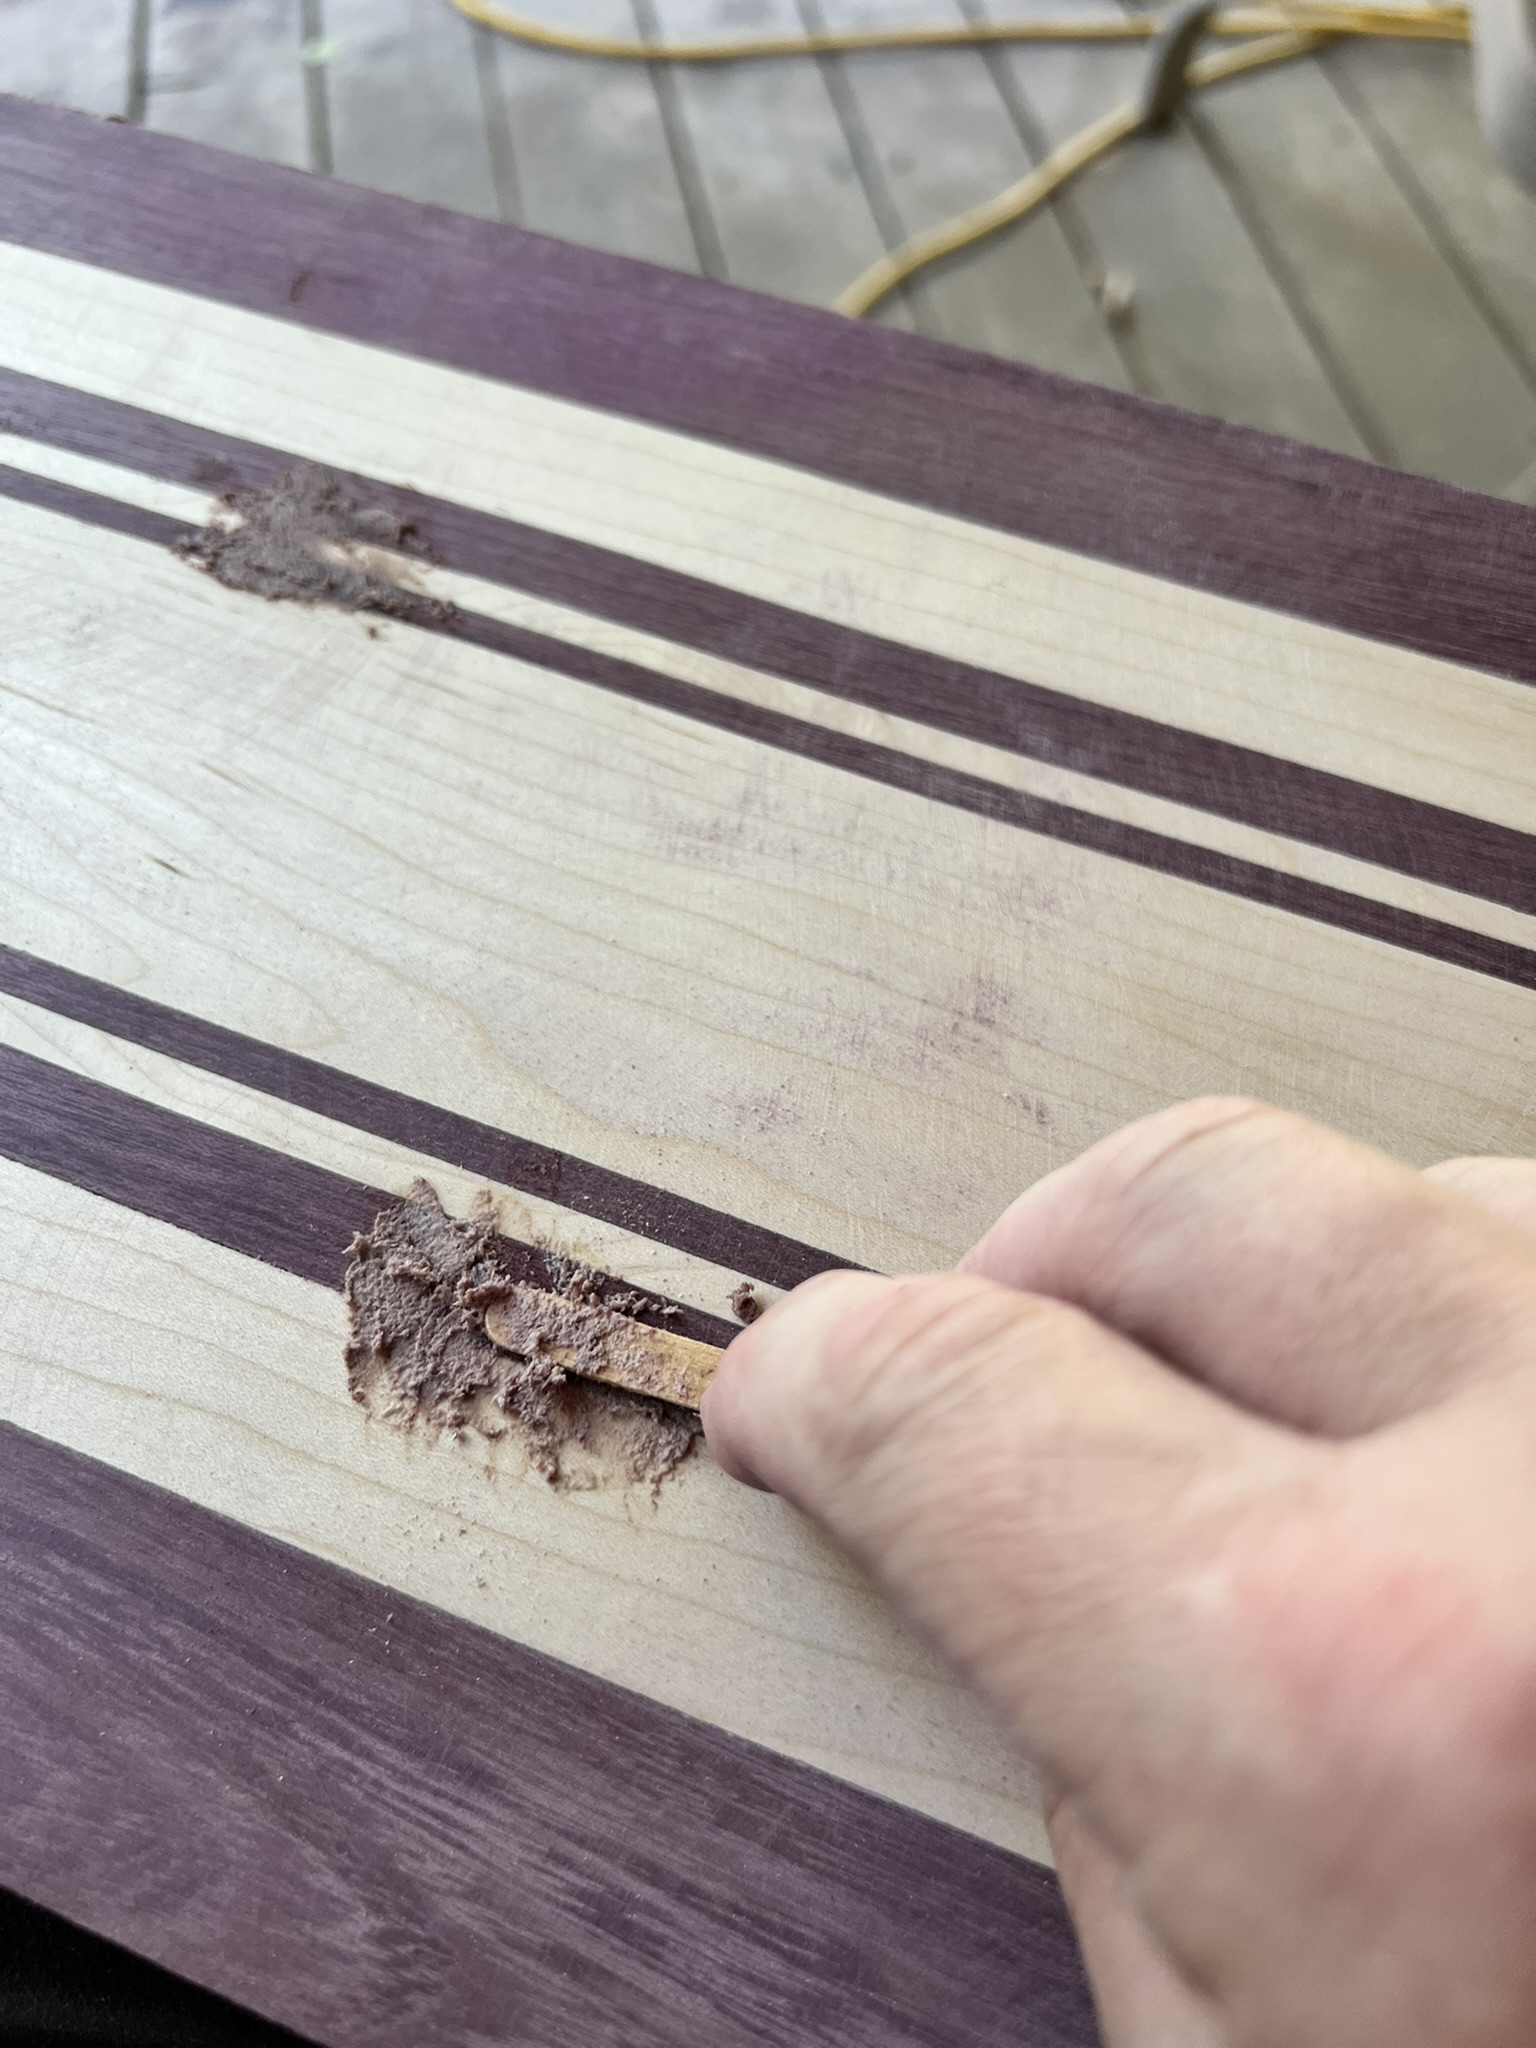
At this point, you might notice some minor gaps on the surface. Mix up some glue and sawdust, and work it into those gaps. Give it about an hour or so to dry, then sand again.
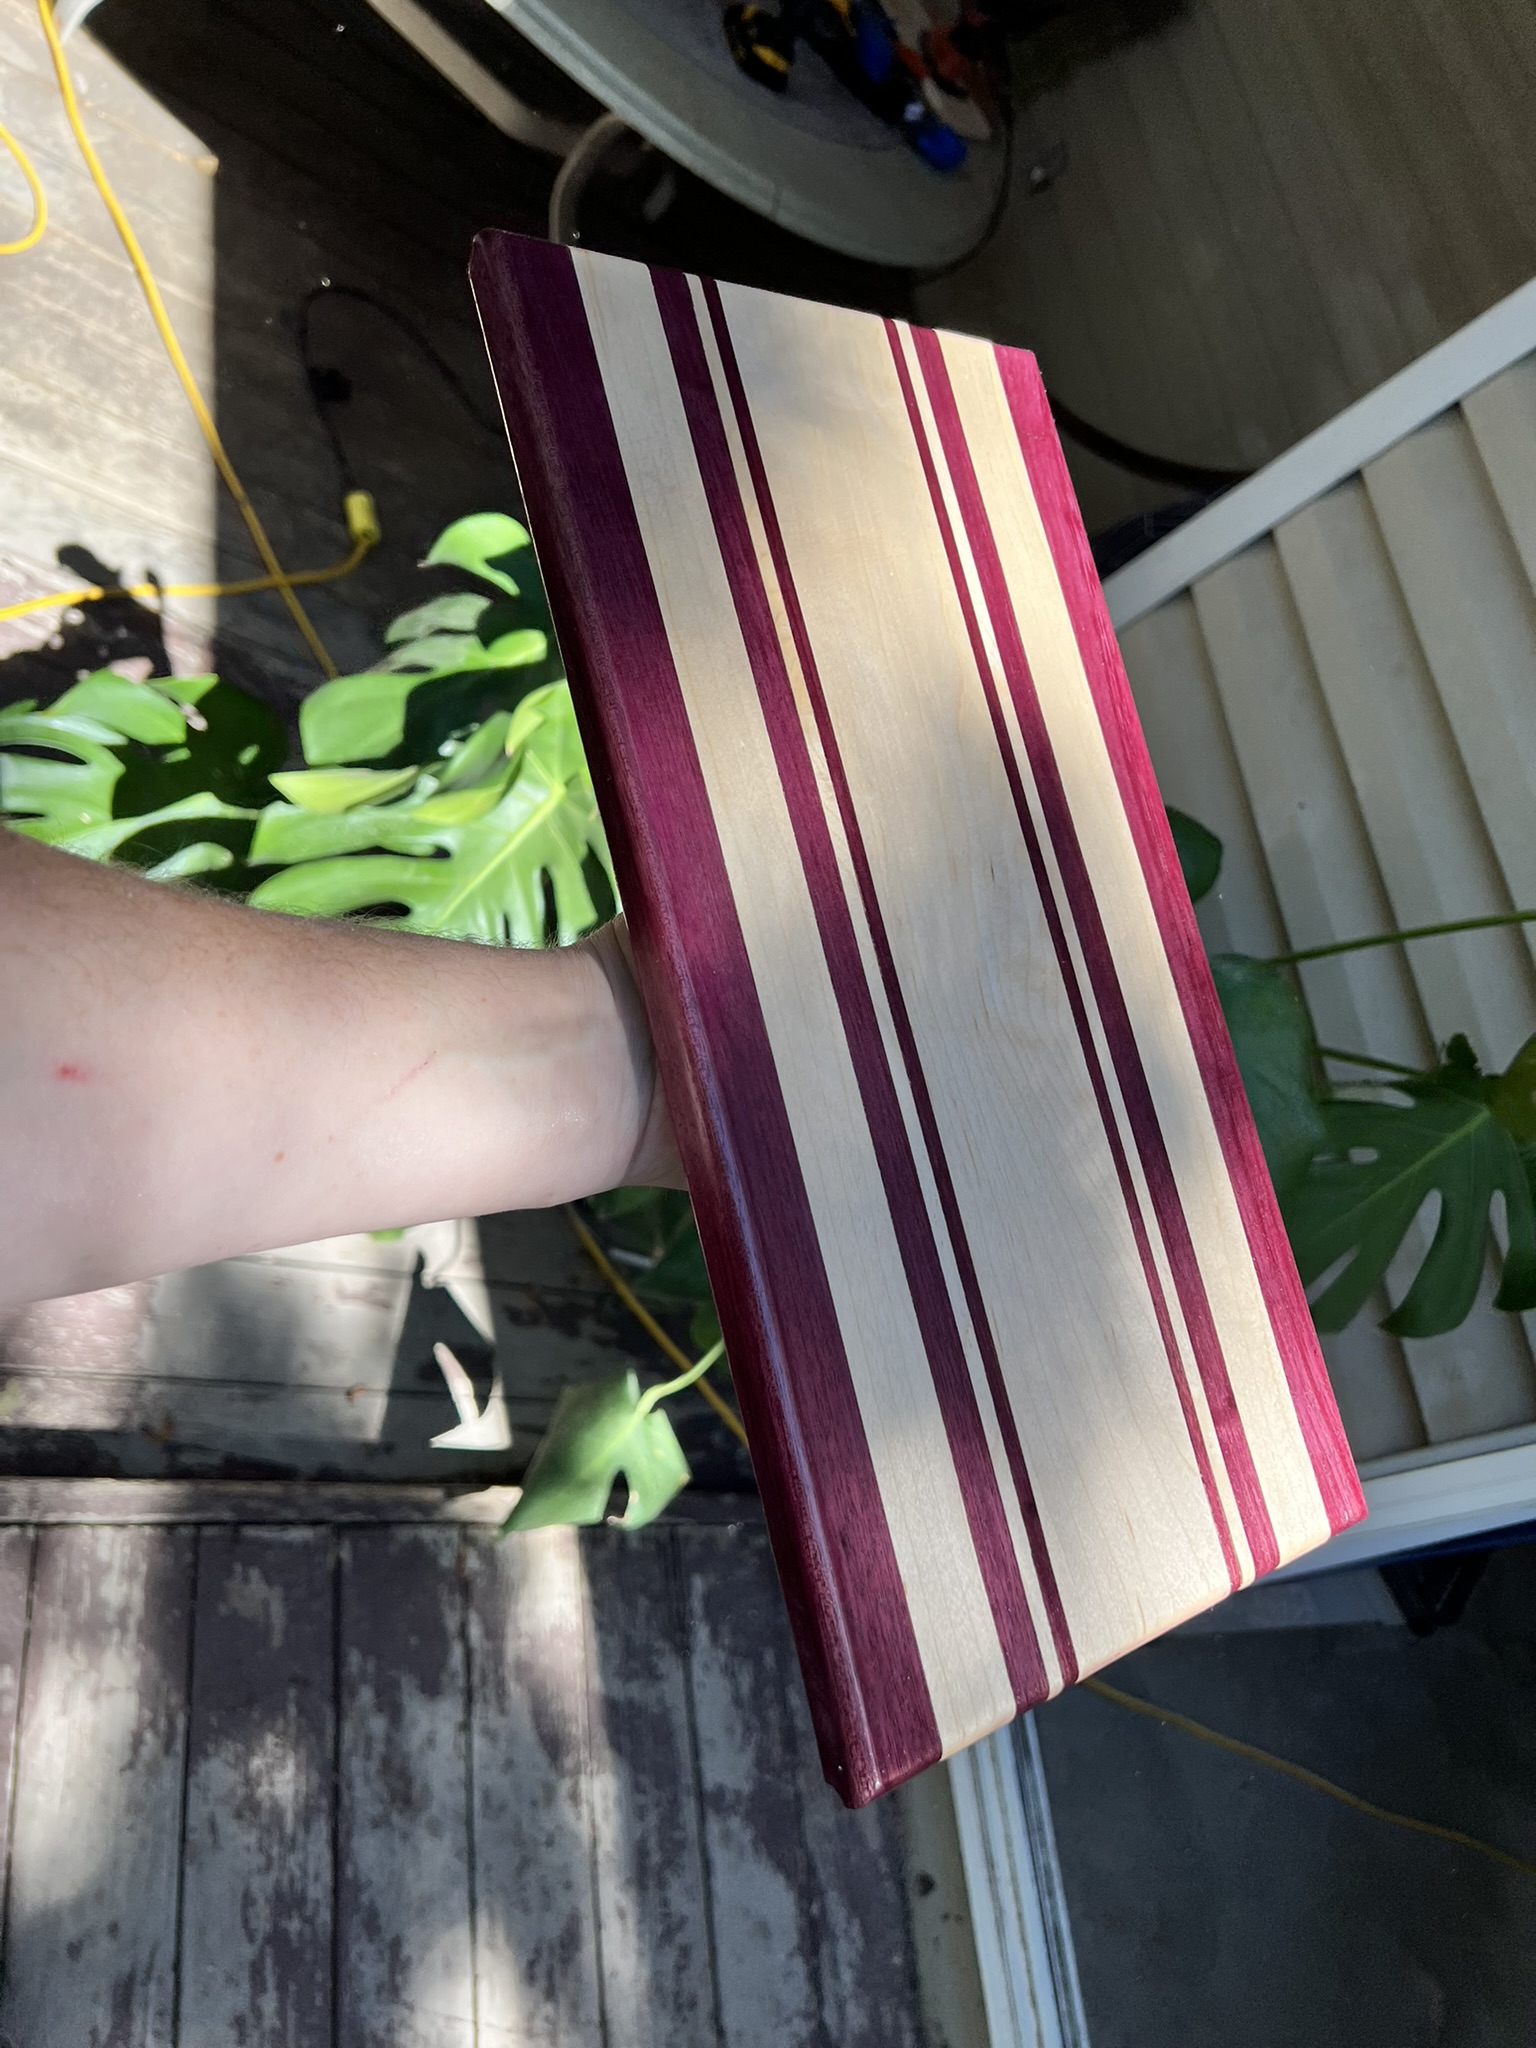
I ran a router with a 1/4" roundover bit on the long ends, and a Roman Ogee bit on the short ends. If you use roundover on all four sides, the board is effectively two-sided. Using the roman bit gives a little bit of a hand grip area on the ends, but gives it a bit of a one-sided look. You CAN totally use the "bottom" for cutting if you want, as I don't put rubber feet on my boards like some folks do.
Finally, when you're satisfied with your work, use a wet rag or a spray bottle to wet the entire board. As it dries, you'll start to feel wood fibers pop up and be all scratchy like. Once it's fully dry, sand it again until it's smooth. This process makes it so when you wet the board in the future, when you're cleaning it or wiping it off, it doesn't keep that fuzzy fiber texture. This is called "popping the grain" and only needs to be done this one time.
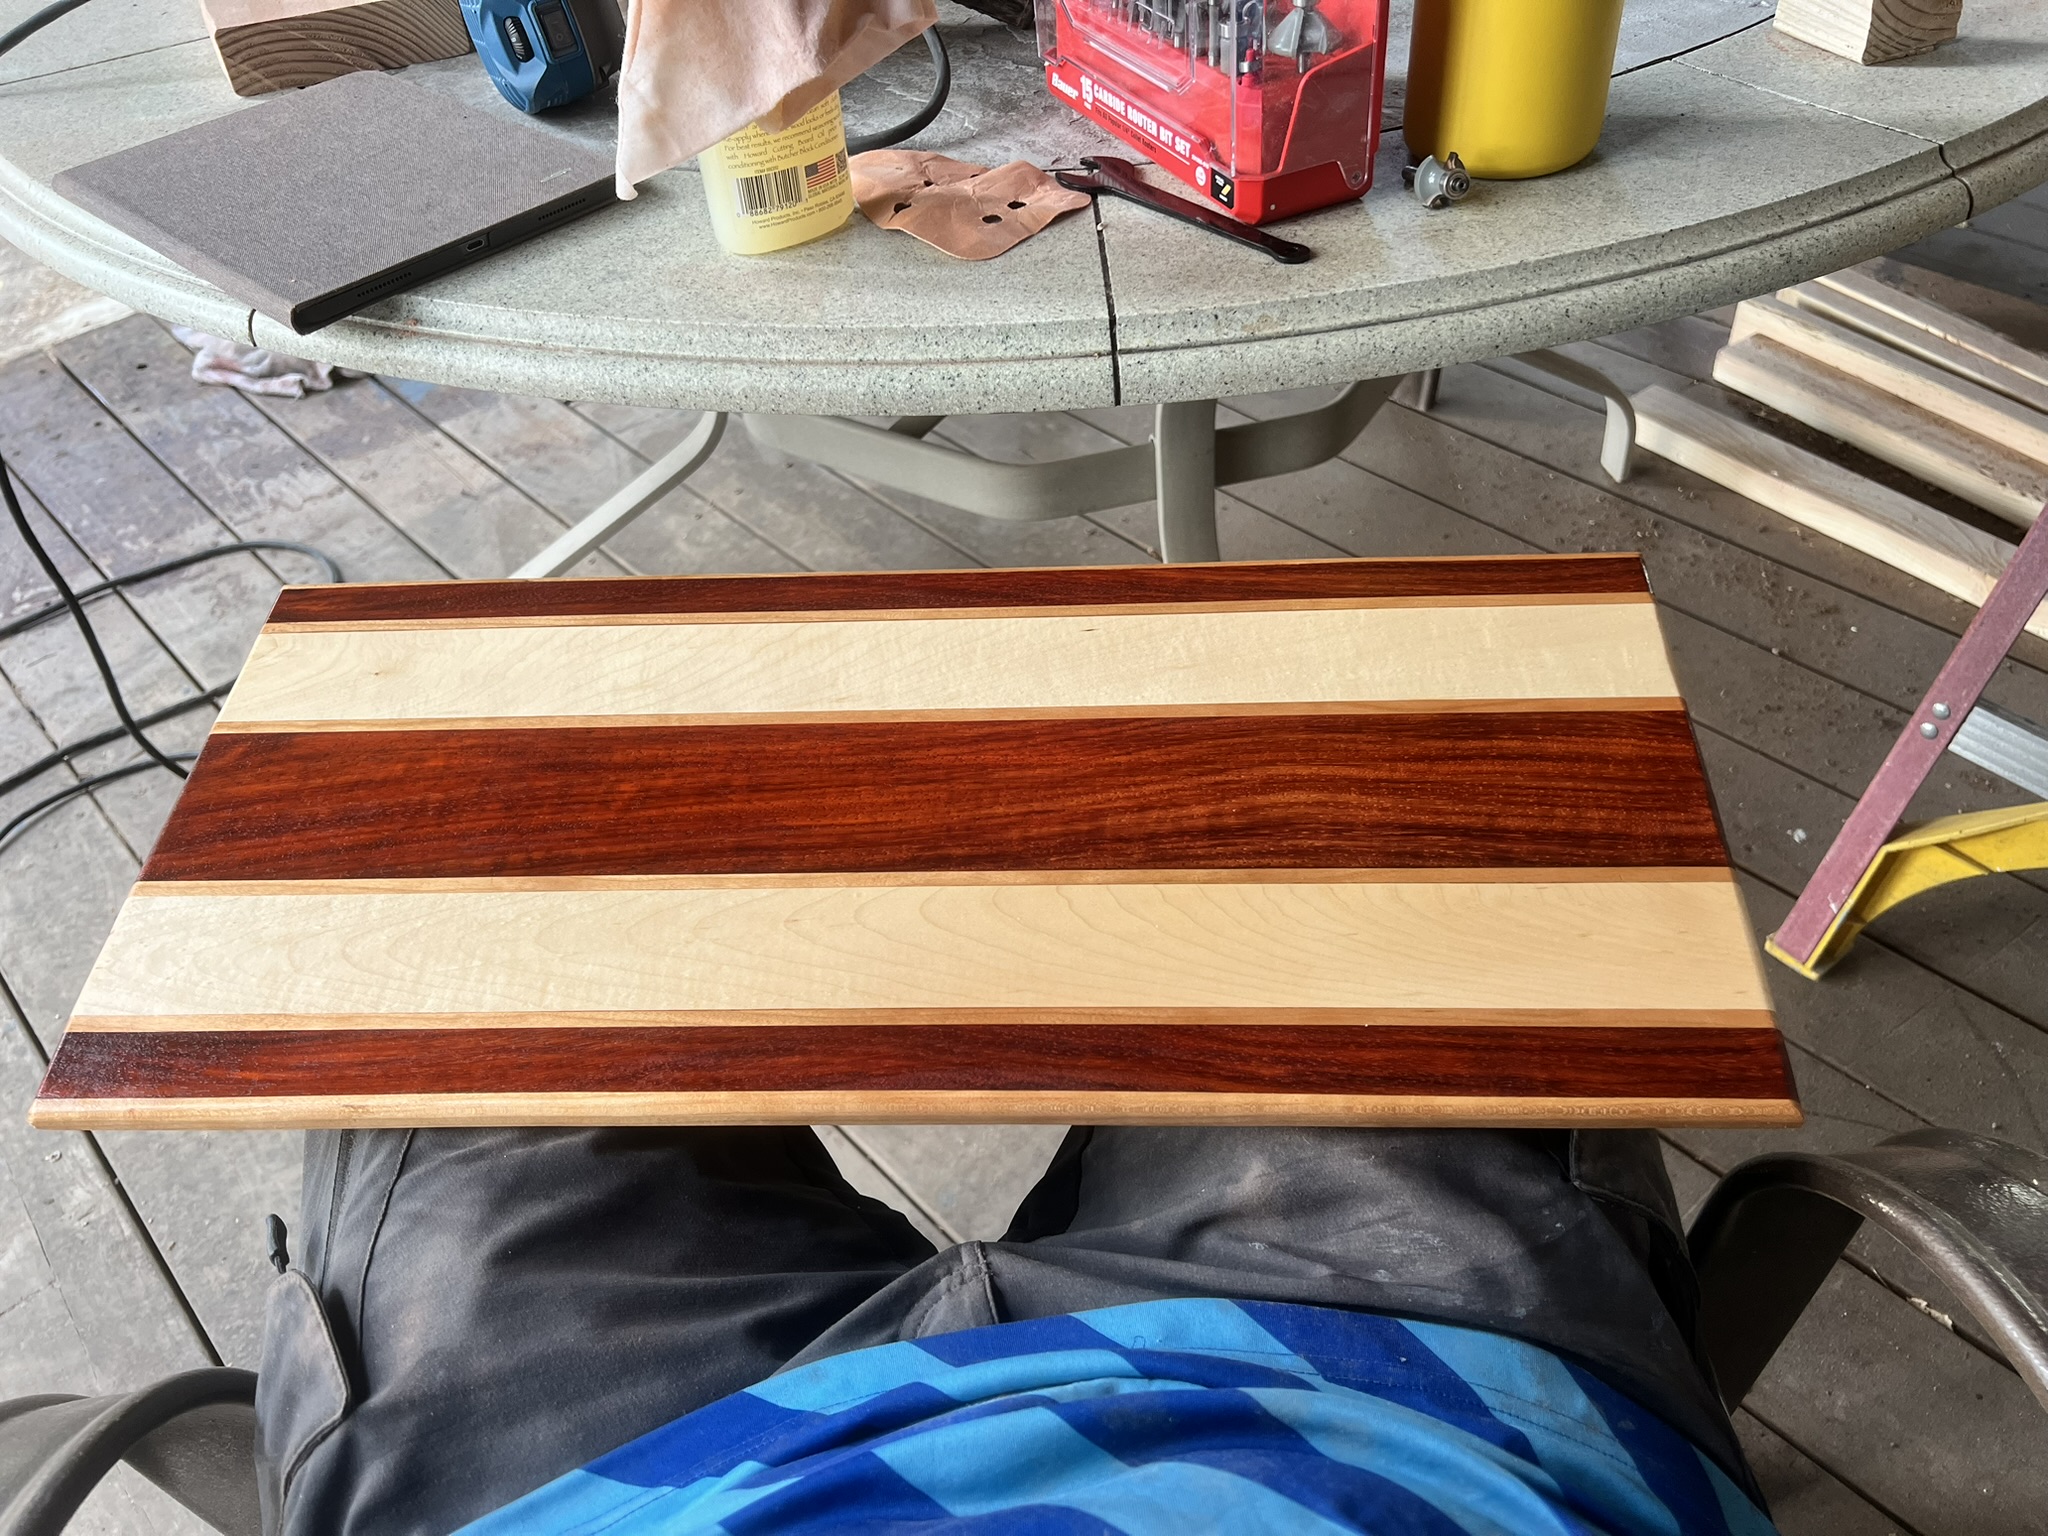
Finally, put some kind of food safe sealing on the board. I put a coat of Howard Cutting Board Oil on, let it sit overnight, then finish with Howard Butcher Block Conditioner. Reapply the conditioner periodically, whenever it starts lookin dry.
Howard Products, Inc. - Wood Care Made Easy
This particular board took about two hours to make, spread out over two days. Quite an enjoyable project I might add!
Stuff Required:
- Skil 10" Table Saw
- Hercules Trim Router
- Sander and Sand Paper - 120 and 220 grit
- Optional: Belt Sander w/80 grit to remove excess glue
- Four strips of scrap strips, for holding the board flat during the glue-up
- Six Clamps (four smaller, two bigger)
- Gorilla Wood Glue (Titebond III is the Internet's go-to, I just didn't have any on me)
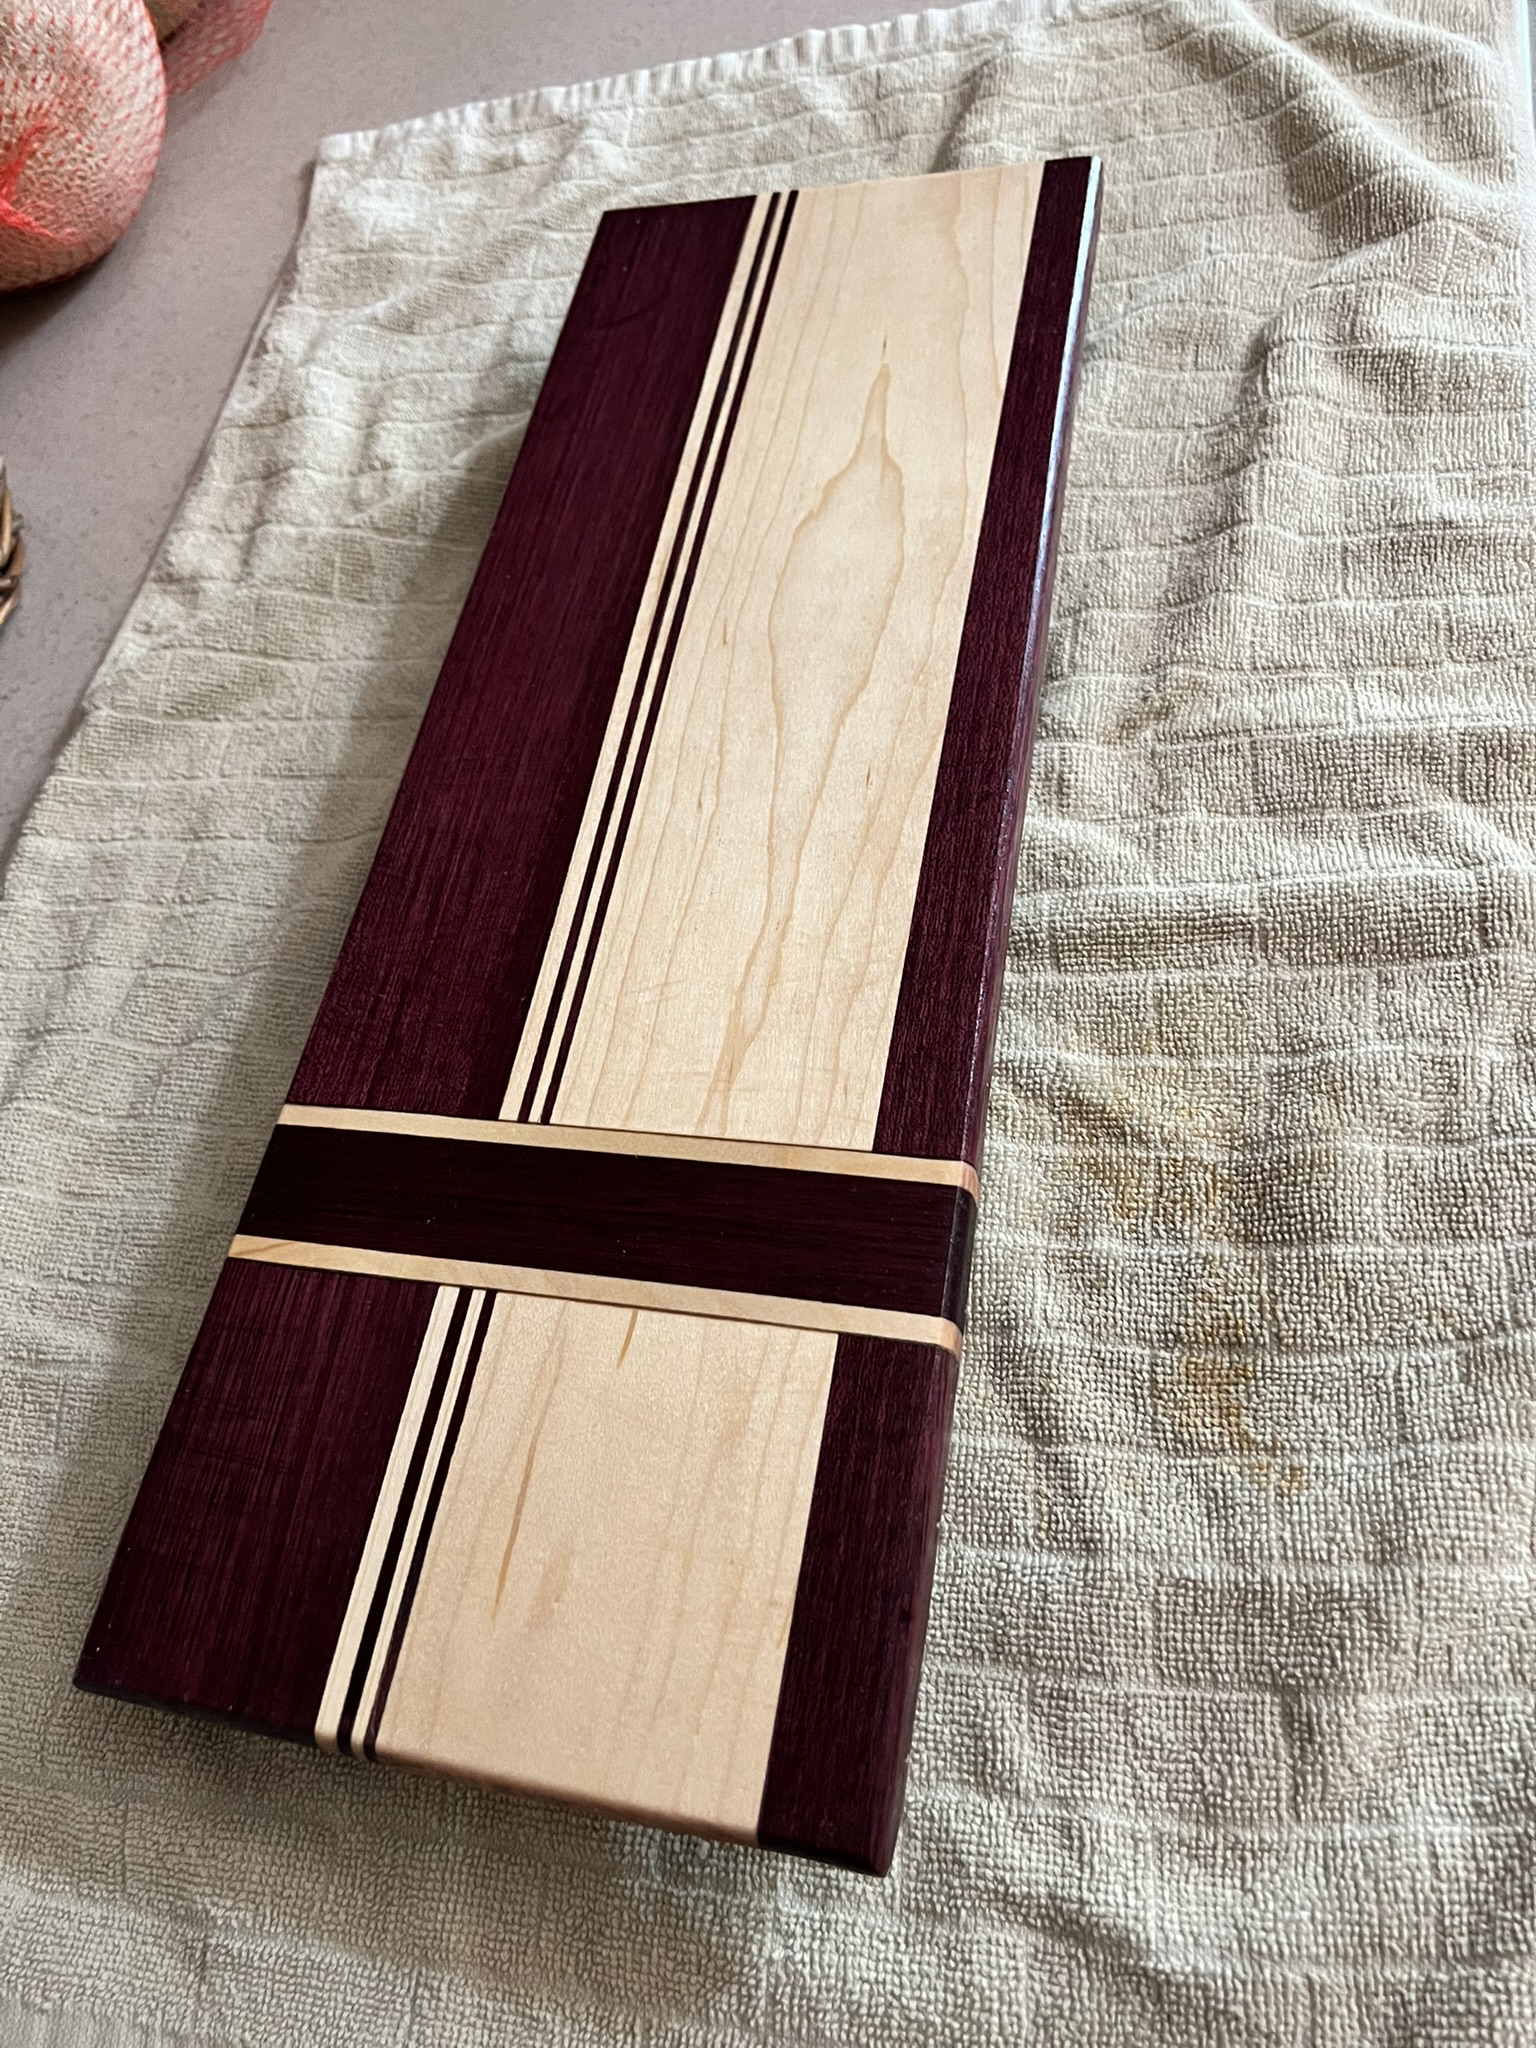
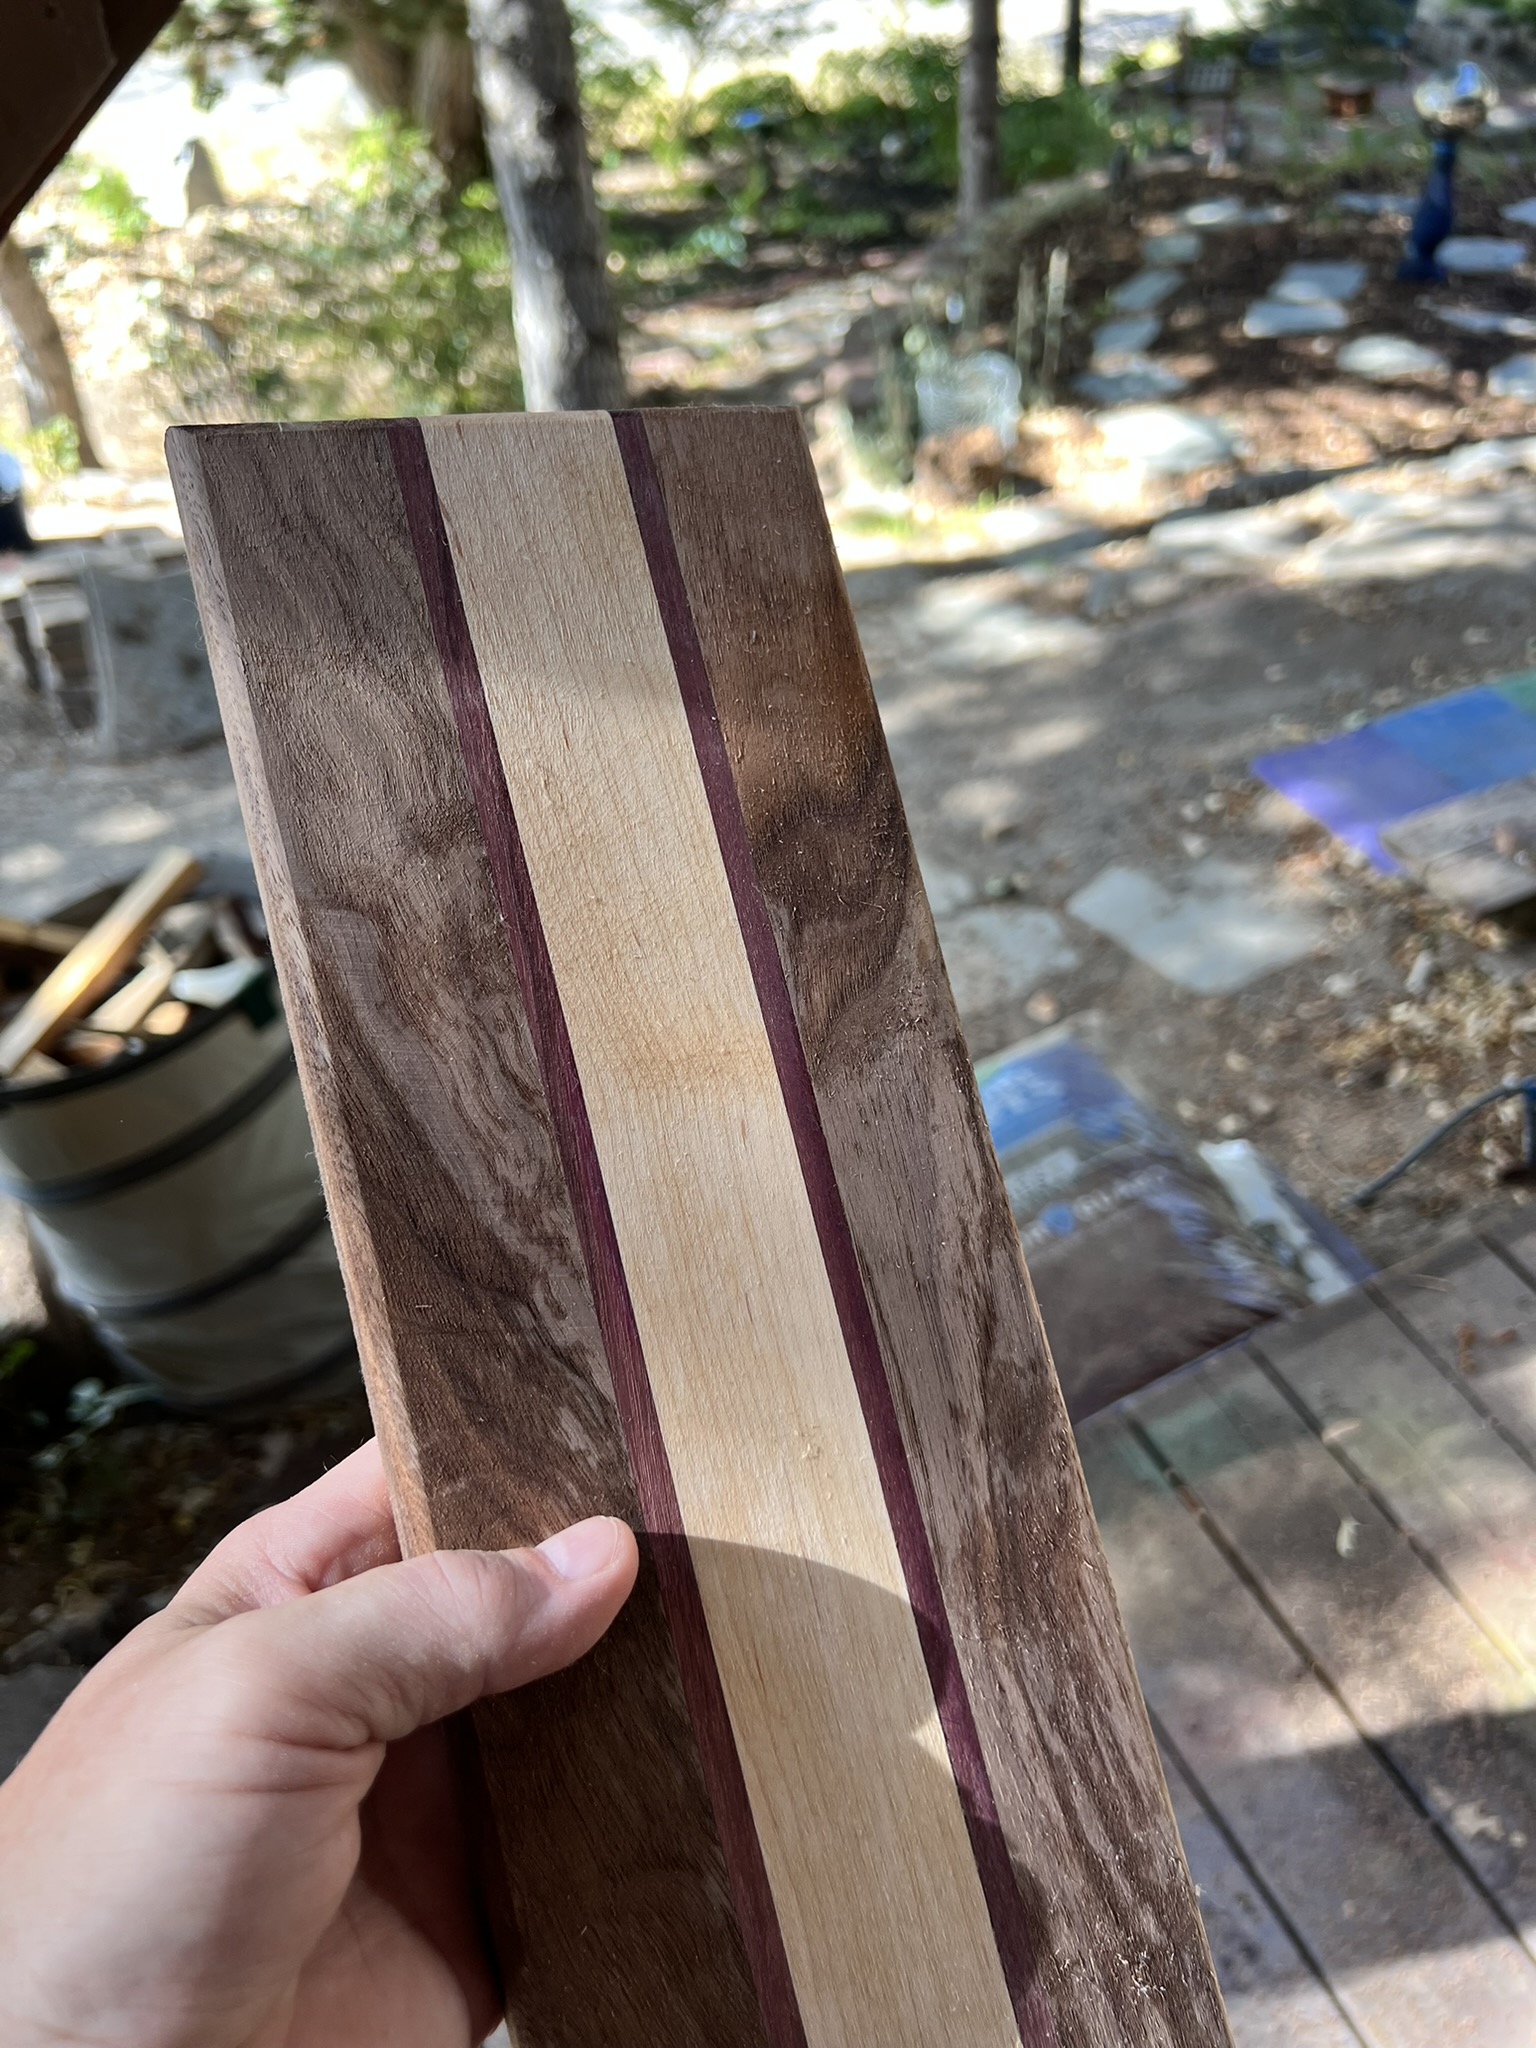
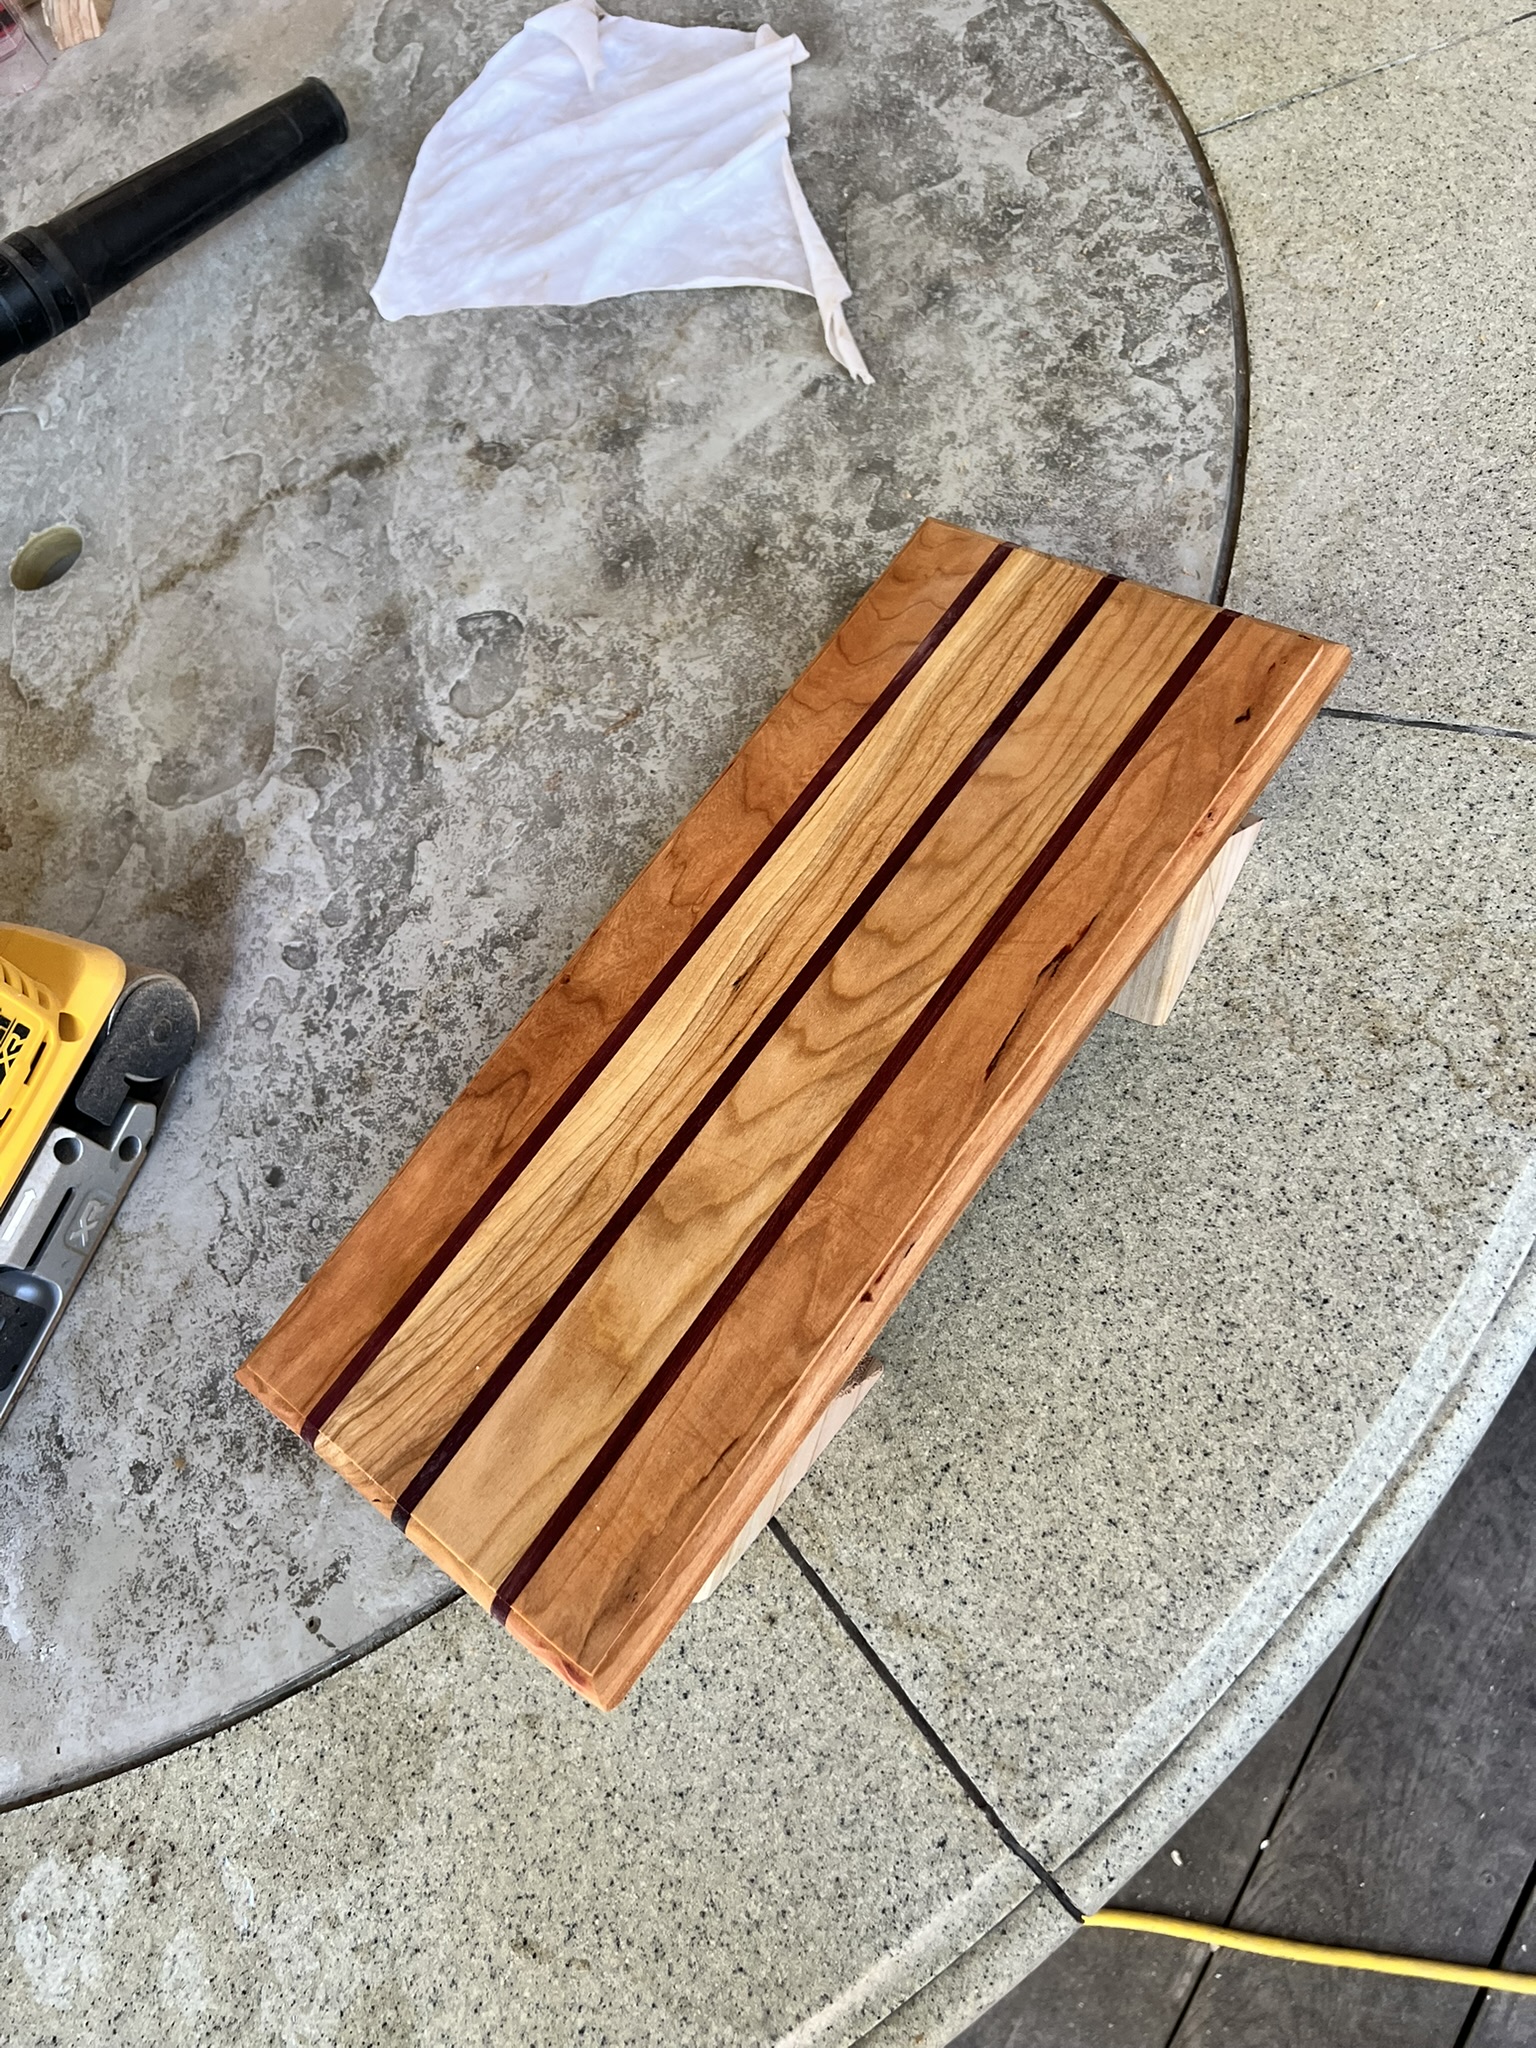
Here are a few of the other boards I've thrown together recently. Basically the same process as above was used on most of them. Can you tell where I messed up the cut on the one with the crosspiece?